A.V.N.C quick user manual
15
Step 7: Check for operational status
When all wires have been connected, turn your key to the ACC/ON position and turn on the
A.V.N.C by pressing the POWER button. The A.V.N.C should start with a VMS logo and then
display the main menu.
Make sure the vehicle is outdoor and in an open area, start GPS navigation by pressing the
“Navigation” button. Wait for a few minutes and the GPS should lock on to satellites and display
your position. If not, check your GPS antenna is connected properly.
Press the Radio button and hit scan. The A.V.N.C will automatically pick up radio station and
put them into it’s memory. If there is no reception, check if the antenna is plugged in and
making decent contact. Ensure your radio aerial is fully extended.
Step 8: Completing Installation
Turn the key to OFF position and remove. Secure the A.V.N.C into the dash. Ensure that none
of the wires at the rear of the A.V.N.C are crimped when installing the unit. Replace all trim
pieces.
Navigation.
• GPS cannot be detected.
- Check if both Street Navigation & Topo GPS are running at the same time. If so, close one of
the navigation functions.
• Navigation cannot be started.
- Check if the SD card is present.
Radio
Unable to receive stations.
• No antenna, or open connection in the antenna cable.
- Make sure the antenna is properly connected;
replace the antenna or cable if necessary.
Broadcast is noisy.
• The antenna is not the proper length.
- Extend the antenna fully; replace it if it is broken.
• The antenna is poorly grounded.
- Make sure the antenna is grounded properly at its mounting
location.
• The station signal is weak and noisy.
- If above solution does not work, tune in another station.
CD/DVD
Disc playback sound is wavering.
• Moisture condensation in the disc Module.
- Allow enough time for the condensation to evaporate
(about 1 hour).
Disc insertion not possible.
• A disc is already in the DVD player.
- Eject the disc and remove it.
• The disc is being improperly inserted.
- Make sure the disc is being inserted following the
instructions in the CD/DVD Player Operation section.
Unable to fast forward or backward the disc.
• The disc has been damaged.
- Eject the disc and discard it; using a damaged disc in your unit can cause damage to the
mechanism.
Disc playback sound skips due to vibration.
• Improper mounting of the unit.
- Securely re-mount the unit.
• Disc is very dirty.
- Clean the disc.
• Disc has scratches.
- Change the disc.
• The pick-up lens is dirty.
- Do not use a commercial available lens cleaner disc. Consult your nearest VMS dealer.
Disc playback sound skips without vibration.
• Dirty or scratched disc.
- Clean the disc; damaged disc should be replaced.
CD-R/CD-RW playback not possible.
• Close session (finalization) has not been performed.
- Perform finalization and attempt playback again.
Error displays
• Mechanical error
- Press eject After the error indication disappears, insert the disc again. If the above-mentioned
solution does not solve the problem, consult your nearest VMS dealer.
Playback does not start.
• Disc is loaded upside-down.
- Check the disc and load it with the labeled side facing upward.
• Disc is dirty.
- Clean the disc.
• A disc not able to playback with this unit is loaded.
- Check if the disc is able to be played back.
Picture is unclear or noisy.
• Disc is being fast-forwarded or fast-reversed.
- The picture may be slightly disturbed, but this is normal.
• Vehicle’s battery power is weak.
- Check the battery power and wiring. (The unit may malfunction if the battery power is under 11
volts with a load applied.)
• Monitor’s LCD backlight is worn.
- Replace the monitor’s LCD backlight.
Image stops sometimes.
• Disc is scratched.
- Replaced with a non-scratched disc.
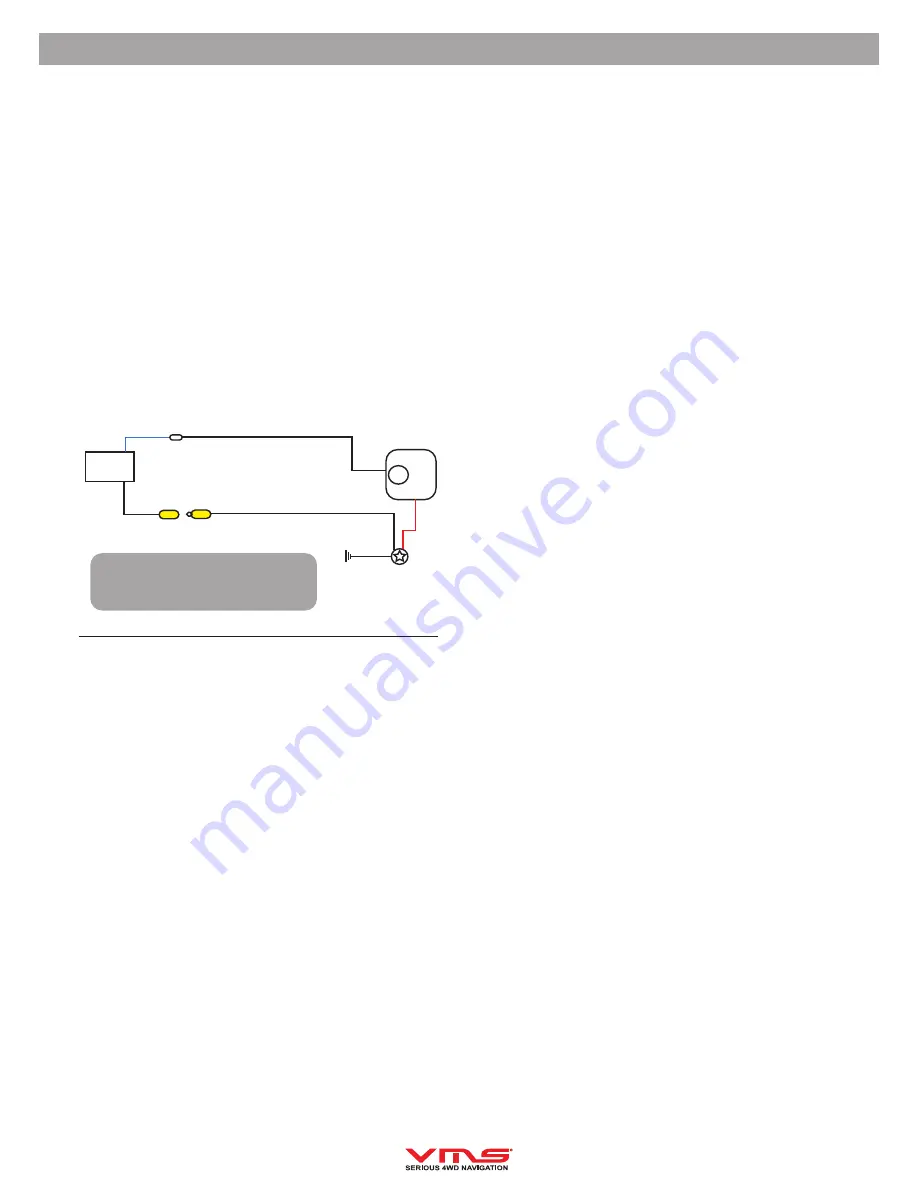
A.V.N.C
REVERSE (BLUE)
Reverse Light
12V+ when car is in reverse gear
run a wire to the reverse wire of the
A.V.N.C from the reverse light.
Camera
12V +
GND
CCD-IN
(yellow)
Video Signal (usually yellow)
multimedia loom
VMS recommends using a VMS
reversing camera for compatibility
reasons. model #: CAM-010
Installing a Reverse Camera
To install 1 reversing camera to the A.V.N.C, please refer to the wiring diagram below.
In Case of Difficulty
If you encounter a problem, please turn the power off, then on again. If the unit is still not functioning
normally, please review the items in the following checklist. This guide will help you isolate the
problem if the unit is at fault. Otherwise, make sure the rest of your system is properly connected, or
then consult your authorised VMS dealer.
Basic
No function or display
Vehicle’s ignition is off.
- If connected according to the instructions, the unit will not
operate with the vehicle’s ignition off.
• Improper power lead connections.
- Check power lead connections.
• Blown fuse.
- Check the fuse on the battery lead of the unit; replace with
the proper value if necessary.
• Internal micro-computer malfunctioned due to interference
noise, etc.
- Press the POWER button to reset the unit.
No sound or unnatural sound.
• Incorrect setting of volume/balance/fader controls.
- Readjust the controls.
• Connections are not properly or securely made.
- Check the connections and firmly connect.
Screen not displayed.
• Temperature in the vehicle is too low.
- Increase the vehicle’s interior temperature to operation
temperature range.
Movement of displayed picture is abnormal.
• Temperature in the vehicle is too high.
- Allow the vehicle’s interior temperature to cool.
Unclear or noisy display.
• Backlight plate on the LCD is worn out.
- Replace the backlight plate.
The back light replacement is not free of charge even within
the warranty period, for the tube is an article of consumption.


