10
DOC8003, Rev. B
March, 2003
Elite
Installation Manual
3.6
Secure the Track
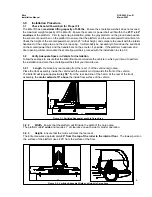
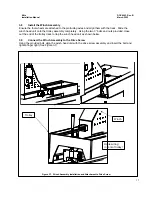
Tighten the 1/2” Nylock nuts on the J-bolts completely, ensuring that the hook portion of the J-bolt
securely catches the dog bones in the floor of the vehicle.
3.7
Install the Electrical Harness
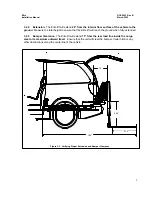
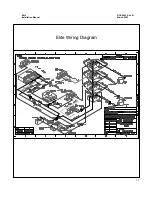
Run the wiring installation harness from the rear of the base unit to the engine compartment near the
battery. This can be accomplished by running the red and black wires through a hole in the floor,
under the car to the battery, or under the carpet to the front of the vehicle and through a hole in the
firewall. Route the harness away from sharp or hot objects such as fender panels or the exhaust
system. Avoid moving parts such as drive axles or engine components. Install the fuse as close to
the battery as possible using the two screws provided in the installation wiring kit. Wire the battery
side of the fuse directly to the battery and then connect the auxiliary side of the fuse to the Elite
harness. Connect the negative terminal directly to the negative pole of the battery. Reconnect the
negative terminal of the vehicle to the negative pole on the battery.
Connect the power and ground wires on the electrical harness to the installation wiring kit leads from
the battery. There are two additional wires on the Elite harness intended to allow the Elite remotes to
operate a rear power hatch if the vehicle is so equipped. Contact VMI Technical Support for
assistance with this feature.
3.5
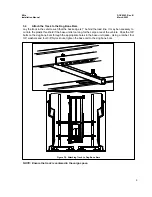
Install the Front Angle Brackets
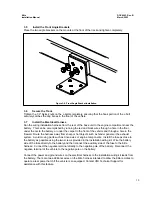
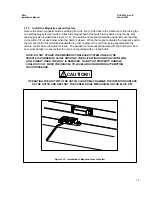
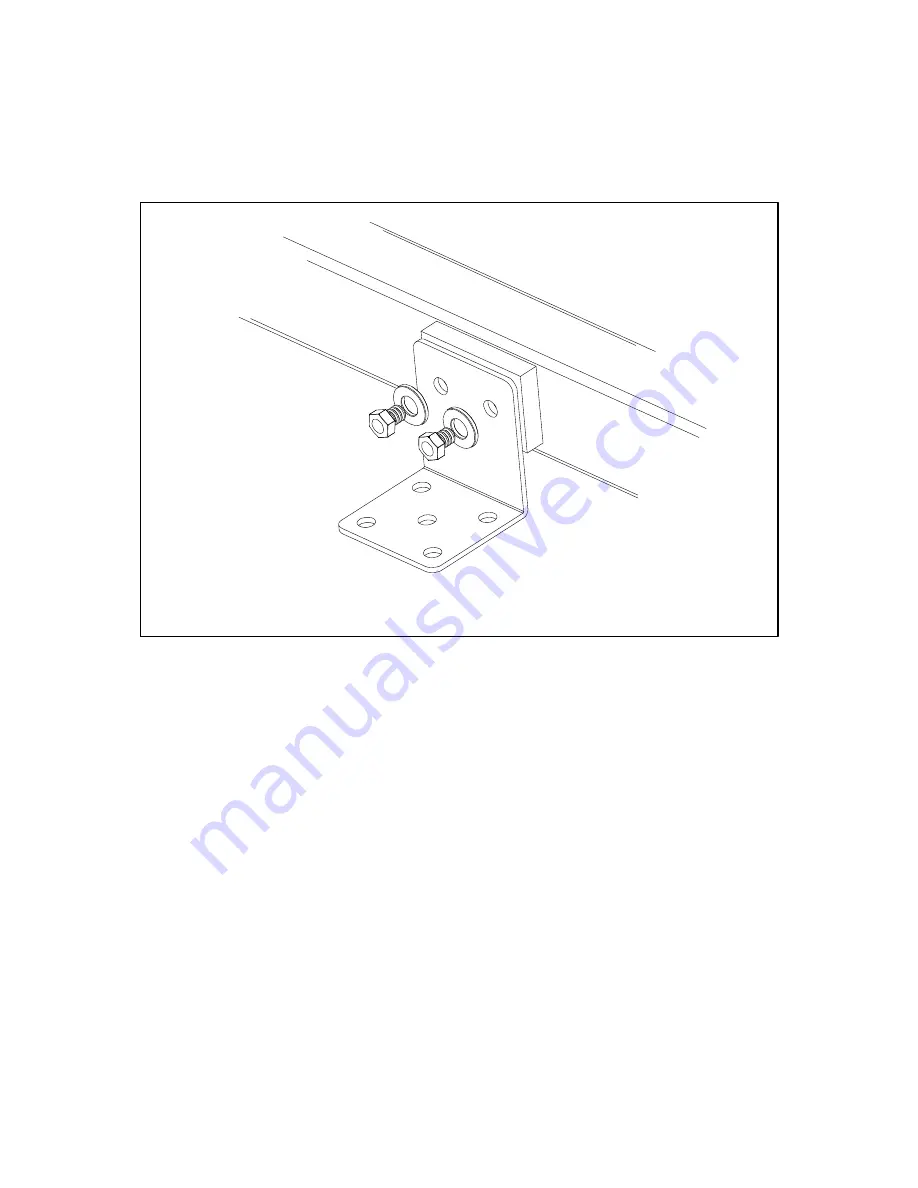
Place the two angle brackets on the mounts at the front of the track and tighten completely.
Figure 3-6. Front Angle Bracket Installation


