VIZIO
®
VP505XVT1A User Manual
Version 8/21/2008
47
www.VIZIO.com
4.3
TV Input Display (Screen) Adjustments
In general, these features or options apply to every input in the TV, with the exception where the
Ø
symbol is shown to indicate that there is not availability of such function or feature to the signal or input
being displayed.
Press the
MENU
key on the remote control and the main OSD
screen will be shown.
Press either the
◄
or
►
button to scroll across the top icons to
the one showing a black and white picture of a TV. When
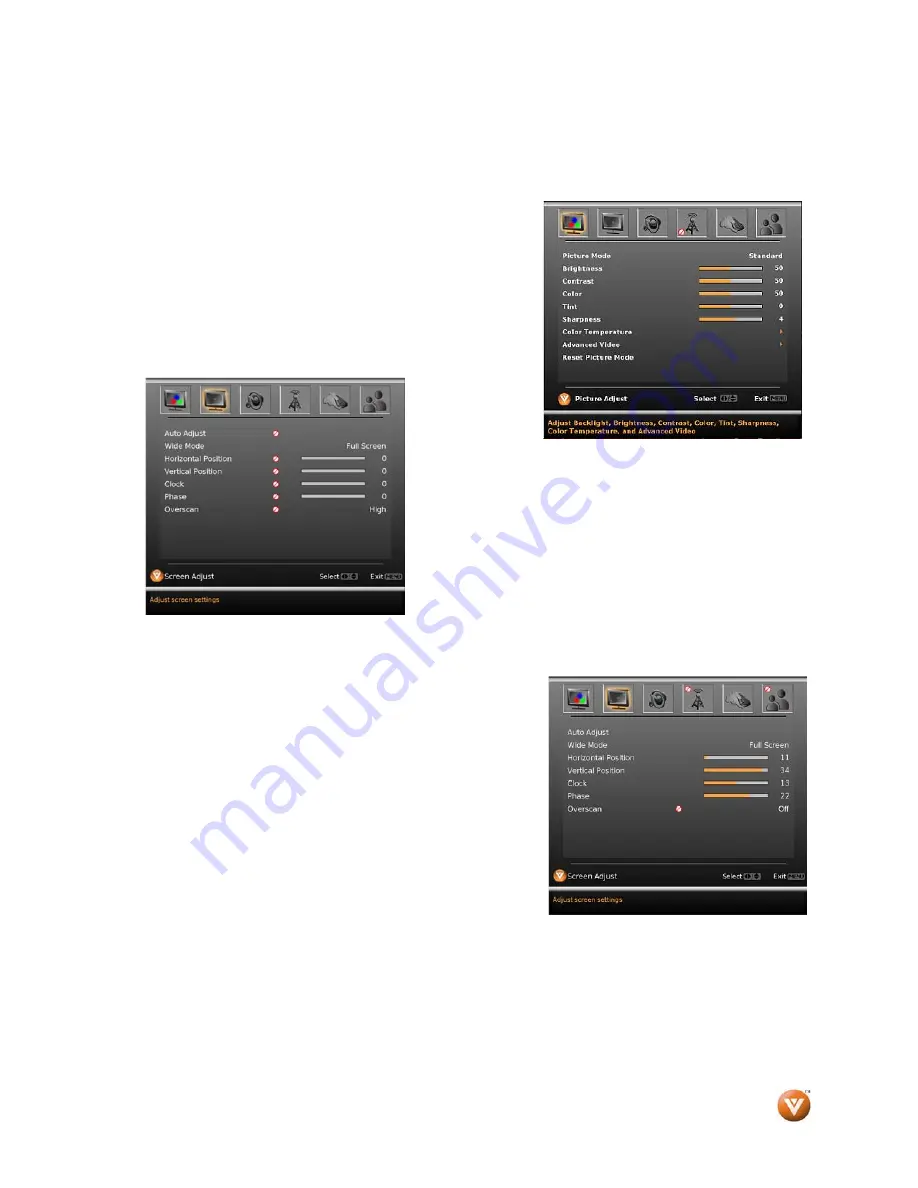
highlighted, the next screen will show the menu of the screen
adjustments which apply to the signal or input being used. A
sample of a screen is shown below.
4.3.1
Auto Adjust
Press the
▲
or
▼
button to highlight the Auto Adjust option.
Press the
◄
or
►
button to select it.
Press the
OK
key on the remote control to activate the option.
The display (screen) will make the necessary adjustments to
display or accommodate the signal being input to the best
attainable fit.
This option is mainly used in the computer (RGB or VGA) signal
input.
Once the adjustments are completed press the
MENU
button
repeatedly or the
EXIT
once to exit the OSD completely.
NOTE:
To become familiar with these options and features, compare the appearance of the various OSD
screens against the descriptions, keeping in mind that any icon or option showing the
Ø
symbol
does not apply to the input being used or signal being viewed
.


