


VIZIO VP322 HDTV10A User Manual
Version 4/8/2008
63
www.VIZIO.com
5.2
5.2
5.2
5.2
Troubleshooting Guide
Troubleshooting Guide
Troubleshooting Guide
Troubleshooting Guide
If the TV fails or the performance changes dramatically, check the display in accordance with the
following instructions. Remember to check the peripherals to pinpoint the source of the failure. If the
display still fails to perform as expected, contact the VIZIO for assistance by calling 1-(877) 698-4946 or
e-mail us at
.
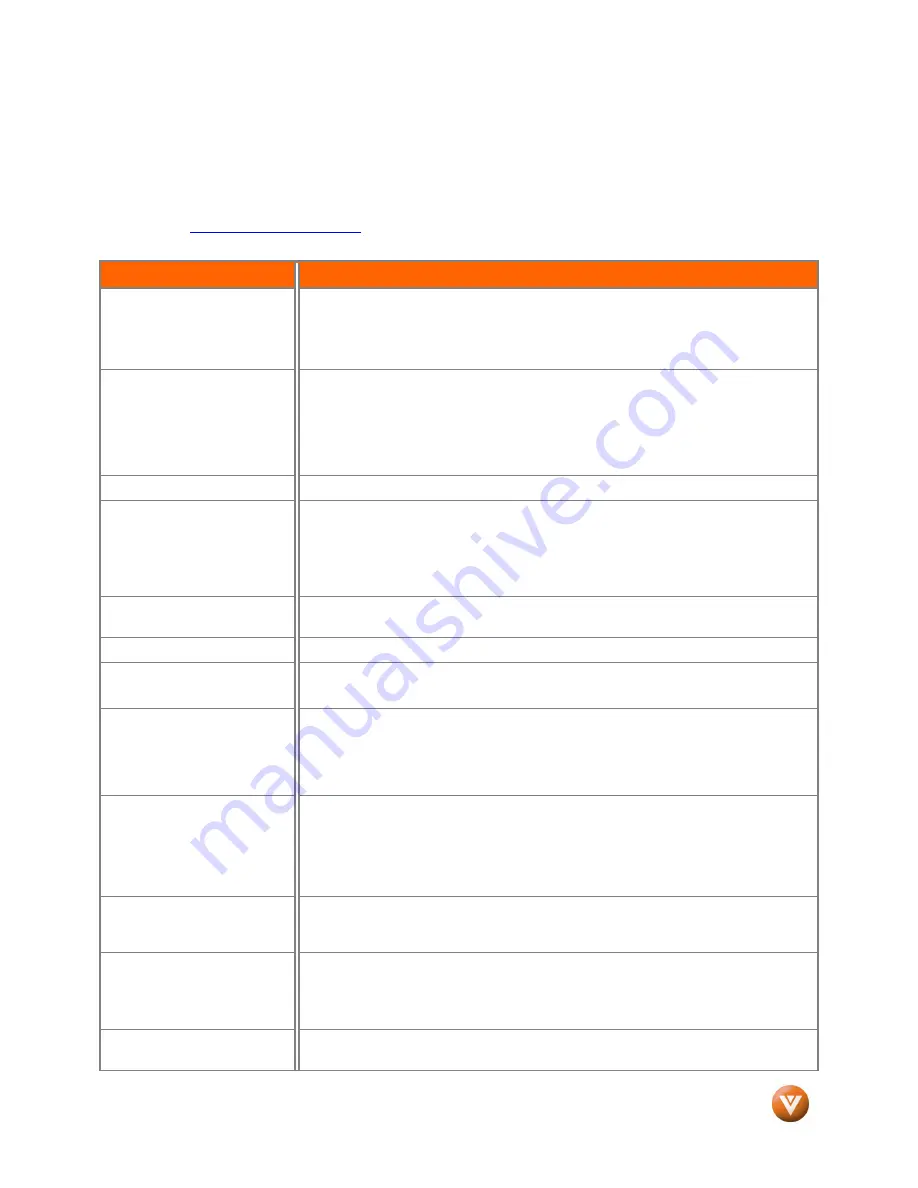
Problem
Solution
No power.
Make sure the power button is ON (White VIZIO Logo).
Make sure AC power cord is securely connected to the AC socket.
Plug another electrical device (like a radio) to the power outlet to verify that the
outlet is supplying the proper voltage.
No sound.
Check your audio connection
Press MUTE on the remote control, so that mute symbol disappears from the screen
Check your audio settings, your TV audio may be set to SAP, min or speakers off
Press the (Up) key on your remote control
Make sure that headphones are not connected
If the screen is black.
Check your input connections.
Power is ON but no screen
image.
Make sure the video cable supplied with the TV is secured to the correct video
output port on the back of the VCR and the side of TV. Make any cable you have
attached to the TV is secured to the correct output your Set-Top Box, DVD, etc.
Adjust brightness and contrast.
Check Source settings.
Wrong or abnormal colors
appear.
If any colors (red, green, or blue) are missing, check the video cable to make sure it
is securely connected.
Control buttons do not work.
Press only one button at a time.
Remote Control does not
work.
Make sure batteries are inserted correctly
Batteries could be weak.
There appears to be image
quality issues.
For best image quality, view HD wide screen programs when possible. If HD
content is not available view “Standard Definition” from a digital source. Standard,
analog TV will always be noticeably inferior to HD because your digital flat panel TV
has video that is many times better than old TV’s and so you can see interference
and deficiencies you did not know you had.
You cannot see a picture.
Make sure that the power cord is plugged into a grounded electrical outlet.
Make sure that the power button is turned on.
Make sure that the selected input source is connected to a working input source.
If your TV is connected to your computer in RGB or HDMI mode, press any key on
your keyboard to “wake” your computer.
You see a distorted picture or
hear unusual sound.
You may be getting interference from electrical appliances, cars, motorcycles, or
fluorescent lights. If you have not mounted it on the wall, try moving your TV to
another location to see if this is the cause of the problem.
The picture has abnormal
patterns.
Make sure that the input source cable is attached securely and correctly to the side
of your TV.
Make sure that the video input source is within the range of your TV. Compare the
video input source’s specifications with your TV specifications.
The display image does not
cover the entire screen.
If you are using RGB mode, make sure that H Position and V Position in the On
Screen Display (OSD) are set correctly.


