DU9800Z DLP Projector - User Manual
38
UM98001117EN00
Using the Projector
Using On-Screen Display
Using the On-Screen Display
The projector has an On-Screen Display (OSD) that lets you make image adjustments, change various settings and check
the projector’s current status.
Navigating the OSD
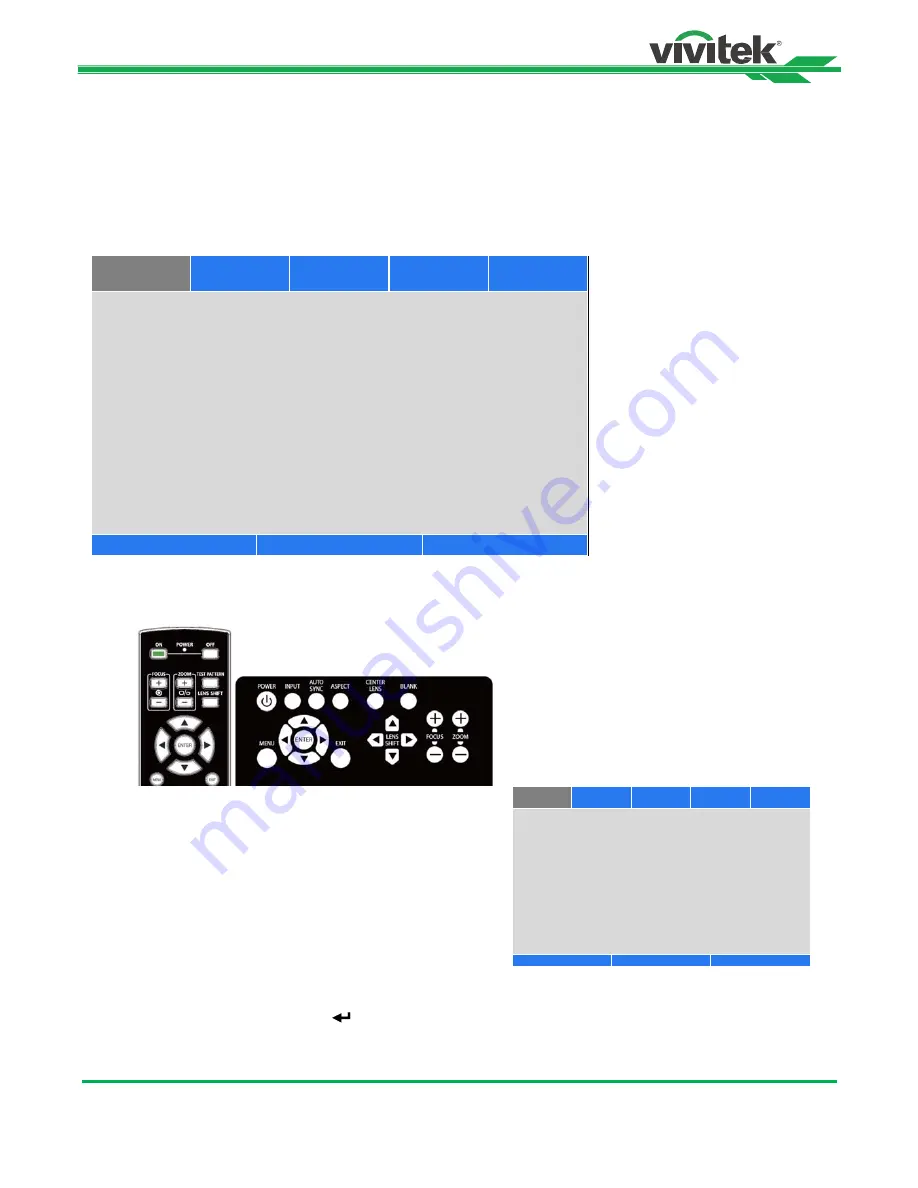
You can use the remote control or the control buttons on the projector to navigate and make changes to the OSD. The
following illustration shows the corresponding buttons on the remote control and on the projector.
1. To open the OSD, press the Menu button on the OSD control
panel or remote control. There are five folders on the menu.
Press the
◄
or
►
buttons to move through the submenus or
secondary menus.
2. Press the
▲
or
▼
button to select the option and
◄
or
►
button
to change values for settings. Press
to confirm the new
setting.
3. Press
RETURN
to leave a submenu or MENU to close menu.
Input Selection
HDMI 2
↩
/
►
PIP
Off
HDMI 2
↩
/
►
Auto Source
<
Off
Color Space
<
Auto
>
Aspect Ratio
<
Source
>
Overcan
<
Off
>
VGA Setup
↩
/
►
Test Pattern
↩
/
►
3D
↩
/
►
Auto Sync
↩
/
►
SERVICE
Scroll
▲▼
Item Adjust
◄►
EXIT = Back
INPUT
PICTURE
ALIGNMENT
CONTROL
Input Selection
HDMI 2
↩
/
►
PIP
Off
HDMI 2
↩
/
►
Auto Source
<
Off
Color Space
<
Auto
>
Aspect Ratio
<
Source
>
Overcan
<
Off
>
VGA Setup
↩
/
►
Test Pattern
↩
/
►
3D
↩
/
►
Auto Sync
↩
/
►
SERVICE
Scroll
▲▼
Item Adjust
◄►
EXIT = Back
INPUT
PICTURE
ALIGNMENT
CONTROL


