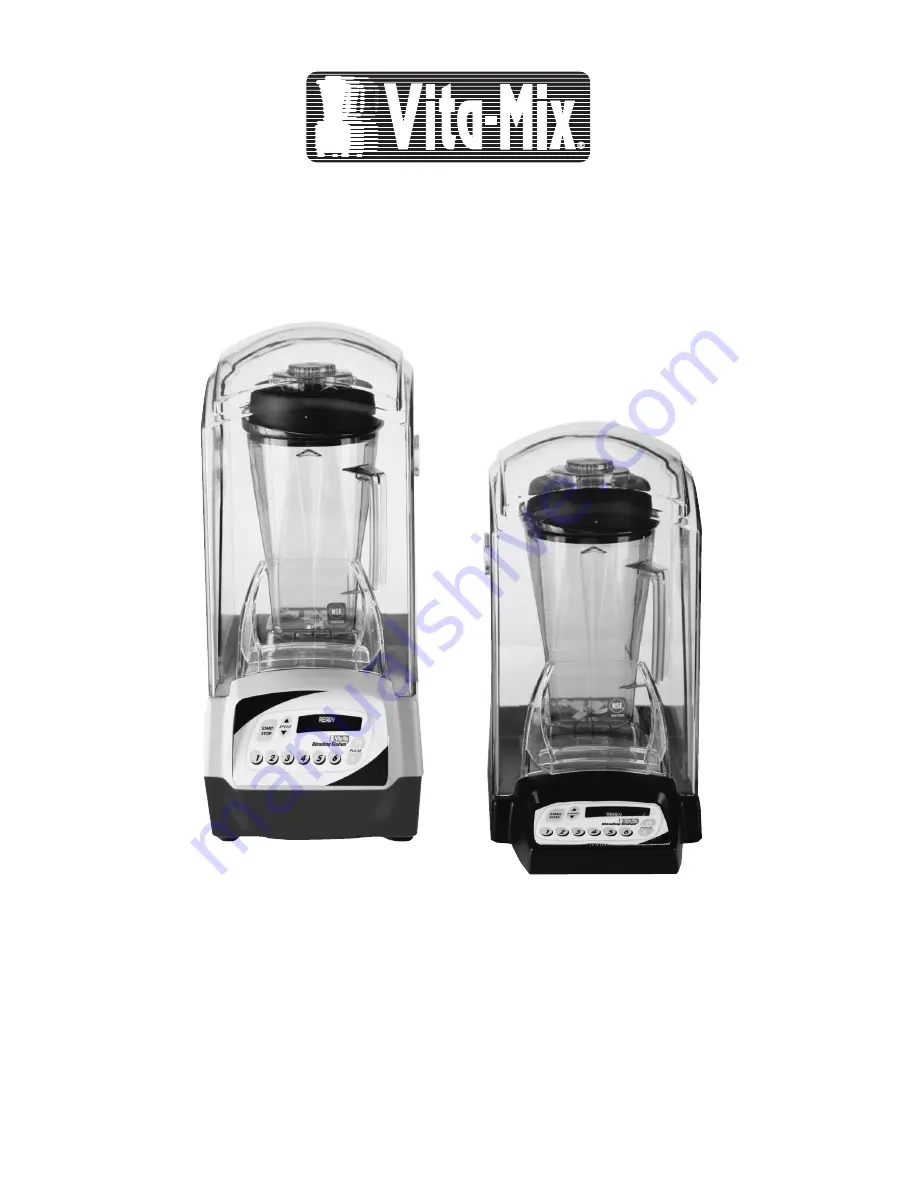
All Models
Touch & Go
®
Blending Station
High Performance Commercial Blender
Owner’s Manual
Read And Save These Instructions
F O O D S E R V I C E
Page 1: ...All Models Touch Go Blending Station High Performance Commercial Blender Owner s Manual Read And Save These Instructions F O O D S E R V I C E...
Page 2: ...email at international vitamix com for a distributor in your country 7 The use of attachments not recommended or sold by Vita Mix Corporation may cause fire shock or injury 8 Do not use outdoors 9 Do...
Page 3: ...Touch Go Blending Station 220 VAC and 100 VAC units require a dedicated line Consult an electrician for proper electrical needs Enjoy the safety of this grounded appliance The Touch Go Blending Stati...
Page 4: ...set if the power is shut off PRE SET PROGRAM buttons These buttons numbered 1 thru 6 are pre programmed blending cycles designed for the most commonly made drinks Depending on the viscosity of the dri...
Page 5: ...ITA MIX BASIC PROGRAM Press a third time to reveal an option to reset the PRE SET buttons to the original factory settings Press a fourth time to exit and continue blending HIGH LOW PULSE button The p...
Page 6: ...ing chip is fully inserted turn the chip in the opposite direction and try again 4 Remove the programming chip and return it to the original package 5 Press one of the six PRE SET buttons to reveal in...
Page 7: ...uttons to the original factory settings WARNING Please read all steps before reprogramming Reverting your PRE SET PROGRAM buttons to the original factory setting will erase any programming installed w...
Page 8: ...of your hands push down over the opposite tab to snap lid into position To remove lid place hands around the lid pressing thumbs above one of the container tabs Push in and lift off Twist the center l...
Page 9: ...s on the front of the cover are released from the motor base DO NOT strike the cover to pop the side latches from their tracks Doing so will cause damage The cover must only be removed by sliding it f...
Page 10: ...ts should not vent to a common manifold unit but to separate places If running your Blending Station causes a suction on your cabinet door place a spacer in the door frame to allow proper intake of ai...
Page 11: ...5 2 3 14 4 cm Recommended distance between machines 12 30 48 cm from the edge of each machine or as far apart as possible IN COUNTER HOLE Cut 5 5 wide x 7 5 deep 14 cm x 19 cm 7 1 2 19 cm deep 5 1 2...
Page 12: ...toward the machine base 4 Starting at one corner of the motor base press the gasket onto the motor base so that the groove in the gasket seats itself onto the stepped bottom edge of the motor base 5...
Page 13: ...is processing smoothly Finish blending by using one of the Pre Set Programs that best matches the drinks viscosity 5 When overheating occurs review your techniques and instructions The motor may be g...
Page 14: ...lly progressing until it reaches full speed 1 Place liquids and soft foods in the machines container first solid items and ice last Prepare food by cutting or breaking into 1 3 in 2 54 7 62 cm pieces...
Page 15: ...ation 1 Follow steps one through three of How To Operate Your Blending Station Using The Six Pre Set Programmed Buttons section on page 14 2 The speed of the motor can be changed with 3 The PULSE butt...
Page 16: ...5507 48 oz 1 4 liter 2 piece lid assembly 18002 Back cover and cover door with removable hinge design 18003 Cover door with removable hinge design 18004 Back cover with removable hinge design 890 Soun...
Page 17: ...756 752 18002 18005 15603 18003 755 1192 1151 836 890 891 1191 15506 15502 container without blade or lid 15507 1159 15596 17 18004 15595...
Page 18: ...om PSRA 41 D PSRA 41 E Anderson Chemical Co Liqui Ware 1 Liqui Ware MC Litchfield MN D Flex Sur Met 800 366 2477 www andersonchemical com Rinse Aids Supplier Solid Rinse Dry Ecolab Inc St Paul MN Soli...
Page 19: ...itcher 1 4 full with warm 110 F 43 C water and add a couple drops of dish soap Return container to motor base and firmly position the two part lid Run machine for 30 seconds Empty container Repeat thi...
Page 20: ...grinding noise from the blender motor Solution 1 Due to some faulty motor bearings your machine may need to be repaired Call Vita Mix Customer Service 5 Problem Machine starts then shuts off Solution...
Page 21: ...EMOVE HOT SHUTDOWN READY 21 7 Problem Machine is running irregular Display panel reads garbage NO PROGRAM is displayed when a button is pushed Button pressed starts the wrong program Machine starts by...
Page 22: ...ade it is sharp When inserting the blade assembly through the container bottom grip the blades with a soft cloth align the flat sides of the blade assembly with the flat sides of the container Place t...
Page 23: ...ized to make any other warranty or to assume any liability not strictly in accordance with the foregoing This limited warranty gives you specific legal rights which may vary from state to state Proof...
Page 24: ...73 1178 Watts 900 Hz 50 60 Hz 50 60 Hz 50 60 defective issue a refund for the price of the new part A part will be considered defective if no abuse or neglect was involved with its break Non defective...