background image

R

EVIEWING


AND

 D

ELETING

 P

ICTURES

17

R

EVIEWING


AND

 D

ELETING

 P

ICTURES

After you take a picture, you can immediately review the results. 
You can then keep or discard the picture.

To review pictures:

1.

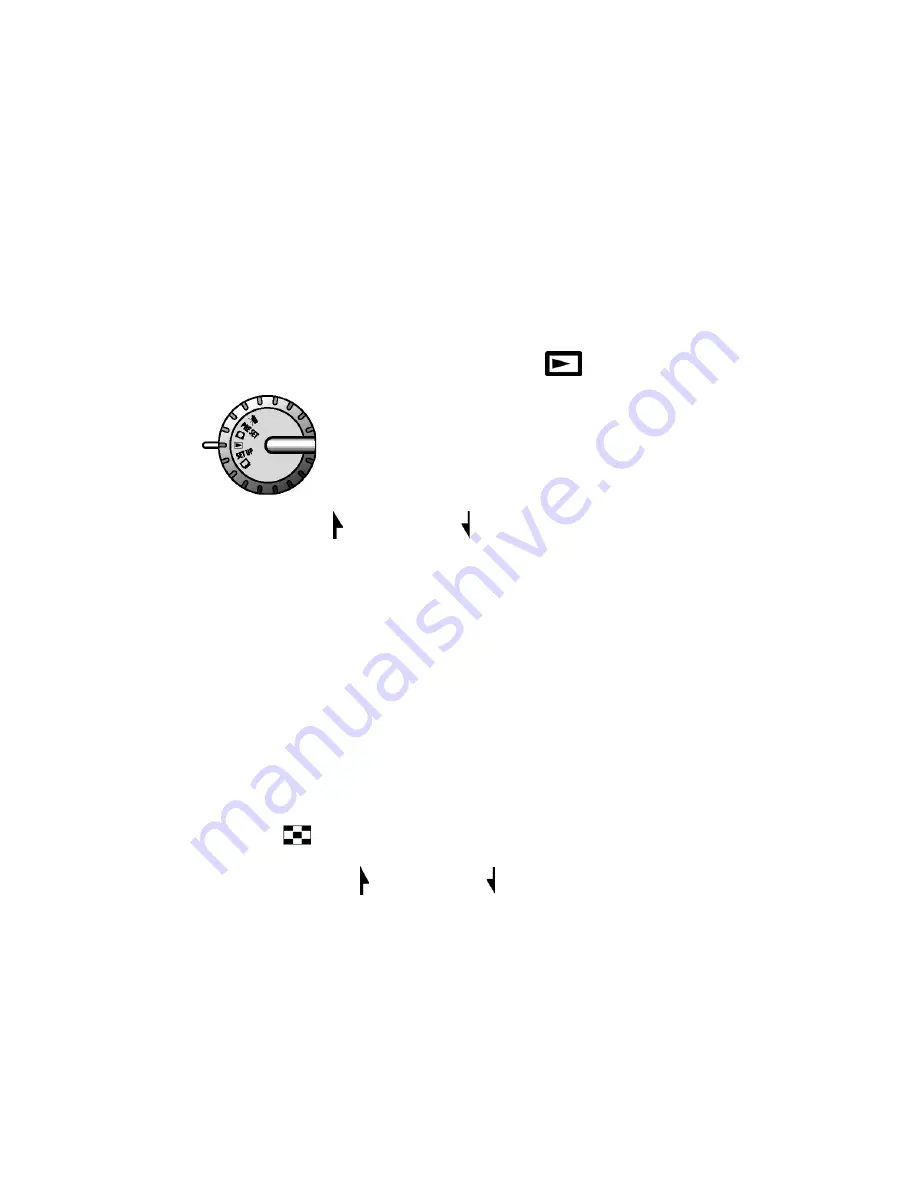
Rotate the Mode dial to Playback 

 and turn the camera on.

2.

Press the Up and Down buttons to scroll through the 
pictures you’ve taken.

3.

Press the Telephoto button   to see more details of a picture.

The default zoom setting is x1.0. Each time you press the 
Telephoto button, the zoom ration increases as follows: 
x1.5, x2.5, x3.0, x3.5, x4.0.

4.

Press the Wide Angle button   to decrease the zoom ratio.

5.

To view up to nine pictures at once, press the Thumbnail 
button 

 when the zoom ratio is at the default, x1.

Press the Up and Down buttons to scroll through screens 
of thumbnails. Press the Shutter button or the Wide Angle 
button   to return to the full-screen view.

T

W

W

Summary of Contents for MX 230

Page 1: ...Visioneer MX 230 Digital Camera User s Guide F O R W I N D O W S...

Page 2: ...e software may be used or copied only in accordance with the terms of such an agreement It is against the law to copy the software on any medium except as specifically allowed in the licensing agreeme...

Page 3: ...additional 9 months for a total of 12 months THIS IS VISIONEER S ONLY WARRANTY AND YOUR EXCLUSIVE REMEDY CONCERNING THE PRODUCT ALL OTHER REPRESENTATIONS WARRANTIES OR CONDITIONS EXPRESS OR IMPLIED W...

Page 4: ...cate the receiving antenna Increase the separation between the equipment and receiver Connect the equipment into an outlet on a circuit different from that to which the receiver is connected Consult t...

Page 5: ...and End View 8 Getting Ready to Take Pictures 9 Install the Batteries and Memory Card 9 Set the Date and Time 11 Set the Language 13 Taking Pictures 15 Reviewing and Deleting Pictures 17 Exploring Yo...

Page 6: ...me 40 Copying Images to Your Computer 42 Using Your Camera as a PC Camera 46 Connecting to a Television 50 Printing Directly to a Printer 51 Troubleshooting 52 Uninstalling the Visioneer Digital Camer...

Page 7: ...up to 3x Up to 2048 x 1536 resolution Color LCD viewfinder screen Video clip recording up to 1 minute Microphone and speaker for recording and playback of the audio component of video clips USB 1 1 i...

Page 8: ...play LCD break care should be taken to avoid injury due to broken glass and to prevent the liquid crystal from touching the skin or entering the eyes or mouth Do not use the camera in the presence of...

Page 9: ...ies such as discoloration deformation or leakage Use caution when operating the flash Do not use the flash in close proximity to human or animal eyes Exposure to the intense light produced by the flas...

Page 10: ...contents of the box to make sure that all parts are included If any items are missing or damaged contact the dealer where you purchased the camera USB Cable Video Cable MX 230 Digital Camera Software...

Page 11: ...n Flash Allows picture taking in low light 3 Viewfinder Frames the picture you are taking 4 Light Sensor Determines whether or not the flash is needed 5 Optical zoom lens Zooms up to x3 0 6 Microphone...

Page 12: ...is unavailable the LED flashes 2 Viewfinder Used to frame the picture you are taking 3 On Off button Used to turn the camera on and off 4 Delete WB In Snapshot mode cycles through white balance setti...

Page 13: ...Up Button Cycles through menu items in Set Up mode and photos in Playback mode 9 Down Button Cycles through menu items in Set Up mode and photos in Playback mode 10 Display Cycles through display opt...

Page 14: ...ts The USB Universal Serial Bus port connects the camera to a computer The Video Out port connects the camera to a television The DC In port connects an AC adapter to an external source of electricity...

Page 15: ...n the direction of the arrow toward the outside edge of the camera Lift the cover to its fully open position 2 Insert the batteries into the battery chamber making sure they are oriented as indicated...

Page 16: ...ory card with the notched corner facing the inside edge of the camera 2 Close the battery memory card cover If you have difficulty closing the cover ensure that the memory card is installed correctly...

Page 17: ...oto the time and date the photo was taken are shown To set the display style 1 Rotate the Mode dial to Set Up 2 Press the On Off button located on the back of the camera to turn the camera on 3 Use th...

Page 18: ...tton 5 Use the Up or Down buttons to select the Month Day or Day Month display style 6 Press the Display button to save your selection To set the date and time 1 On the Set Up menu select Date Time an...

Page 19: ...ea 4 Repeat the procedure in Step 3 to set the minutes year month and day 5 When finished press the Display button SET THE LANGUAGE Your camera can display text and messages in English Spanish German...

Page 20: ...the camera is not already on press the On Off button located on the back 3 Use the Down button to select Language and then press the Display button 4 Use the Up and Down buttons to select a language...

Page 21: ...rn the camera on After a short pause the LED stops flashing The camera is ready to take a picture 2 Rotate the Mode dial to Snapshot 3 Look through the viewfinder to aim the camera at the subject Or p...

Page 22: ...Press the Shutter button half way down to initiate the camera s automatic image processing functions 6 Press the Shutter button all the way down to take the picture 7 Turn the camera off when you are...

Page 23: ...n 3 Press the Telephoto button to see more details of a picture The default zoom setting is x1 0 Each time you press the Telephoto button the zoom ration increases as follows x1 5 x2 5 x3 0 x3 5 x4 0...

Page 24: ...S GUIDE To delete a picture 1 While in Playback mode press the Up and Down buttons to scroll and find the photo to delete 2 Press the Delete button to select the photo for deletion 3 Press the Display...

Page 25: ...function of the buttons in each mode SNAPSHOT MODE As you have seen Snapshot mode is used for taking pictures Button functions in Snapshot mode Up Button Increases the camera lens exposure value whic...

Page 26: ...r white balance Auto Camera determines the white balance setting Daylight Used in bright daylight to reduce the effect of whitewashed pictures Shade Used in the shade or if the picture is dark Incande...

Page 27: ...or 60 seconds or the time available and then stops recording The time remaining is displayed on the upper right corner of the LCD However if you press the Shutter button a second time recording stops...

Page 28: ...value which allows less light in the lens Telephoto Narrows the field framed by the camera s lens When you press the Telephoto button during recording of a video clip the optical zoom is activated Th...

Page 29: ...ite balance to Daylight Portrait Optimized for taking a head shot with the lens focused on the center of the frame Night Scene Optimized for taking photos at night with the lens aperture open wider an...

Page 30: ...ode Up Button Moves to the next image Down Button Moves to the previous image Display Button Cycles through LCD display options LCD on status information displayed LCD on no status information display...

Page 31: ...at a time Press the Wide Angle or the Shutter button to return to the full screen view Copy Copies the selected image from the internal memory to the memory card or vice versa Delete Deletes the sele...

Page 32: ...or change the current memory type refer to Memory Type on page 31 1 From the Set Up menu press the Up or Down buttons to select Delete All and then press the Display button 2 On the Delete All screen...

Page 33: ...quality and resolution of your pictures The higher the quality the clearer your pictures However higher quality images are larger meaning that you cannot store as many in memory Generally Normal qual...

Page 34: ...wn buttons to select the desired picture quality and then press the Display button Buzzer This option is used to set the camera to beep when you push its buttons or rotate the Mode dial 1 From the Set...

Page 35: ...tions for selected images or all images on the storage device After selecting press the Display button If you choose the Select Images option Press the Up and Down buttons to select an image to print...

Page 36: ...ly to all of the images To reset or edit settings On the DPOF screen press the Up and Down buttons to choose the Select Images or All Images option After making your selection press the Display button...

Page 37: ...rnal or External Secure Digital card and then press the Display button Language This option is used to set the display language for menus and the LCD The following languages are available English Span...

Page 38: ...o be used as a PC camera After connecting your camera to your PC via the USB port you can use your camera to create videos and snapshots directly on your computer For details see Connecting to a Compu...

Page 39: ...et Up and PC current camera settings are displayed as icons on the LCD This section describes each display area and the associated icons Preset Flash Setting Quality WB Setting Memory Pictures Date Ti...

Page 40: ...Flash Off The flash is turned off whether needed or not Red Eye Reduction Reduces the appearance of red eye in photos caused by flash reflection off of the subject s eyes Flash On The flash is always...

Page 41: ...e is dark Incandescent For taking pictures under incandescent light Fluorescent For taking pictures under fluorescent light MEMORY IN USE Indicates the current memory type in use See Memory Type on pa...

Page 42: ...uality and resolution See Quality on page 27 for setup details DATE TIME Indicates the date and time as defined in the Set Up area of your camera See Set the Date and Time on page 11 for setup details...

Page 43: ...o clips to a computer for storage viewing printing and distribution After copying to your computer you can delete the copies stored on the camera s internal memory or the Secure Digital card Deleting...

Page 44: ...era to communicate with your computer via the USB cable To install the software 1 Insert the installation CD that came with your camera into your computer s CD ROM drive The CD automatically starts No...

Page 45: ...on instructions as described below On the Welcome screen click Next On the Select Components screen click Next On the Microsoft DirectX 8 1 Setup screen read the license agreement If you accept the te...

Page 46: ...camera See Back View on page 6 for the position of the USB port on the camera 2 Connect the large end of the USB cable to an empty USB slot on your computer To locate a USB slot look for the USB icon...

Page 47: ...y be asked to follow the instructions in a new hardware installation wizard 4 When installation is finished turn off the camera Note If your computer is running the Windows XP operating system you may...

Page 48: ...ore copy and delete options To connect your camera 1 Connect the small connector of the USB cable to the USB port on the camera See Back View on page 6 for the position of the USB port on the camera 2...

Page 49: ...emory are grouped in folders whose names are based on the date the photos were taken 4 Double click to open a folder and view its list of photos The list of photos and videos is dependent upon the cur...

Page 50: ...the window displays thumbnail images of the photos on your camera and the left side shows the directories and folders on your computer 2 To copy an image to your computer select an image from the rig...

Page 51: ...want to delete click the Delete button and then click Yes in the message box to confirm the deletion 4 To set the size of the image during export click the Enlargement Setting button Select Original...

Page 52: ...camera See Back View on page 6 for the position of the USB port on the camera 2 Connect the large end of the USB cable to an empty USB slot on your computer To locate a USB slot look for the USB icon...

Page 53: ...igital Camera Utility Note To use the Visioneer Digital Camera Utility with your camera in PC mode your computer monitor s display must be set to 24 bit or higher color depth Right click on your deskt...

Page 54: ...box to start recording 5 When the time limit is reached or you press the Record button again recording is stopped Click OK to acknowledge the message box 6 When finished click Exit to close the Visio...

Page 55: ...er Digital Camera Utility and then turn off your camera 6 To view the snapshot locate the file in the destination folder in which it was saved 7 Double click the file to open and view the snapshot To...

Page 56: ...pplied video cable connect the small black end of the cable to the Video Out jack on your camera 2 Connect the larger yellow end of the video cable to the Video Input jack on the television set This j...

Page 57: ...R If your printer has a card reader that is compatible with your Secure Digital card you can remove the card from your camera and insert it in the printer s card reader You can then print images direc...

Page 58: ...on Problem The camera has no power Problem The camera won t take a picture Possible Cause Solution The camera is turned off Press the On Off button to turn the camera on The batteries are discharged R...

Page 59: ...batteries are weak and the flash is unable to recharge Turn the camera off and wait a few seconds before turning it back on If this doesn t work replace the batteries Possible Cause Solution The Secu...

Page 60: ...that are on your computer To uninstall the Visioneer Digital Camera Utility 1 On the Windows taskbar click Start point to Programs point to Visioneer Digital Camera Utility and then click Uninstall Vi...

Page 61: ...len registrierten Benutzern technische Unterst tzung auf Deutsch und Englisch Die Kontakttelefonnummern k nnen Sie der folgenden Tabelle entnehmen Usuarios en Latinoam rica s rvanse llamar al tel fono...

Page 62: ...tact information is subject to change Please visit our Web site at www visioneer com for the latest details Country Telephone Monday Friday UK 0870 161 3003 Germany 0180 5 103 003 Rest of Europe 49 18...

Page 63: ...pture 3x ADZTM for still image capture 3x ADZTM for picture displayed on LCD TFT color LCD 1 5 inch 280x220 61K pixel Memory Internal 8MB Flash External Secure Digital memory card USB interface USB 1...

Page 64: ...file Audio Built in microphone and speaker PC camera mode 160 x 120 30 fps 320 x 240 15 fps A D conversion 10 bits ISO speed 100 Auto exposure Compensation 2EV in 1 3 increments White balance Auto Da...

Page 65: ...atures 1 front view 5 parts 4 safety information 2 troubleshooting 52 using as a PC camera 37 46 components back 6 bottom 8 end 8 front 5 computer connecting camera to 40 42 copying photos and videos...

Page 66: ...e 36 flash setting 34 memory in use setting 35 pictures remaining 36 preset mode setting 34 quality setting 36 white balance setting 35 zoom indicator 34 zoom ratio setting 35 M macro 23 memory copyin...

Page 67: ...uage 31 memory type 31 quality 27 video out 31 Snapshot mode buttons 19 software installation 38 specifications 57 support technical 55 T taking pictures basic steps 15 getting ready 9 technical suppo...

Page 68: ...ode 44 uninstall 54 using to take a snapshot 49 Video mode 47 W White Balance button 20 White balance setting on LCD 35 Wide Angle button 17 20 22 24 Windows Explorer copying photos and videos using 4...

Reviews: