26
OPERATION
Using the remote keypad (optional)
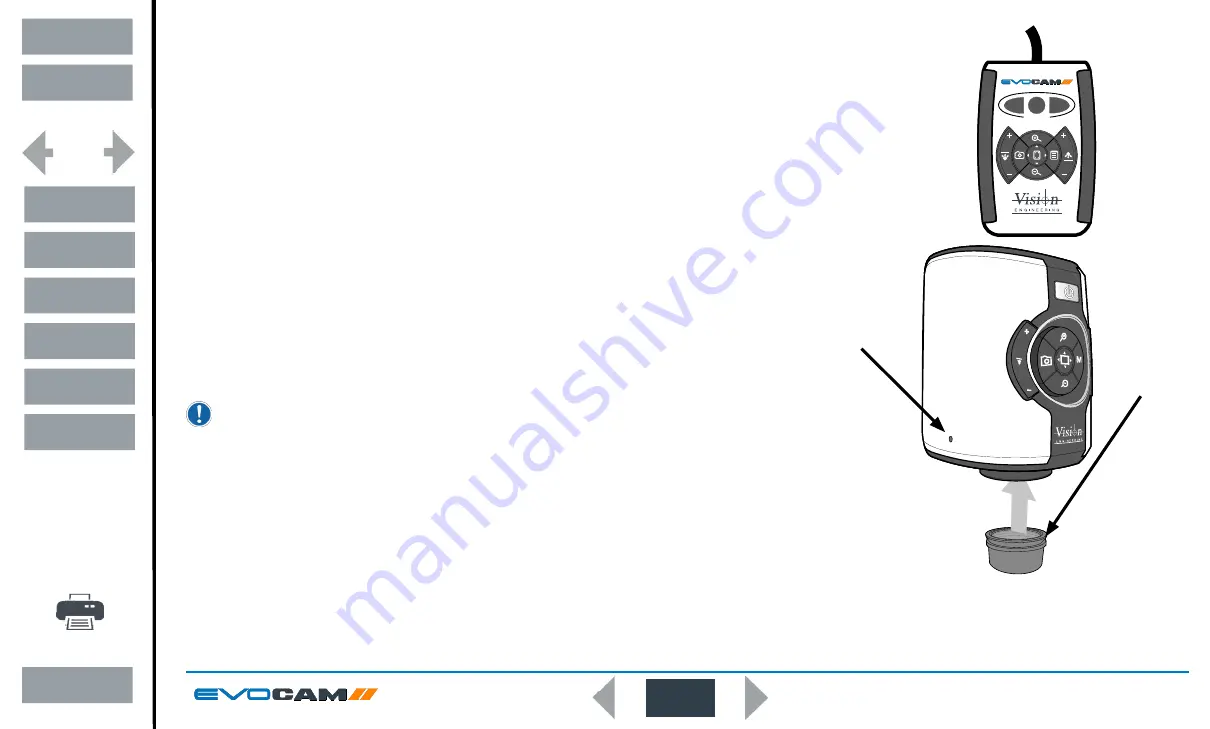
The optional remote keypad can be used with EVO Cam II and has identical controls to the EVO Cam II’s
front panel with the exception of the On/Off button but with the addition of three hotkeys (P1 to P3). These hotkeys
allow one of 10 presets to be assigned to each of them (see
).
`
Press a hotkey (P1 to P3) to activate the preset settings allocated to the hot key.
Front Panel Lock
The remote keypad can be used to lock out the access to the menu from the front of the EVO Cam II unit.
`
Press P2 for 3 seconds until ‘Front Panel Lock On’ is displayed on the screen.
`
Disable the lock by following the same procedure.
Changing the camera objective lens
`
Holding the lens barrel
u
from the bottom, use the HEX key supplied to partially unscrew the
grub screw
v
releasing the lens from its housing.
`
While holding the objective lens
u
in position, use the HEX key supplied to secure the lens by
tightening the grub screw
v
.
Do not over tighten the grub screw holding the lens in place.
Using the Video Out via USB 3.
`
Connect the USB 3 cable supplied with the system to the connection on the back of the EVO Cam II unit.
`
Connect the other end of the cable to a free USB3 port on a PC.
`
The video output from the camera is a Direct Show Video signal which can be used by a wide
range of video viewers. (Windows 10 Camera App, AMCap, and many others)
`
A number of software suites are available from Vision Engineering which allow for control of the
camera functions via PC.
`
Contact your local Vision Engineering Sales Representative for more information on the software available.
PRESET
P2
P1
P3
u
v
Exit
Contents
Preface
Assembly
Operation
Maintenance
Specification
System Diagram
Start page
Summary of Contents for EVO Cam II
Page 1: ......


