


Visio-tek Wi-
Fi Microscope User’s
manual
page 24
7.
Working in Wired USB Mode
2.
Install the “
USB Visio-tek
” (for
Windows OS
) or “
USB Visio-
tek”
(for
Mac OS
) software; the download is available from
www.visio-tek.net
3.
Connect to the
PC’s USB port with
a USB cable; the power LED
indicator will light, as well as the charge indicator
LED (battery is being charged).
4.
Launch
“
USB Visio-tek
”
. The illumination LED lights up as soon as the application software is running.
8.
“USB Visio-tek” on Windows
8.1
System Requirements
Windows XP SP2 or later
Available USB 2.0 or later port
8.2
Running
“USB
Visio-
tek”
Note: Before starting the USB Visio-tek program, please make sure the USB digital microscope has been connected to the
PC via a USB line and Power is on.
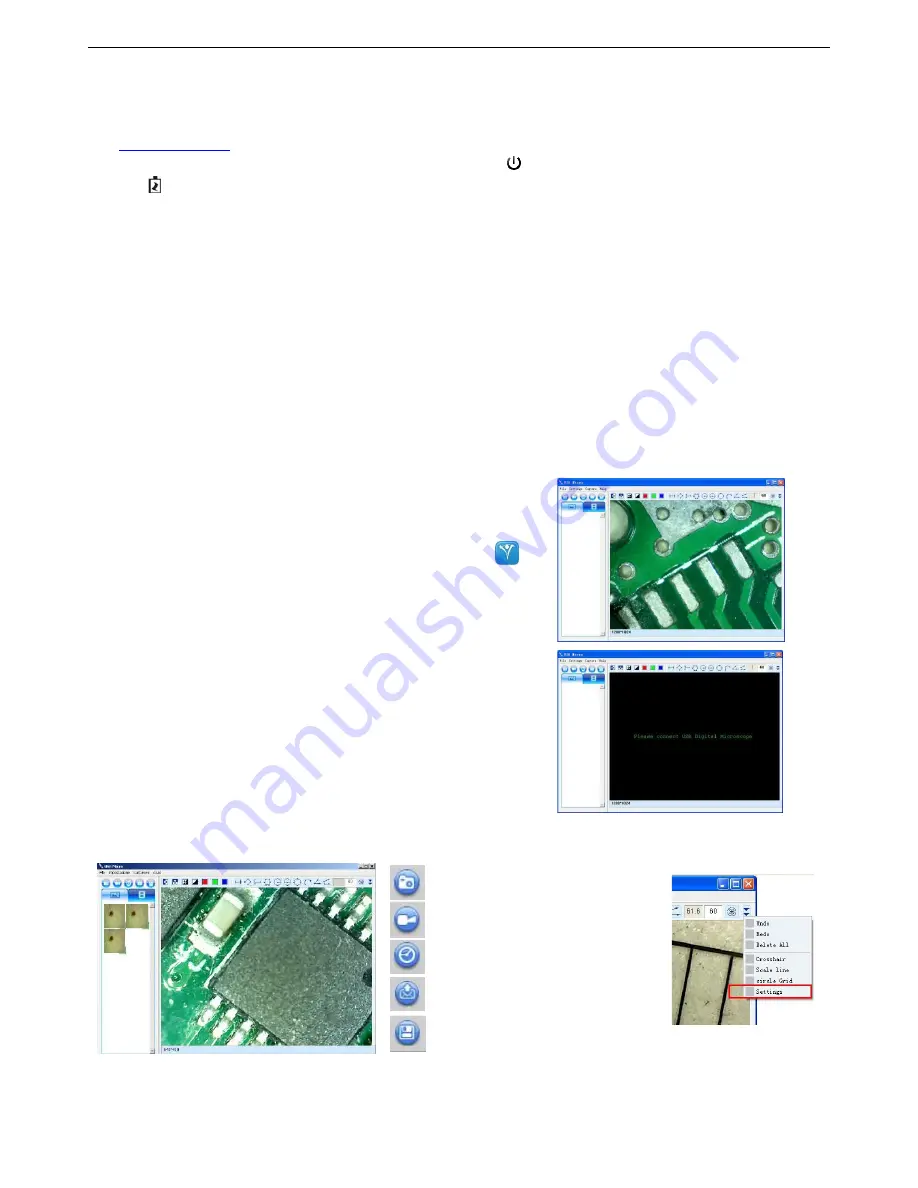
After installing USB Visio-tek.exe, double-click the USB Visio-tek icon
on the desktop, and the USB Visio-tek main screen will show:
If the USB digital microscope was not found while opening the USB Visio-tek
program, the message “please connect
USB Digital Microscope” will show
:
8.3
Menu
Take a Picture
or
Take/Stop Video
Take time-lapsed pictures
Email the selected photos
Save the selected photo or video
file


