


User’s Manual
7. Click
OK
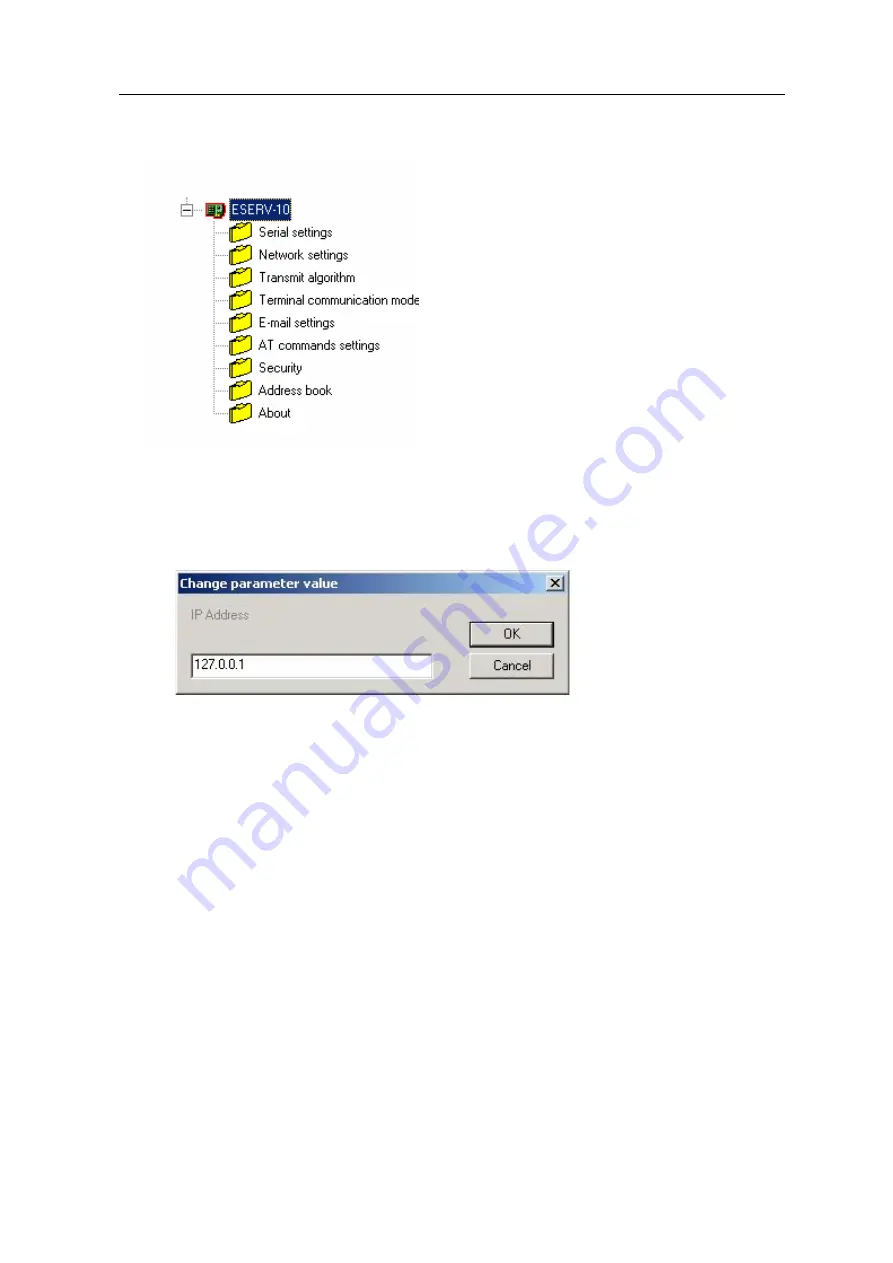
to continue and enter a name for the device. Double clicking this device opens the
parameter tree of your device. An example tree is shown below:
Assign the IP Address and Network Mask
1. Double-click
IP Address
in the Network settings section of the ESERV-10. A Change
parameter value window for the IP address appears:
2. Enter the IP address of your device in the field of the window using the decimal dot notation
(example of this notation is shown in the window).
3. Click
OK
.
4. Double-click
Network Mask
in the Name Column. Similarly, the Change parameter value
window appears for the Network Mask.
5. Enter the Network Mask (Subnet Mask). For most users this is the default value
255.255.255.0 (Class C -mask) already shown in the window. In some cases a Class B -
mask 255.255.0.0 should be used.
6. Click
OK
.
7. Click
Send parameters
-icon to send the parameters to ESERV-10. This is also a test that
verifies the connection.
The following step is to configure the device using, for example, the Viola Configurator. The
methods for the device configuration are described in the next Chapter.
ESERV-10
18
Viola Systems Ltd.


