
Recording mode
In the memory card
Cont_rec
Manual_rec
Event_rec
Loop recording
Manual recording
Emergency recording
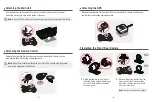
Operation
Recording
The product turns on automatically and continuous recording starts when you turn on
the ACC (start the engine). To turn off the product, turn off the ACC (stop the engine).
The product will turn off automatically.
The recording includes three modes: loop recording, manual recording, and
emergency recording.
File Format Definition
Files recorded by front camera and rear camera are saved saperately.
Loop Recording
1.Insert a microSD card into the camera’s card slot and automatic loop recording
will begin once the camera detects power.
2.Time frame for each video file is 1 / 2 / 3 / 5 / 10 minutes. The default is 1 minute.
3.When there is insufficient space on the microSD card, loop recording will
automatically overwrite the oldest files (one by one).
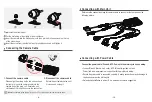
Manual Recording
Short press the REC button on the remote control to enter the manual recording.
With indicated red LED light quick flashes, the dashcam saves last file and current
file (which is extended by 20s) in manual_rec folder.
After the manual video file is saved, the MT1 will automatically switch to loop
recording.
Emergency Recording
When the G-sensor is activated by a collision, the current footage will be locked
automatically to avoid being overwritten by loop recording.
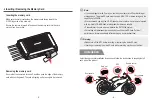
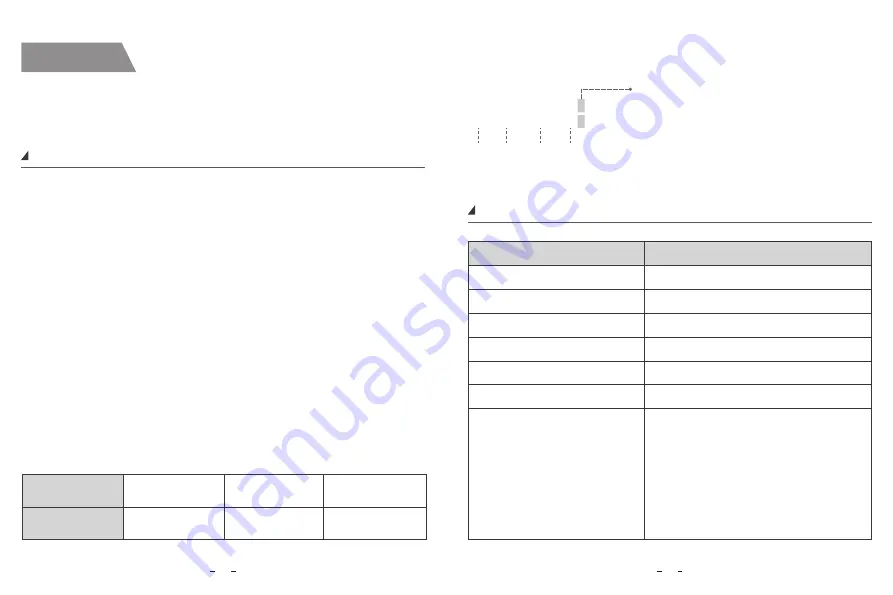
LED Indicators
1. An error occurred with the
connection between the front / rear
camera and the main unit.
2. An error occurred with the
connection between the memory
card and the main unit.
3. No memory cards.
Blue + Red (Both flashing)
Operation Status
Power on, not recording
Power on, normal recording
Manual recording
Wi-Fi on, disconnected
Wi-Fi on, connected
Firmware update
12
11
LED Status
Slow flashing red (once per second)
Solid red
Quick flashing red
Slow flashing blue
Solid blue
Slow flashing red first, then quick flashing red.
Year Date Time Sequence Number
2020_0601_170010_062F.MP4
2020_0601_170010_063R.MP4
F for the front camera
R for the rear camera