20
IP Desktop Touchscreen Configuration & Operation
A100K11664
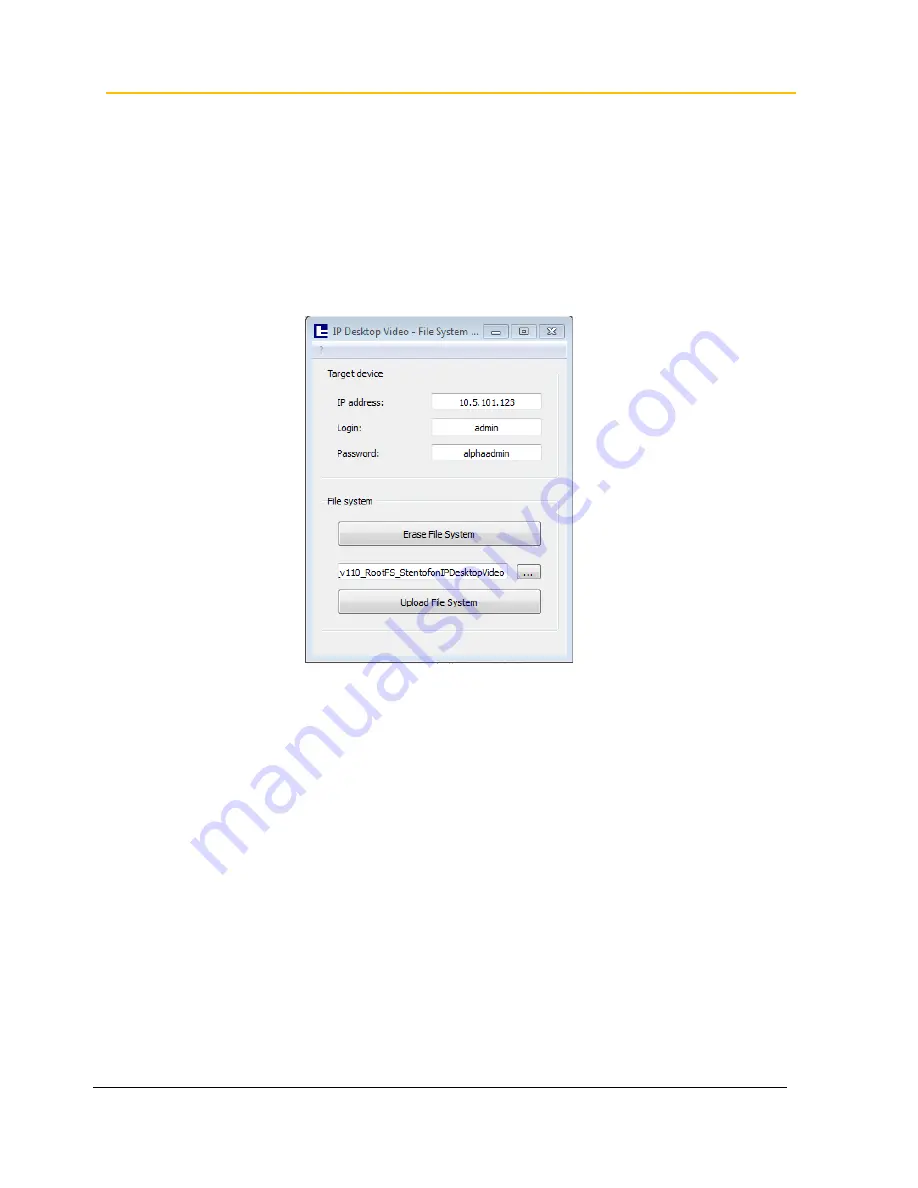
4. Click on the
…
button and navigate to the folder containing the new file system,
e.g.
20160216PL_FW_v21_RootFS_StentofonIPDesktopVideo
5. Select the folder of the new file system and click
Ok
6. Click on the
Erase File System
button and wait for the station to reboot
7. After the reboot, click on
Upload File System
and wait for the process to complete
(this may take a few minutes)
8. When the update is completed, the station will reboot with the new file system.
Note that this feature is only available with firmware version 1.7 or later.
3.5
IP Desktop Station Configuration
For more detailed information on the configuration of the IP Desktop Station, see the manual
A100K10788 IP Master Stations Installation & Configuration
.
3.5.1
Logging into the Web Interface
The IP Desktop has an integrated web interface which allows users to log in via a
standard web browser.
In order to login on an IP Desktop for the first time with its default settings, proceed as
follows:
1. Connect your PC with the network switch
2. Connect the LAN port of the IP Desktop to the network switch
3. Make sure your PC is set in the same IP address range as the IP Desktop. The
default IP address is in the range 169.254.1.xxx. Assign your PC an IP address
(e.g. 169.254.1.90, netmask 255.255.255.0).
The IP Desktop has the default IP address
169.254.1.100
on delivery.


