background image

Using the Monitor

ViewSonic 

PF77

10

To exit the OnView

®

 menu or screen & save changes, press button [1].
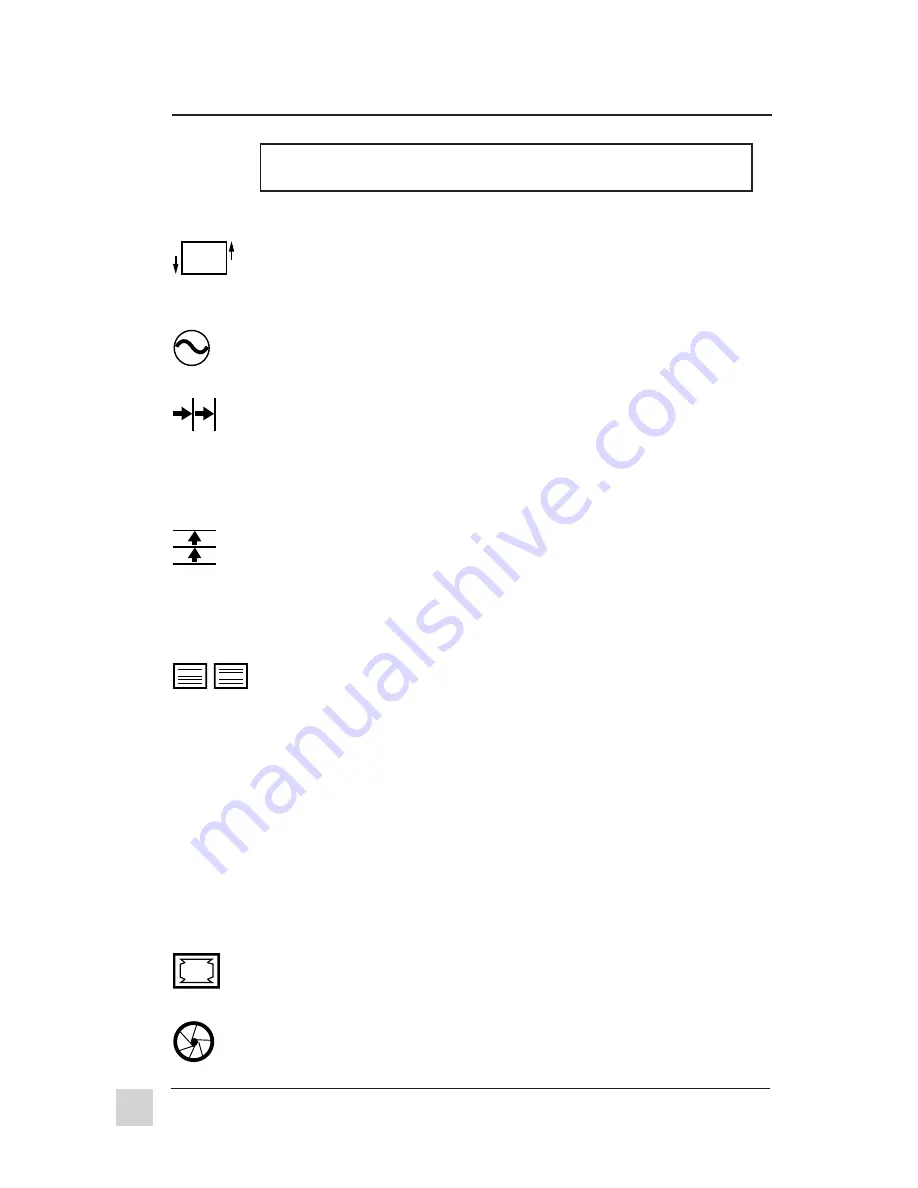
TILT 

rotates the entire screen image

[

] Rotates the screen image counter-clockwise

[

] Rotates the screen image clockwise.

VIEWMETER ® 

displays information regarding the current input

signal coming from the graphics card of the computer.

H. CONVERGENCE 

(Horizontal Convergence) adjusts vertical

color alignment. Use this control when red or blue borders are
present around the vertical segments of black letters on a white
background.
Press [

] or [

] to adjust the color alignment.

V. CONVERGENCE 

(Vertical Convergence) adjusts horizontal

color alignment. Use this control when red or blue borders are
present around the horizontal segments of black letters on a white
background.
Press [

] or [

] to adjust the color alignment.

V. LINEARITY CENTER 

(Vertical Linearity Center) adjusts the

vertical distortion at the center of the screen image.
Press [

] or [

] to adjust.

Note: V. Linearity Center is an advanced control to be used for set
up and calibration only.

V. LINEARITY SYMMETRY 

(Vertical Linearity Symmetry)

adjusts the vertical distortion by balancing the vertical distortion
between the top and bottom of the screen image.
Press [

] or [

] to adjust.

NOTE: V. Linearity Symmetry is an advanced control to be used for
set up and calibration only.

HOOKING 

straightens the four corners of the screen image.

Press [

] or [

] to adjust.

FOCUS 

adjusts the sharpness of the screen image.

Press [

] or [

] to adjust.

For options that appear as pairs on the menu, highlight an option and
press [

] to toggle to the second in the pair.

Summary of Contents for PerfectFlat PF77

Page 1: ...PerfectFlat Full 17 16 0 Diagonal Viewable PF77 Color Monitor User s Guide Guide de l utilisateur Bedienungsanleitung International Spanish Italian Brazilian Portuguese Swedish Russian Polish Arabic...

Page 2: ...ViewSonic the three birds logo OnView ViewMatch PerfectFlat and ViewMeter are registered trademarks of ViewSonic Corporation OptiSync is a trademark of ViewSonic ENERGY STAR is a registered trademark...

Page 3: ...the Timing Mode 6 Adjusting the Screen Image 7 Other Information Specifications 13 Troubleshooting 14 Cleaning the Monitor 15 Warranty 16 Appendix Power Cord Safety Guidelines 17 FCC Information 18 CE...

Page 4: ...ping needs NOTE This product was designed for operation in the magnetic fields of the hemisphere where it was purchased The word Windows in this user guide refers to the following Microsoft operating...

Page 5: ...You may suffer serious injury if you touch these parts Avoid exposing the monitor to direct sunlight or another heat source The monitor should be facing away from direct sunlight to reduce glare Choos...

Page 6: ...tor To be best prepared for any future customer service needs Write the serial number see back of the monitor in For your Records on page 1 of this guide Register the warranty of your monitor on the I...

Page 7: ...ge select a timing mode from the Preset Timing Modes table below Preset Timing Modes VGA 640 x 400 70Hz VESA 640 x 480 75Hz VESA 800 x 600 75Hz VESA 800 x 600 85Hz VESA 1024 x 768 75 85Hz WARNING Do N...

Page 8: ...adjust the control Press or to highlight the control you wish to adjust Press Button 2 to select the highlighted control IMPORTANT Press to toggle to the second in the pair of adjustments Power On Of...

Page 9: ...t the controls on the Main Menus shown below CONTRAST adjusts the difference between the image background black level and the foreground white level Decreases contrast Increases contrast BRIGHTNESS ad...

Page 10: ...cal sides of the screen image Curves vertical edges inward Curves vertical edges outward PIN BALANCE curves the vertical sides of the screen image to the left or to the right Curves vertical sides to...

Page 11: ...re present around the horizontal segments of black letters on a white background Press or to adjust the color alignment V LINEARITY CENTER Vertical Linearity Center adjusts the vertical distortion at...

Page 12: ...with fluorescent lighting 6500K Adds red to the screen image for warmer white and richer red 5000K Adds blue and green to the screen image for a darker color User Color Individual adjustments for red...

Page 13: ...to appear around the edges of screen images There are two ways to degauss the display automatically by turning the monitor on or manually by selecting the Degauss control from the menu Important Do n...

Page 14: ...Humidity 5 to 95 no condensation Altitude To 10 000 feet Storage Temperature 40 F to 140 F 40 C to 60 C Conditions Humidity 5 to 95 no condensation Altitude To 40 000 feet Dimensions Physical 417mm W...

Page 15: ...ify the refresh rate vertical frequency is 75 Hz or higher Make sure the graphics card in your computer can use non interlaced mode at the desired frequencies To enable your graphics card to support h...

Page 16: ...onto a clean soft lint free cloth and wipe the screen To clean the case 1 Use a soft dry cloth 2 If still not clean apply a small amount of a non ammonia non alcohol based mild non abrasive detergent...

Page 17: ...CUSTOMER SUPPORT YOU WILL NEED TO PROVIDE YOUR PRODUCT S SERIAL NUMBER 2 To obtain service under warranty you will be required to provide a the original dated sales slip b your name c your address d a...

Page 18: ...Canada only 1 800 688 6688 From outside U S and Canada 909 869 7976 From Europe 44 1293 643 900 From Asian Pacific Rim countries 886 22 248 4072 Other Options Technical Support Questions vstech views...

Reviews: