background image

Vidikron VL-40 and VL-46 Owner’s Operating Manual

53 

PRE

L

IMINAR

Y

6.1 
RS-232 Connection and 
Port Configuration

To interface the DView with a home theater automation/control system or a PC running 
terminal emulation software, connect it to your control system or PC as shown in Figure 3-11. 
(Use a straight-through cable.)

Configure the RS-232 controller or PC serial port as follows: no parity, 

8

 data bits, 1 stop bit 

and no flow control. Set the baud rate to match that of the DView RS-232 port. To check the 
baud rate setting, select Baud Rate from the ISF Calibration menu. 

6.2 
Serial Command Syntax

• Commands are in ASCII format and are not case-sensitive. 

• A carriage return is not required after a command. 

• When you send a valid command, the DView executes it and acknowledges it with a 

right-bracket character (

]

) followed by the four-digit numeric code you sent; for example, 

]0002

• When you send an invalid command (one followed by values outside the valid range for 

that command), the DView ignores it and returns 

>MAX

 or 

<MIN

 instead of the four-digit 

code.

• When you send an unrecognized/misspelled command, the DView ignores it and returns 

-N/A

 instead of the four-digit code.

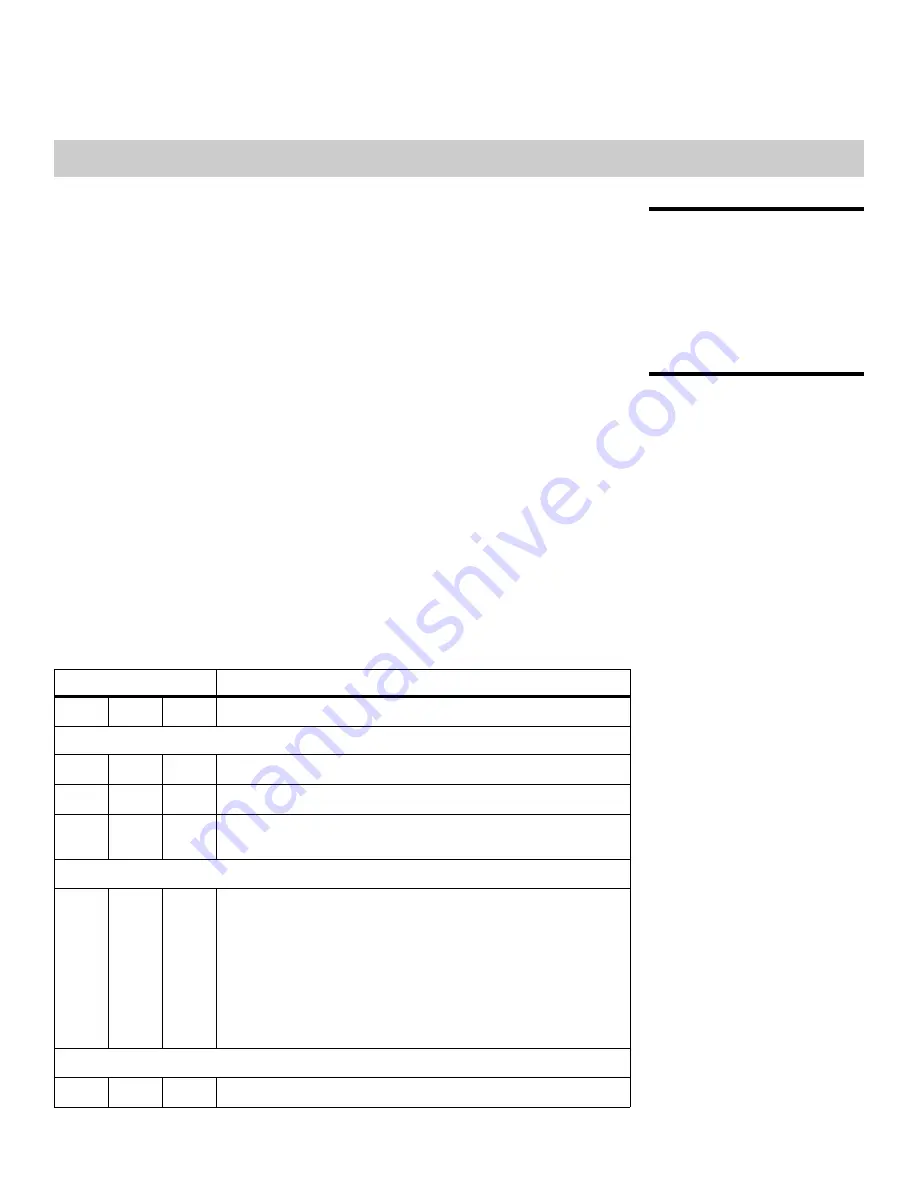
Table 6-1 lists the RS-232 command set. 

6

Serial Communications

Table 6-1. Serial Commands 

Command

Description

[

S3A

0###

Set audio volume to ### ( = 000-100)

Example:


[S3A0075

 sets volume to 75

[

+3A

Audio volume up

[

-3A

Audio volume down

[

S3E

000#

Audio mute (speakers/headphones)


0 = not muted, 1 = muted

Example:


[S3E0001

 mutes the audio output

[

S4A

000#

Main input selection


0 = TV


1 = Input1


2 = Input2


3 = Input3


4 = Input4


6 = RGB


8

 = HDMI1


9 = HDMI2

Example:


[S4A0006

 selects RGB

[

+4A

Select “next” Main AV input

Summary of Contents for DView VL-40

Page 1: ...VL 40 and VL 46 1080p HIGH DEFINITION LCD FLAT PANEL DISPLAYS O W N E R S O P E R A T I N G M A N U A L...

Page 2: ......

Page 3: ...een are used as infrequently as possible This will prevent permanent retention on your LCD display panel which can be seen permanently under certain conditions once burn in has occurred The types of i...

Page 4: ...or the product to be returned to the Vidikron factory for repairs If solely in Vidikron s judgment location of product to be repaired is beyond normal operating distance of the closest Vidikron Author...

Page 5: ...________________________________________ Model Purchased Date ____________________________________________________________________________________________________________ Serial Number _______________...

Page 6: ...cles and the point where they exit from the apparatus 11 Only use the attachments accessories specified by Vidikron 12 Use only with a cart stand tripod bracket or table specified by the manufacturer...

Page 7: ...est EN 61000 4 6 Electromagnetic compatibility EMC Part 4 Testing and measurement techniques Section 6 Conducted disturbances induced by radio frequency fields immunity test EN 61000 4 8 Electromagnet...

Page 8: ...03 Cet appareil num rique de la classe B est conforme la norme NMB 003 du Canada Lamp s inside this product contain mercury This product may contain other electronic waste that can be hazardous if not...

Page 9: ...t 4 2 Controls and Functions 5 DView at a Glance 5 Controls and Indicators 5 DView Inputs and Outputs 6 DView Remote Control 8 3 Installation 13 Remote Control 13 Battery Installation 13 Notes on Remo...

Page 10: ...re PIP 45 Changing the PIP Position 47 Changing the PIP Size 47 Changing the PIP Aspect Ratio 47 Swapping the Main and PIP Images 48 Swapping the Main and PIP Audio Programs 48 Stereo Sound SAP 49 5 M...

Page 11: ...ctions 19 3 6 AV OUT Connections 20 3 7 Connecting Headphones 20 3 8 External Speaker Connection 21 3 9 Removing the Built in Speakers 21 3 10 Digital Audio Connection 22 3 11 RS 232 Control System Co...

Page 12: ...List of Figures xii Vidikron VL 40 and VL 46 Owner s Operating Manual P R E L I M I N A R Y Notes...

Page 13: ...ur comments about this manual Send them to info vidikron com Textual and Graphic Conventions Text Conventions The following conventions are used in this manual in order to clarify the information and...

Page 14: ...gnificance They also provide supplemental information CAUTIONS alert users that a given action or omitted action can degrade performance or cause a malfunction WARNINGS appear when a given action or o...

Page 15: ...e DView offers PIP PBP closed captioning Parental Control V Chip functionality and multi language support The display includes an integrated stereo audio system incorporating surround sound technology...

Page 16: ...g or damaged please contact your Vidikron dealer or Vidikron Customer Service at 888 4VIDIKRON VL 40 or VL 46 LCD Display with Table Stand Remote Control Unit and two 2 AAA size batteries AC Power Cor...

Page 17: ...1 TV AV Button Input Source Selection 2 MENU Selection Button 3 Volume Adjustment Buttons 4 Channel Selection Buttons 5 Power Button 6 Remote Control Sensor 7 Power Indicator Lights red to indicate t...

Page 18: ...for connecting a VCR camcorder laser disc player or other composite video source 3 INPUT2 S Video Input Standard S Video input for connecting a DVD player satellite receiver or Super VHS S VHS VCR 4 H...

Page 19: ...t video from sources such as DVD players 15 INPUT4 Composite Video Input 16 INPUT4 Audio Input Connect the audio output from your Input 4 source here 17 INPUT1 Composite Video Input 18 INPUT1 Audio In...

Page 20: ...its functionality Figure 2 3 DView Remote Control 4 5 0 TV 1 2 3 6 HDMI2 RGB HD HDMI1 MEMORY MENU MENU EXIT EXIT ENTER ENTER INPUT INPUT 1 7 8 9 ASPECT SIZE POSITION PIP SWAP TV AV S SWAP OFF ON INPUT...

Page 21: ...DMI 1 HDMI 2 Use these buttons to select a Digital Video input HDMI 1 or HDMI 2 RGB HD Press this button to switch to the RGB HD input 4 Memory Preset Buttons CUST Press to recall settings for the cur...

Page 22: ...ect a highlighted menu item or confirm a changed setting 7 MENU Press this button to access the on screen display OSD controls or to exit the current menu and return to the previous one 8 EXIT Press t...

Page 23: ...his button repeatedly to scroll through the available MTS settings MONO STEREO SAP or Mono SAP MUTE Press this button to mute the audio output to the speakers and headphones 12 Channel Selection Short...

Page 24: ...Controls and Functions 12 Vidikron VL 40 and VL 46 Owner s Operating Manual P R E L I M I N A R Y Notes...

Page 25: ...scent lamp If that occurs move the LCD display away from the fluorescent lamp Make sure that there is nothing obstructing the infrared beam between the remote control and the IR receiver on the LCD di...

Page 26: ...alist Table 3 1 Installation Overview Step Procedure For Details refer to page 1 Mount the DView on a wall optional 15 2 Connect signal sources to the DView 16 3 Connect external controller to RS 232...

Page 27: ...ds that this be done by a custom installation specialist Ambient Light In general minimize or eliminate light sources directed at the display Contrast ratio in your images will be noticeably reduced i...

Page 28: ...cables for each source Ensure that the cables are securely connected Tighten the thumbscrews on connectors that have them Use the left audio input when connecting mono audio sources Connecting the DVi...

Page 29: ...main throughout the entire signal path from source component output into the display This DView supports the VESA Display Data Channel DDC standard This standard provides Plug and Play capability the...

Page 30: ...other than those listed may cause some functions not to work 2 Some Macintosh computers may require a Macintosh video adapter Contact your nearest authorized service center or dealer 3 This DView may...

Page 31: ...4 Figure 3 4 Component Video Connections Composite S Video Connections The DView has two 2 S Video and four 4 composite video inputs for connecting a VCR camcorder laser disc player or DVD player see...

Page 32: ...3 6 You can route either the main or picture in picture PIP source signal to the AV output For more information refer to Monitor Out on page 40 Figure 3 6 AV OUT Connections Connecting Headphones You...

Page 33: ...Figure 3 8 Maintain the correct polarity For more information refer to the owner s manual for your speakers Figure 3 8 External Speaker Connection You can also remove the built in speakers if they are...

Page 34: ...DView to the digital audio input of the amplifier receiver as shown in Figure 3 10 The DView supports both coaxial S PDIF and optical TosLink digital audio connections Figure 3 10 Digital Audio Conne...

Page 35: ...a PC or home theater control automation system if present to the RS 232 port on the DView see Figure 3 11 For more information about using this connection refer to Serial Communications on page 53 Fi...

Page 36: ...Installation 24 Vidikron VL 40 and VL 46 Owner s Operating Manual P R E L I M I N A R Y Notes...

Page 37: ...control to turn on the display or press the power button on the side of the display The power indicator flashes for a few seconds then lights solid green 6 After a brief warm up period approximately...

Page 38: ...operties of your PC video card To do this 1 Choose Settings from the Windows Start menu and click on Control Panel Then double click the Display icon OR Right click anywhere on the Windows Desktop and...

Page 39: ...ge Then press ENTER or the right arrow button 5 Press the right or left arrow button to change that setting 6 To return to the previous menu press MENU or The DView OSD menus are arranged hierarchical...

Page 40: ...0 5 10 100 ADC Phase Adj 0 1 2 3 63 DNR 0 10 20 100 MPEG NR 0 1 2 3 63 Backlight 0 5 10 15 20 100 Color Temp 5400 6500 8500 or Custom Gamma 2 00 2 02 2 04 2 40 Black Level 0 1 2 3 64 Save Settings Cus...

Page 41: ...t Ratio To change the aspect ratio size and shape of the projected image select Aspect Ratio from the Main Menu and press ENTER Select the appropriate aspect ratio for the type of program material bei...

Page 42: ...rd television programming and most VHS video cassettes Letterbox LET BOX Letterbox mode scales zooms in on a 4 3 image linearly by the same amount on all sides to fill a 16 9 display Letterbox is best...

Page 43: ...ogram material Vidikron recommends using the following calibration tools for best results External test pattern source Ovation Multimedia Digital Video Essentials or AVIA test DVD or equivalent A blue...

Page 44: ...rely visible The lighter gray areas are clearly visible The white areas are a comfortable level of true white The image contains only black gray and white no color Contrast On your external test patte...

Page 45: ...t Tint or hue is essentially the ratio of red to green in the color portion of the image When tint is decreased the image appears redder when it is increased the image appears greener To set the tint...

Page 46: ...w buttons keeping in mind that reducing noise which reduces high frequencies may also soften the image MPEG NR Use the MPEG Filter to reduce or eliminate so called mosquito noise in MPEG compressed vi...

Page 47: ...lowing settings to a preset otherwise they will be lost when a new input source or resolution is selected Brightness Contrast Color saturation Tint Sharpness Gamma Color temperature selection 5400 650...

Page 48: ...ect STD and press ENTER again The DView searches all channel frequencies and adds a channel to its memory when it detects a signal on that channel frequency This may take a few minutes If Auto Tuning...

Page 49: ...Sleep Timer to turn off the DView after a specified interval To set the Sleep Timer Select Sleep Timer from the Timer menu and press ENTER Use the right or left arrow button to select 10 30 60 120 or...

Page 50: ...ft arrow button to shift the image to the left V Position Use the up or down arrow buttons to highlight V Position Then use the right arrow button to shift the image up use the left arrow button to sh...

Page 51: ...elect TV Rating from the Parental Control menu to block television programs carrying a given rating to prevent children from watching programs that are deemed inappropriate These ratings and content l...

Page 52: ...ct Letterbox Mode from the Setup menu to change the zoom factor that takes effect when you select the Letterbox aspect ratio refer to Table 4 1 When you select Letterbox the image is enlarged zoomed i...

Page 53: ...the speakers when HDMI1 or HDMI2 is selected RGB Signal The RGB input supports both DTV and VESA computer resolutions and signal timings If the RGB source is a computer select PC If it is a DTV set to...

Page 54: ...34 Color Temp To choose a color temperature setting select Color Temp from the Picture Adjust menu and press ENTER Color temperature defines the color of gray The choices are 5400K 6500K 8500K and Cu...

Page 55: ...b menu to correct color imbalances in the dark areas of the image A good way to do this is to use a test pattern consisting mostly of dark gray areas such as a 30 IRE window pattern If the gray areas...

Page 56: ...P R E L I M I N A R Y Splash Duration Use Splash Duration to control how long the DView splash screen remains on screen after power up see Figure 4 6 To prevent this screen from appearing set the Spla...

Page 57: ...I N A R Y 4 5 Using Picture In Picture PIP To use PIP press the PIP button The PIP window appears inside the main image window Press PIP again to switch to side by side PIP mode Press PIP again to tur...

Page 58: ...n and PIP Source Combinations PIP Input Source TV INPUT1 INPUT2 INPUT3 INPUT4 RGB HDMI1 HDMI2 VIDEO COMP VIDEO COMP Main Input Source TV INPUT1 INPUT2 INPUT3 VIDEO COMP INPUT4 VIDEO COMP RGB HDMI1 HDM...

Page 59: ...PIP window size press the SIZE button on the remote control repeatedly to achieve the desired window size Changing the PIP Aspect Ratio To change the aspect ratio of the PIP window from 4 3 to 16 9 or...

Page 60: ...ages To swap the main and PIP images press the SWAP button on the remote control Swapping the Main and PIP Audio Programs To swap the main and PIP audio programs press the S SWAP button on the remote...

Page 61: ...n the broadcast signal by pressing the MTS SAP button on the remote control Choose Stereo for channels that are broadcasting in stereo Choose Mono for channels that are broadcasting in mono or if you...

Page 62: ...Operation 50 Vidikron VL 40 and VL 46 Owner s Operating Manual P R E L I M I N A R Y Notes...

Page 63: ...ause a malfunction Cleaning the Vents As a general rule use a vacuum cleaner about once a month to clean the vents on the rear panel of the display of dust buildup set the vacuum cleaner to its weakes...

Page 64: ...roadcast signal is weak Check the antenna or cable TV connection If using an off air antenna adjust its position or location Colors in the image are swapped for example reds appear blue or vice versa...

Page 65: ...u send a valid command the DView executes it and acknowledges it with a right bracket character followed by the four digit numeric code you sent for example 0002 When you send an invalid command one f...

Page 66: ...000 Power on off control 0 standby 1 on Example SAB0001 turns unit on SCA 000 Caption on off 0 off 1 on Example SCA0000 turns caption off SCB 00 Set major channel AIR 01 99 Example SCB0002 selects off...

Page 67: ...o effectively it is as if you were using the IR remote only you ll be doing so via serial commands These commands provide active OSD responses just like the IR remote Each command begins with key foll...

Page 68: ...T 0031 ISF DAY key 0040 16 9 ANA 0043 4 3 0039 LETTERBOX 0126 INTELLIWIDE key 0007 Right Arrow key 0016 Down Arrow key 0018 Up Arrow key 0011 Left Arrow key 0046 ENTER key 0026 MENU key 0100 EXIT key...

Page 69: ...VL 40 and VL 46 Owner s Operating Manual 57 P R E L I M I N A R Y 0024 MTS SAP 0091 MUTE key 0057 PREVIOUS CHANNEL 0045 FAVORITE CHANNEL 0044 CLOSED CAPTION on off 0055 INFO Table 6 1 Serial Commands...

Page 70: ...Serial Communications 58 Vidikron VL 40 and VL 46 Owner s Operating Manual P R E L I M I N A R Y Notes...

Page 71: ...o 4 Composite Video 2 S Video 2 Component Video 2 HDMI w HDCP 1 RGB 15 pin D sub 1 RS 232 Control 5 Analog Audio 4 stereo RCA pairs 3 5 mm stereo mini jack 1 RF Antenna 1 CATV 75 ohm coaxial Outputs 1...

Page 72: ...A R Y Weight VL 40 63 93 lbs 29 0 kg VL 46 76 28 lbs 34 6 kg Regulatory Approvals Complies with FCC UL Limited Warranty One 1 year parts and labor from the date of delivery to the end user Specificat...

Page 73: ...and Figure 7 2 show the DView dimensions all dimensions are in inches Figure 7 1 VL 40 Dimensions 4 72 38 84 34 91 Front side view Top side view Right side view Rear side view Cable Access Area Active...

Page 74: ...E L I M I N A R Y Figure 7 2 VL 46 Dimensions 44 12 40 18 Front side view Top side view Right side view Rear side view Cable Access Area Active Area Wall Mount Screw 6 M5 Tap 1 69 3 90 9 84 22 62 26 5...

Page 75: ...SA 640x400 85 85 00 35 78 VESA 640x480 60 60 00 29 82 MAC 640x480 67 66 70 35 00 MAC 640x480 72 72 80 37 90 MAC 640x480 75 75 00 37 50 VESA 800x600 56 56 00 35 20 VESA 800x600 60 60 30 37 90 VESA 800x...

Page 76: ...Specifications 64 Vidikron VL 40 and VL 46 Owner s Operating Manual P R E L I M I N A R Y Notes...

Page 77: ......

Page 78: ...Vidikron 2900 Faber Street Union City CA 94587 510 324 5900 Fax 510 324 5905 1 888 4 VIDIKRON www vidikron com SERIAL NUMBER 020 0709 00 Rev A October 2007...

Reviews: