33
Table 2.6.1. Menu items in SYSTEM Setup screen
Item
Description
DVR ID
Press the SEL button and select DVR ID using the control button (
◀
▲
▶
▼
), and
press SEL button. Press OK to apply the selected DVR ID.
SPACE / Caps Lock(Select either Capital or Lower letter)
BS(Back space: Erase previous character) / Clear(Erase all characters)
DESCRIPTION
Press SEL button to view system information.
(Hardware Version, Software version, Storage size, IP address, MAC address and DDNS
Status)
LANGUAGE
Select the display language using the control button (
◀
▲
▶
▼
). Once a language is
selected, the display language changes.
DATE
FORMAT
Select the date display format using the control button (
◀
▲
▶
▼
). Options are:
YYYY/MM/DD, MM/DD/YYYY, DD/MM/YYYY, YYYY-MM-DD, MM-DD-YYYY, DD-MM-
YYYY
SET
DATE&TIME
Select the display date and time using the mouse or the control button (
◀
▲
▶
▼
) on
the remote control and press OK button to set the present date and time.
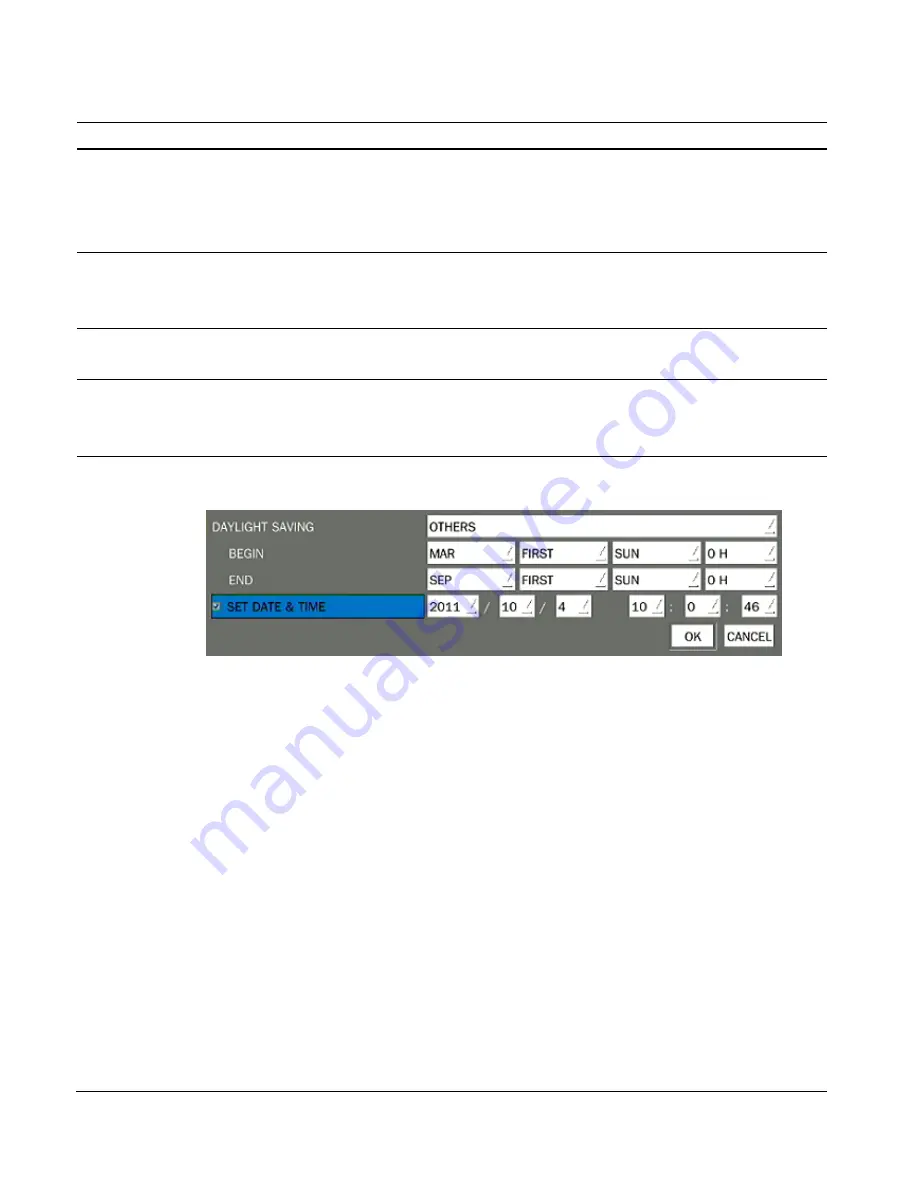
DAY LIGHT SAVING
Select DAYLIGHT SAVING using the mouse and the control button (
◀
▲
▶
▼
) on the
remote control and select the appropriate daylight saving time zone.
If choosing EU or OTHERS, set the applicable conditions.
The options are:
OFF
USA
EU
OTHERS
1. OFF: Daylight saving is not set.
2. USA: Applies the USA daylight saving time.
3. EU: Applies the EU daylight saving time.
- Select the GMT AREA using the control button (
◀
▲
▶
▼
).
- Set the time difference with the standard time using the control button (
◀
▲
▶
▼
).
4. OTHERS: If the time zone is neither USA nor E, set the start and end date of the
daylight saving period.


