Preparation
Page 9
Advanced Preparations:
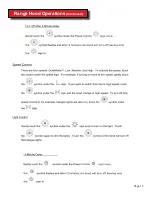
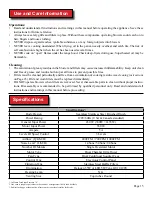
• Be familiar with the controls of the range hood by reading
through
Range Hood Operations
,
Page 12.
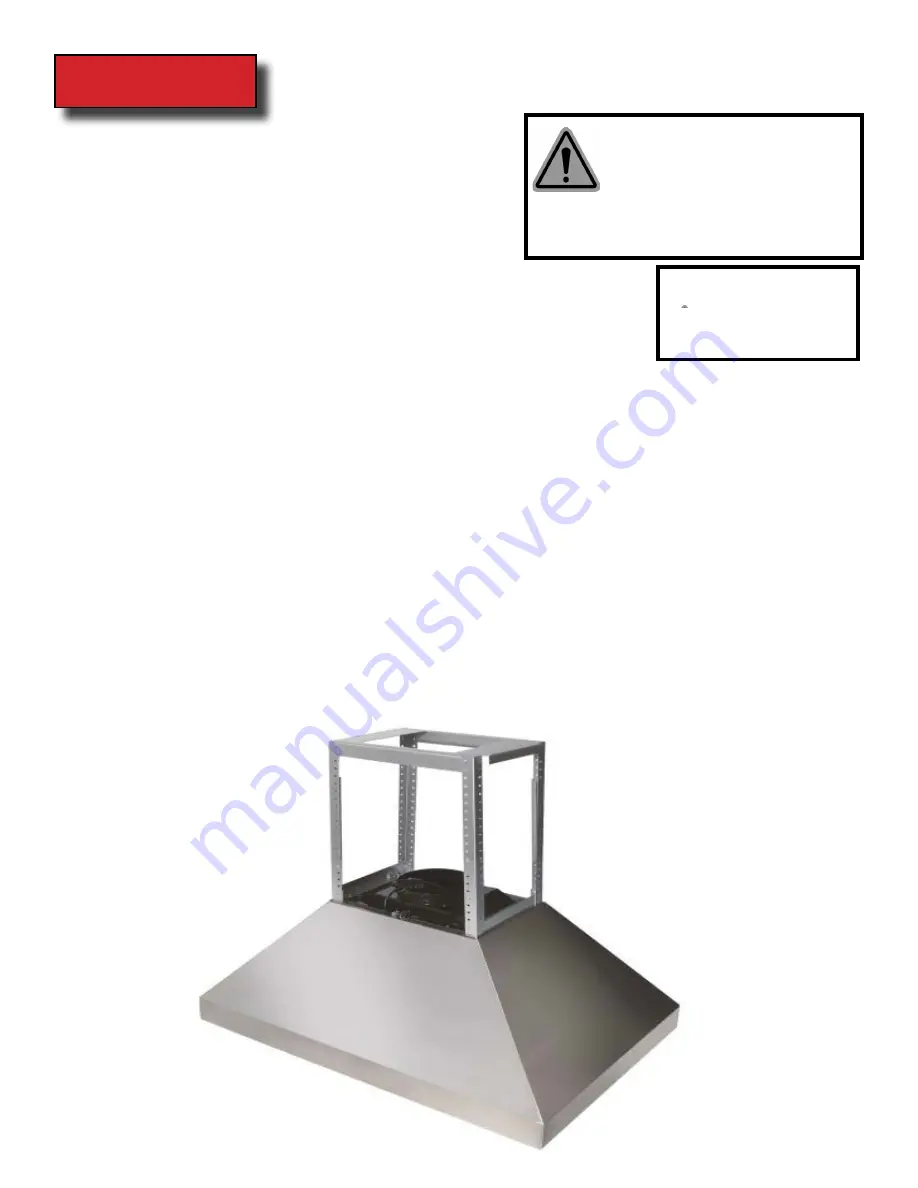
• Place the range hood on a flat, stable surface. Connect the
range hood to a designated standard outlet 120v and turn on
the range hood. Verify all operations of the range hood by
referring to
Range Hood Operations
,
Page 13.
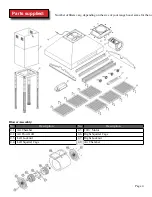
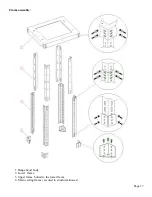
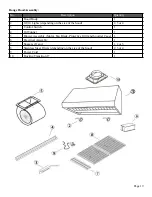
• Place all supplied parts and required hardware on a flat, stable surface and verify
the existence of all supplied parts listed on Page 4.
• Carefully remove the white plastic protective coat from the range hood covers.
Due to the way this hood is manufactured, the main hood body does not come
with protective film.
Preparations:
NOTE:
To avoid damage to your hood, prevent debris from entering the vent opening.
•
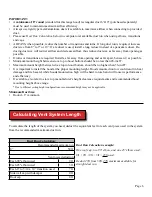
Decide the location of the venting pipe from the hood to the outside. Refer to
Venting Methods
on Page 7.
• A straight, short vent run will allow the hood to perform more efficiently. USE MIN 8” DUCT.
• Try to avoid as many transitions, elbows, and long run as possible. This may reduce the performance of the
hood.
• IMPORTANT: Peel white plastic protective coat off the hood, if any.
• Use ALUMINUM tape to seal joints between pipe sections.
• Make sure you have a solid support box to hang the island hood from.
•
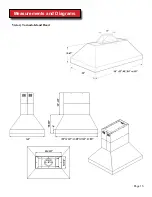
Using references in
Measurements and Diagrams
on Page 16, create access opening for electrical wires and
hood exhaust under the cabinet.
CAUTION:
If moving the cooking range is necessary to install the hood, turn OFF the power on an elec
-
tric range at the main electrical box. SHUT OFF THE GAS BEFORE MOVING A GAS RANGE.
WARNING
Excessive Weight
Require three or more person to move and
install this range hood. Spinal or other bodi-
WARNING
Severe Injury
Rotating fan can cause severe
injury. Stay clear of fan when


