15
6. Make sure the power switch is still in the off (“O”) position and plug
the motor cord into a correct power source (see diagram on p. 12).
7.
WARNING! - Do not turn on the motor at this point! You will
damage your grain mill by running it without grain.
8. Now that the motor is connected properly and plugged in, you can
add your grain to the hopper. If needed, review the Grain Mill Use
Instructions on p. 7 before you begin the grinding process.
9. You may now turn the power switch to the on (“I”) position.
Never
use any tools in the hopper. Keep hands, hair, clothing and any
other foreign objects, away from the hopper opening at all times.
Removal Steps:
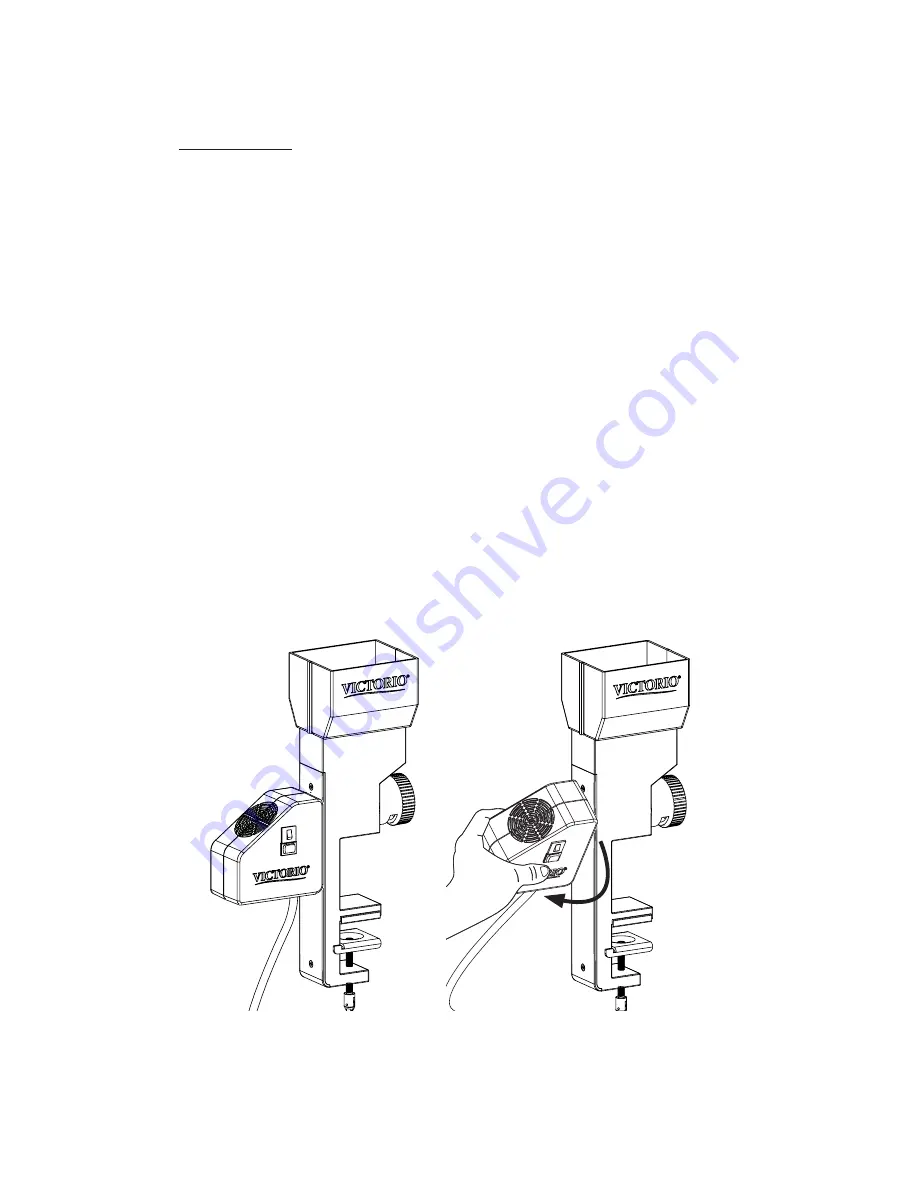
1. To remove the motor, make sure the power switch is in the off (“O”)
position and the cord is unplugged.
2. Firmly grasp the motor and twist in a clockwise direction to release the
motor latch from the body of the grain mill. (See diagrams below).
Twist
Clockwise


