Limit Function
23
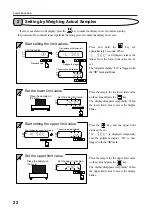
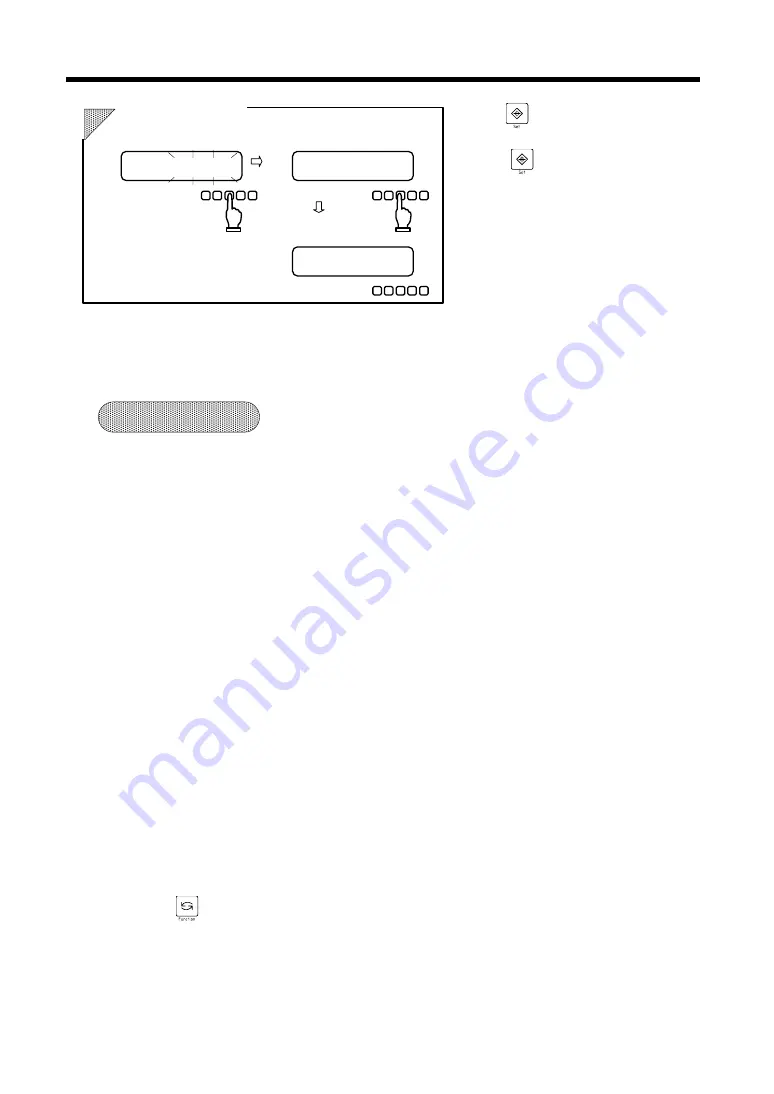
Press the key, and the setting is saved
and “
” is displayed.
Press the key again, and the setting
process is terminated and the weight
display mode is resumed.
1.
The operation procedure differs as follows depending on which judgment type is selected:
When “Set only the lower limit” is selected
⇒
Skip steps 3 and 4 and end with step 5.
When “Set only the upper limit” is selected
⇒
“
” is displayed in step 1 and therefore you
need not perform step 2.
2.
If a limit value has already been entered, the set value is displayed after “
” or
“
.” If a new limit is set, the value changes.
3.
If a negative value is set as a limit, the range to cover is set as “Detect both when the limit is exceeded and
when it is not reached” including the minus value. If no limits are set, judgment is not performed.
⇒
Refer to “Functions and How They Work” on pages 26 and 27.
4.
If all of the judgment displays “HI,” “OK,” and “LO” are flagged with the “
W
” mark, the lower limit
value is greater than the upper limit value. Try the procedure again.
5.
You can switch the process of “setting by weighing actual samples” to “setting by entering values” at
some midpoint in the process.
The process of “setting by entering values” is enabled if you shift to step 2 of the process after setting
limit values by weighing actual samples. This method is convenient when you change a value set by the
process of “setting by weighing actual samples.
”
6.
You can switch the process of “setting by entering values” to “setting by weighing actual samples” at
some midpoint in the process.
The process of “setting by weighing actual samples” is enabled if you place a sample on the scale and
press the key after setting limits by entering values.
K
K
e
e
y
y
p
p
o
o
i
i
n
n
t
t
s
s
g
HI
OK
LO
W
g
HI
OK
LO
W
HI
OK
LO
5
Setting is over.
Weight display mode is resumed.
Setting is over.
Save the setting.


