


Chapter 2
Setting up the system
Setting up the Job Manager
ONA-800 Getting Started Guide
August 2020
22142812, D1 R004
Page 21
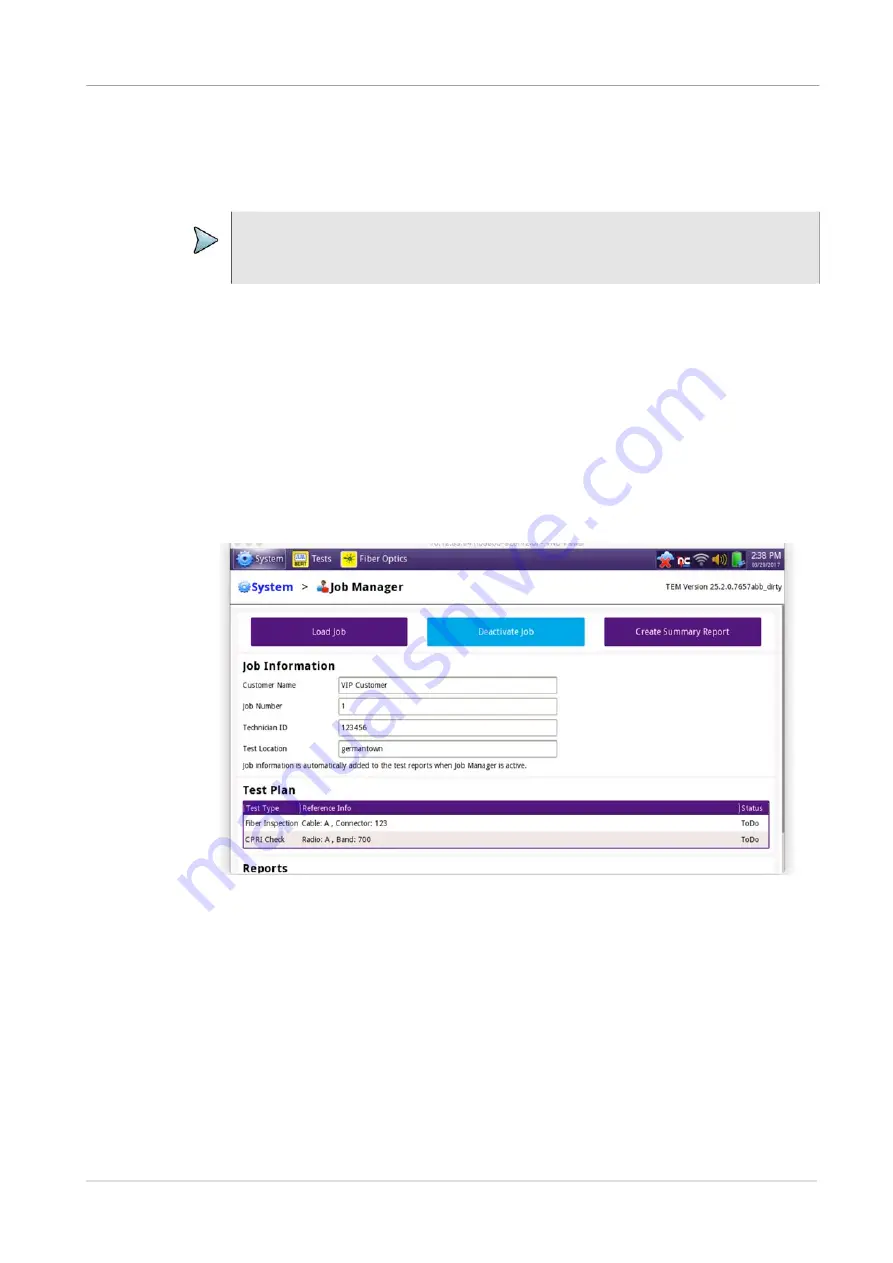
The Job Manager allows you to specify the information to be included whenever you
run a test and generate a report. Each time you generate a report, your instrument will
automatically insert the Customer Name, Job Number, Technician ID, and Test Location
that you specified in the Job Manager into the report heading.
If you change the report information on the Report Info screen (before you generate a
report), the new report information will override the defaults that are specified in the Job
Manager. For example, if you change the Work Order number on the Report Info
screen, the Work Order number will be included in your report output instead of the
default Job Number.
To specify report information
1
Select the
System
icon, then select
Job Manager
.
The Job Manager screen appears.
2
Specify the
Customer Name
,
Job Number, Technician ID
, and
Location
.
The report information is specified, and will be retained until you change it.
Job Manager Test Plan
The
Test Plan
section provides a list of planned test items associated with a job,
including the test type to be performed, reference information, and the pass/fail status.
If you load a test plan, you can select the test in the test list and the
Launch
button will
appear on the highlighted row. It will be enabled if the application is available on the
NOTE:
The Job Number specified in the Job Manager will be provided as the default
Work Order Number when applicable to specific reports.


