10
4.Setting the POWER-ON-TIMER Function
Note: The Power-ON-Timer Function will allow for the heater to power ON after a
certain set time, and can only be set while the heater’s display is in the “Off” position.
Or
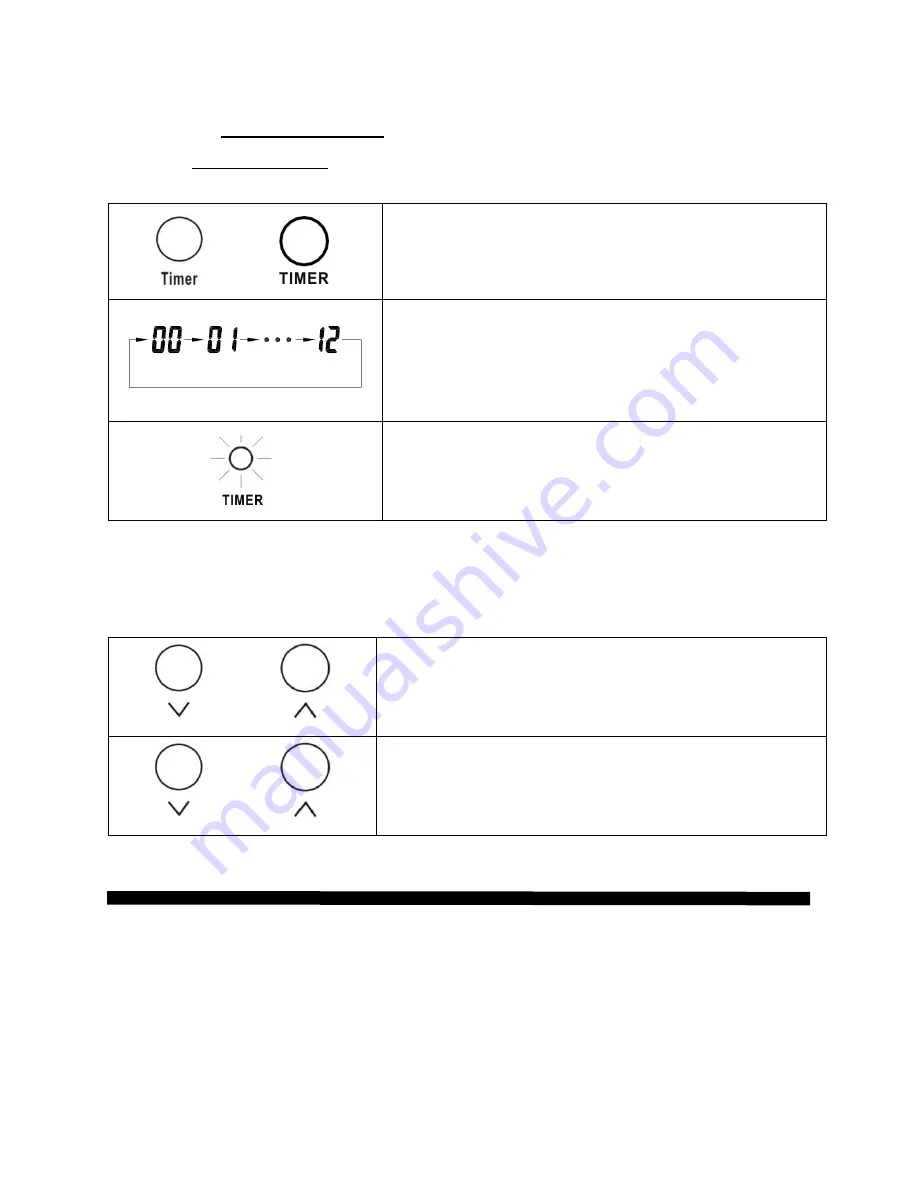
Turn the heater to the “OFF” position .Press the Timer
button on the heater’s control panel or the remote.
The digital display shows the “hours” option for the timer.
Continue to press the timer button to change the number of
hours you would like the heater’s internal clock to count
down before powering itself on .The hour options for the
timer are from 0 to 12 hrs. (in 1 hr increments).
The Timer indicator light will remain lit as long as the
Timer is set. The heater will power itself ON when the
internal heater clock counts down the hour increments you
set.
5. Setting electro lock
The Electro Lock can help avoid the heater from being accidentally engaged by
children. The locking mechanism can be set in both the ON and OFF modes.
And
Press Temp Up and Temp Down buttons at the same time
for 3 seconds. Locking is complete when you hear a beep.
When locked, the functions of the control panel and remote
will be locked for use.
And
When you need to unlock it, press Temp Up and Temp
Down buttons at the same time for 3 seconds. You will hear
a beep .The control panel and remote control will become
functional again.
MAINTENANCE
1.
Turn off the power switch in the rear of the unit.
2.
Unplug the unit and let it cool completely.
3.
To keep the heater clean, the outer shell may be cleaned with a soft, damp cloth. You
may use a mild detergent if necessary. After cleaning, dry the unit with a soft cloth.
CAUTION: DO NOT let liquid enter the heater.
4.
DO NOT use alcohol, gasoline, abrasive powders, furniture polish, or rough brushes to
clean the heater. This may cause damage or deterioration to the surface of the heater.


