background image

4

User guide

Welcome

The Verizon T42S IP desk phone is a Voice over IP (VoIP) 

business phone with nine programmable line keys. The desk 

phone and the line keys support the integrated service features 

of One Talk

SM

 from Verizon. The T42S features work the same 

way on your desk phone, smartphone and tablet computers. 

Initial setup

If your T42S desk phone was not connected and set up by  

your IT account administrator, verify the following with  

your administrator:

1.  You have a One Talk number

2.  Your user information has been updated in the One Talk 

Admin Portal with your 911 address and email address

3.  Your number has been included in any business  

group features

Connecting the phone to power and Ethernet

Power

You have two options for power: AC power (wall outlet) or 

Power over Ethernet (PoE). Your system administrator will 

advise you which to use.

Network

Connect the included standard Ethernet cable (or other 

standard Ethernet cable) between the internet port on the 

phone and the port on the wall or on your PoE-capable switch/

hub device.

Startup

After your phone is powered on, the system boots up and 

performs the following steps:

Dynamic Host Configuration Protocol (DHCP)

The phone attempts to contact a DHCP server in your network 

to obtain valid IPv4 network settings by default.

Automatic phone initialization

When your One Talk phone is connected to the network and 

powered on, it will automatically start the initialization process. 

The LCD screen displays “Initializing, please wait during this 

process.” The phone finishes the initialization by loading the 

saved configuration.
The desk phone is ready for use.

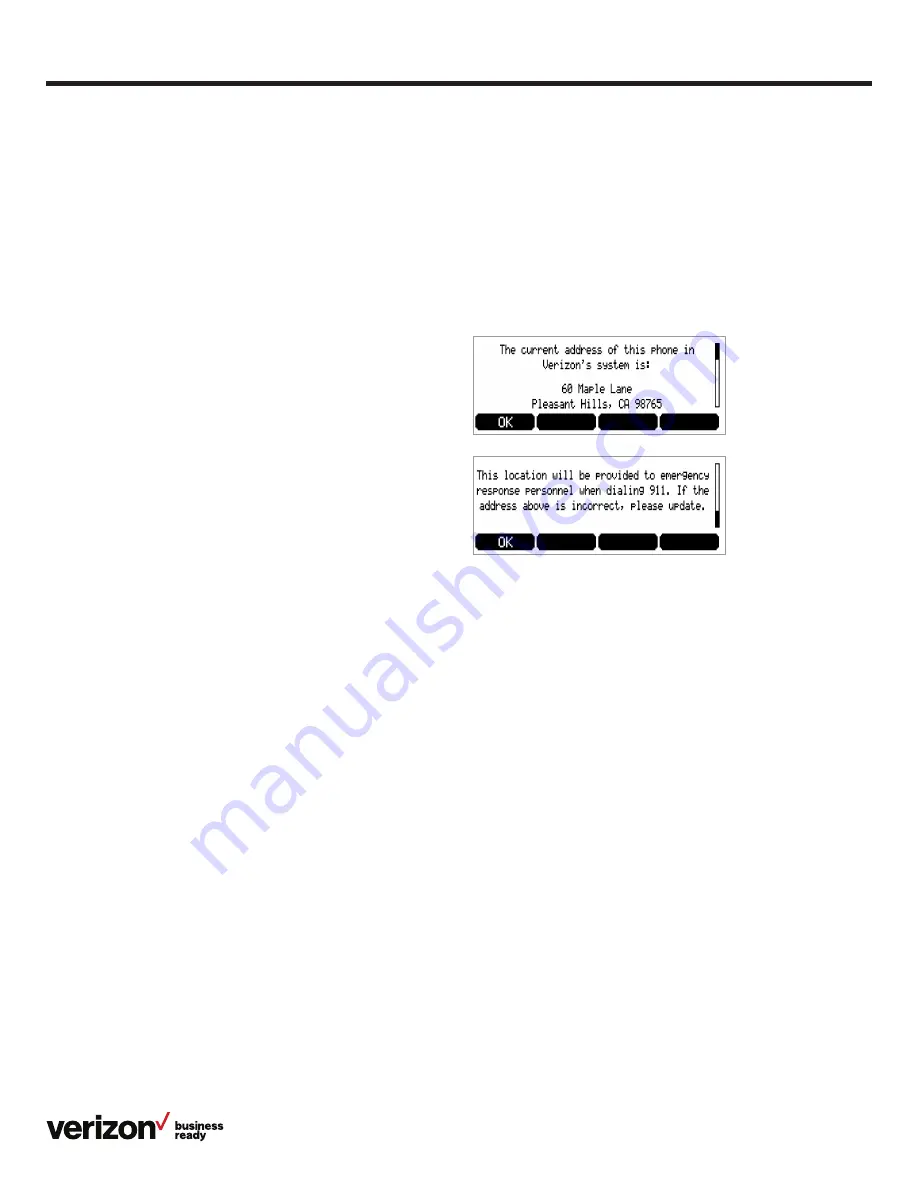
Viewing E911 location information

Enhanced 911 (E911) is a location technology that enables 

emergency responders to know the geographical location of a 

caller who dials 911. Your One Talk account administrator will 

configure your location. Contact your administrator if your E911 

address is missing or inaccurate. 
Note: This device will not function unless an initial E911 address 

has been added.
To view your 911 address, press the 

Address

 line key to the 

right of the LCD screen.  

Summary of Contents for One Talk T42S

Page 1: ...User guide vzw com support one talk One Talk T42S IP desk phone user guide...

Page 2: ...preferences 7 Time and date 8 Display settings 8 Sound settings 8 Line keys 9 Speed dial configuration of a line key 9 Intercom key setup 9 Using the Intercom key 9 Voice Mail setup 10 Basic call fea...

Page 3: ...Rebooting or resetting phone 19 Features 21 Accessibility features 21 For hearing impaired users 21 For vision impaired and blind users 22 For mobility impaired users 22 Compatible accessories 22 Imp...

Page 4: ...e internet port on the phone and the port on the wall or on your PoE capable switch hub device Startup After your phone is powered on the system boots up and performs the following steps Dynamic Host...

Page 5: ...er soft key 4 Scroll to Wi Fi and press Enter 5 Press the Switch soft key to turn Wi Fi on 6 Press the Save soft key The phone will automatically search for available wireless Wi Fi networks in your a...

Page 6: ...plays info about calls messages soft keys time date and other relevant data such as Caller ID Call duration Icons Missed call and second incoming caller information Prompt text 2 Power indicator LED I...

Page 7: ...reen The call is placed on hold from current device Off The line is inactive Customizing your desk phone About Basic settings Setup and preference options for the following can be found in the Basic s...

Page 8: ...the Time Date settings screen 1 Press the Menu soft key to open the main menu 2 Select Settings 3 Use the keys to navigate to Basic settings and press to select 4 Scroll to Time Date and press to sele...

Page 9: ...1 From the Home screen press the Intercom soft key 2 Enter the target extension for Intercom then press the Send soft key Line keys Your T42S comes with nine configurable line keys You can use them t...

Page 10: ...e to trigger your Call Forwarding preferences You can also activate Do Not Disturb mode to turn off ringing and automatically ignore calls by pressing the DND soft key Ignore a call Press Ignore durin...

Page 11: ...call on hold press or to select the desired call then press the Resume soft key Mute unmute your phone s microphone Press during a call Redial 1 Press to enter the placed call list 2 Press or to sele...

Page 12: ...Any bridged line or other device that shares a number with you can use the Call Barge feature to join a call in progress Call Barge is especially useful for admins when it is urgent that a manager be...

Page 13: ...an active call press the Park soft key The user will hear a message stating Please dial the number where you want to park your call followed by or dial to park the call against your number 2 Enter the...

Page 14: ...ll on hold 2 Press 55 then enter the 10 digit phone number or extension to which you want to transfer the call 3 Press the Direct soft key to complete the transfer To retrieve a call Press the Retriev...

Page 15: ...tact numbers in the corresponding fields 5 Use the key to enter other information work number mobile number etc 6 Press the Add soft key to accept the change Call History Call History maintains a list...

Page 16: ...em To search for a contact 1 Press the Directory soft key 2 Select All Contacts 3 Press the Search soft key 4 Use the keypad to enter name To edit a contact 1 Press the Directory soft key when the pho...

Page 17: ...irectory soft key 2 Select Add Group 3 Using the keypad enter a group name 4 Use the key to scroll to and select a ringtone to assign to the group if desired 5 Once you are finished editing select Add...

Page 18: ...2 Select the desired contact group 3 Press the Option soft key and then select Delete from the prompt list 4 Press the soft key to confirm the deletion or the Cancel soft key to cancel To assign a con...

Page 19: ...y to confirm Voice Mail To retrieve Voice Mail messages Press the message button on the desk phone console System status troubleshooting and other settings To check phone status 1 Press the Menu soft...

Page 20: ...boot and press 2 Select Reset to factory settings and press To reboot the phone 1 From Advanced Settings scroll to Reset Reboot and press to select 2 Press the OK soft key to confirm Note Alternativel...

Page 21: ...justable ringtone and volume Choice of a variety of ringtones Volume of the ringer can also be changed to suit needs Adjustable call volume While on a call raise or lower the volume of the voice on th...

Page 22: ...ated when activated providing alerts when a feature is enabled For mobility impaired users Feature Description Dedicated headset jack that enables the auto answer function Headset can be set up to tak...

Page 23: ...hnology CO LTD All rights reserved No parts of this publication may be reproduced or transmitted in any form or by any means electronic or mechanical photocopying recording or otherwise for any purpos...

Page 24: ...by Yealink Network Technology CO LTD declares that this phone is in conformity with the essential requirements and other relevant provisions of the CE FCC You can find the CE and FCC information from...

Page 25: ...ine Duration Back Edit OK Option Detail Add to Contact Add to Blacklist Delete All Cancel OK Call Detail Name Work Number Mobile Number Other Number Account Ring Group Back ABC Save Add Group Enter Na...

Page 26: ...sages Firmware More Exit Enter More Network Phone Accounts Back Enter Network IPv4 IP Mode MAC Accounts Line 1 Line 2 Phone Product Name Hardware Firmware Config Version Prod ID MAC Device Cert Basic...

Page 27: ...mous Call Rejection Forward to Voicemail Start Troubleshooting Trace Back Enter Call Forward Always Forward Busy Forward No Answer Forward Back OK Forward to Voicemail Call Forwarding Always to Voice...

Reviews: