4
Rapier V2 Installation
The Rapier V2 Laser Gaming Mouse is a USB mouse. It has plug ‘n’ play functionality however for optimum performance it is advised that the
USB plug is connected directly to the PC or laptop, and not via a USB Hub.
The fi rst time you install Rapier V2 switch off your PC / lap top, plug in Rapier V2 and then switch on your PC.
Note
:
Rapier V2 has on board memory so for data transfer it is recommend that it is plugged directly into the USB port of the PC
1.
If your computer do not support USB 2.0 please reduce the USB report rate to 125Hz in the ‘Feature Confi g’ section of the Gamer Toolkit Software
2.
Software Introduction
The software is an auto run CD. Please follow the steps below to install:
Insert the CD into CD-ROM drive; the installation menu will be executed automatically. (If the auto-run does not function itself, double-click
1.
the “setup.exe” icon in CD fi les.)
The setup program will guide you through the installation step by step
2.
Note:
Before running the program, make sure the mouse is connected with the computer.
1.
Rapier V2 Gamer Toolkit
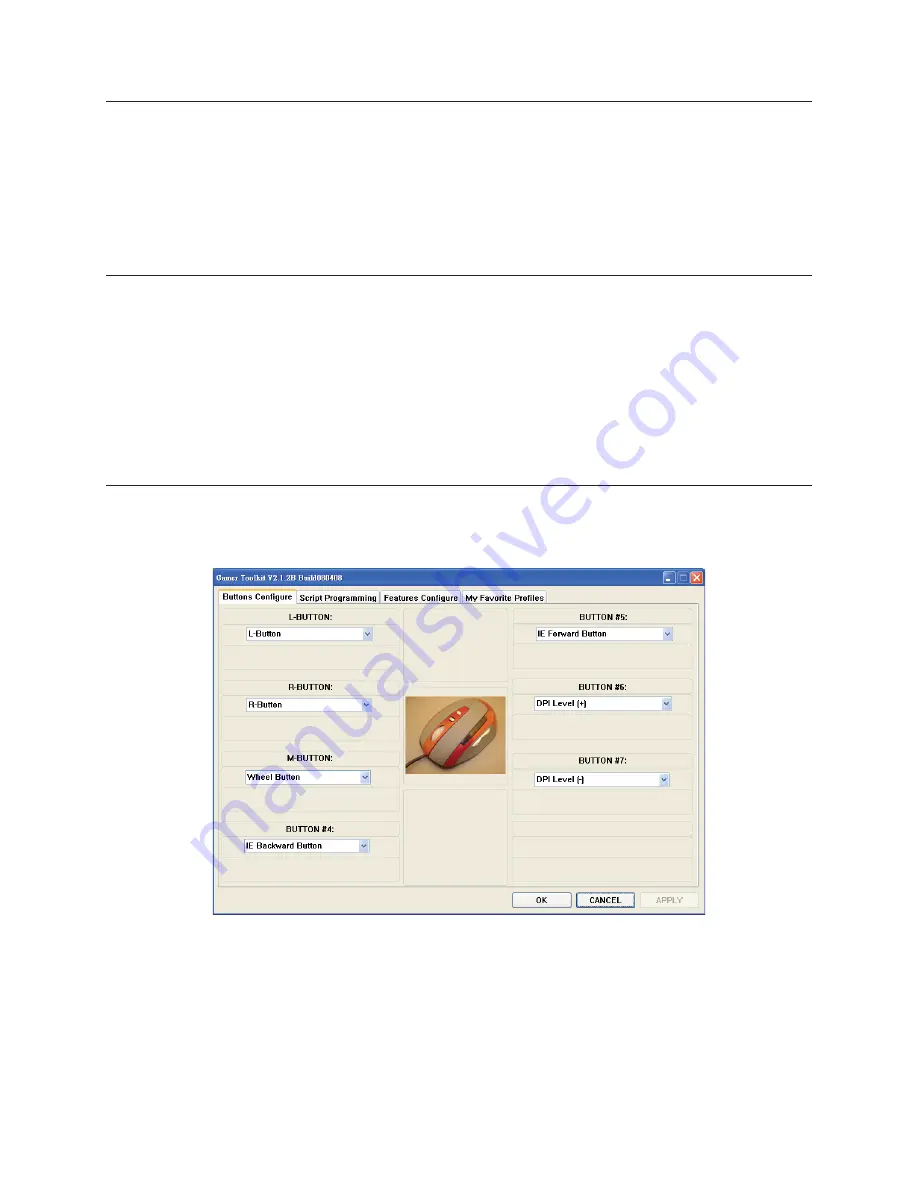
There are two modes built into Rapier V2, standard mode and gaming mode. In standard mode Rapier V2 is a standard 7 button laser mouse
with ability to switch from 800 dpi to 3200dpi. In gaming mode the functions of these 7 buttons can be redefi ned. All the redefi ned data will
be stored on Rapier V2’s internal memory. You can use the same functions you saved on Rapier V2 from PC to PC without the need of the
Gaming Software.
Note:
The ‘click’ and ‘select’ function is attached to the left button (Button 1) and must always exist. To redefi ne this button another button on the mouse has to be redefi ned as the left
1.
button.


