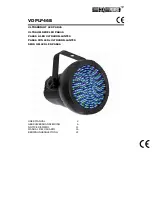
VDPLP46B
11.01.2010
©Velleman nv
4
•
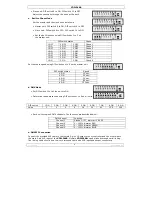
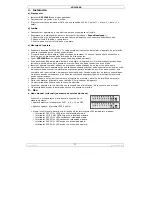
Slave unit: DIP switch 9 to ON, DIP switch 10 to OFF.
Adjust the sensitivity through the knob at the back.
c.
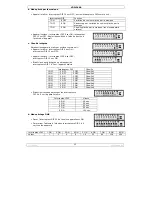
Built-in Chase Mode
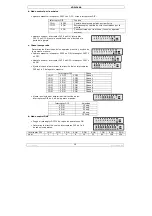
Set the master and the slave units as follows:
•
Master unit: DIP switch 9 to ON; DIP switch 10 to OFF.
•
Slave unit: DIP switch 9 to OFF; DIP switch 10 to ON.
•
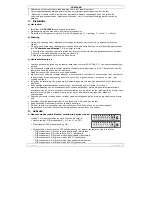
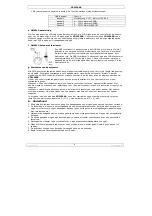
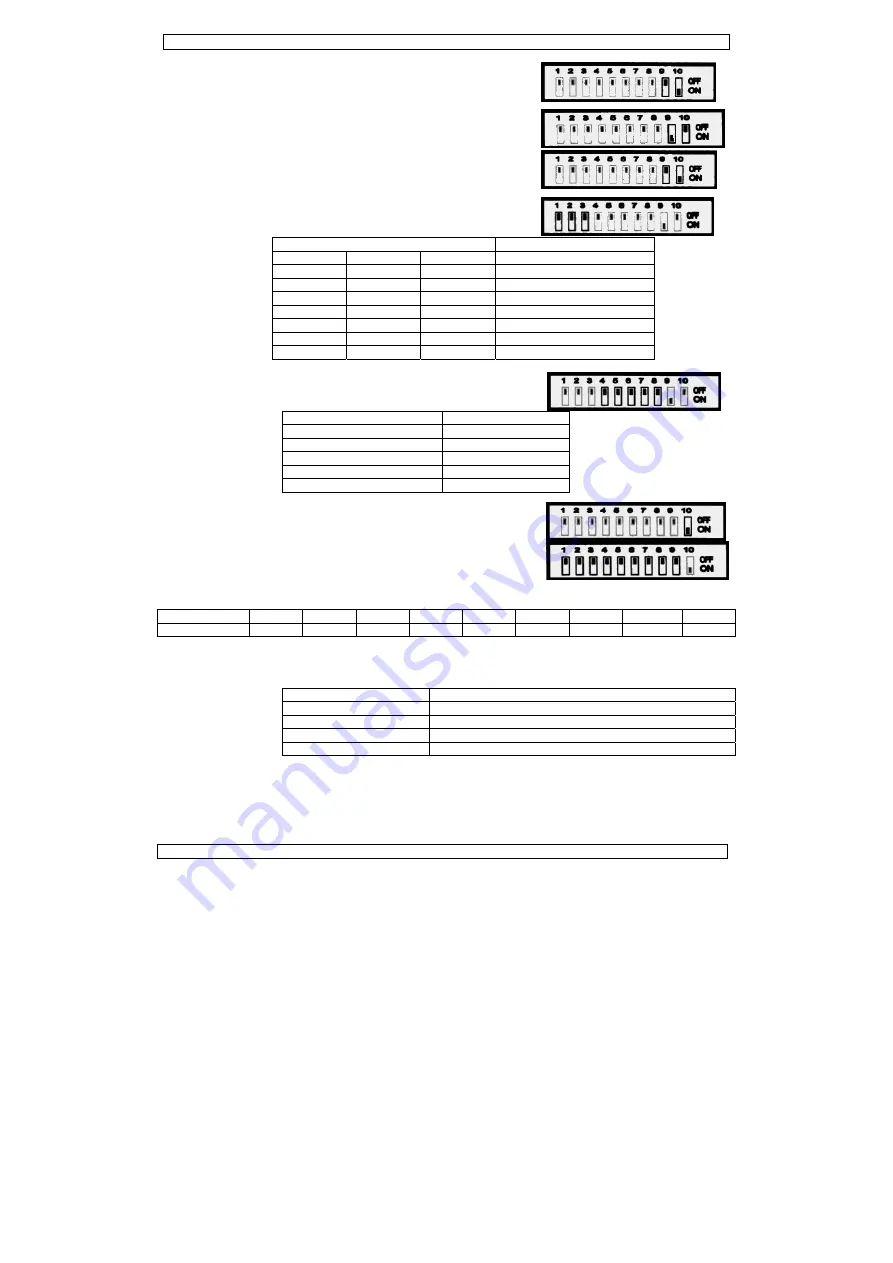
Set the built-in chase using DIP switches 1 to 3 on
the master unit.
Set the chase speed using DIP switches 4 to 8 on the master unit.
DIP switch status
Speed
4.ON 15
sec.
5.ON 20
sec.
6.ON 30
sec.
7.ON 60
sec.
8.ON 120
sec.
d.
DMX Mode
•
Set DIP switch 10 of all the units to ON.
•
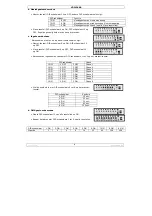
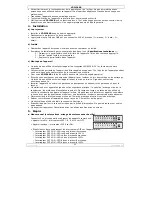
Determine the address code using DIP switches 1 to 9 on all units.
•
Each unit occupies 4 DMX channels. The functions are described below:
DMX channel
Function
Channel 1
Strobe 1-127, dimmer 128-255
Channel 2
0 – 100% dimmer RED
Channel 3
0 – 100% dimmer GREEN
Channel 4
0 – 100% dimmer BLUE
e.
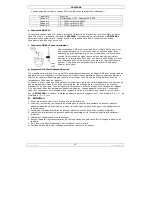
DMX512 Connection
Connect the provided XLR cable to the female 3-pin XLR output of your controller and the other side to
the male 3-pin XLR input of the
VDPLP46B
. Multiple
VDPLP46B
s can be linked through serial linking.
The linking cable should be a two-core screened cable with XLR input and output connectors.
DIP switch status
Chase
1.OFF 2.OFF 3.OFF Chase
1
1.ON 2.OFF 3.OFF Chase
2
1.OFF 2.ON 3.OFF Chase
3
1.ON 2.ON 3.OFF Chase
4
1.OFF 2.OFF 3.ON Chase
5
1.ON 2.OFF 3.ON Chase
6
1.OFF 2.ON 3.ON Chase
7
1.ON 2.ON 3.ON Chase
8
DIP
switch
1.ON 2.ON 3.ON 4.ON 5.ON 6.ON 7.ON 8.ON 9.ON
Value 1
2
4
8
16
32
64
128
256

