CCTVPROM13
17/06/2011
©
Velleman nv
6
rear panel
VIDEO IN
4 video input channels to connect 4 external video sources.
MONITOR
connect a CRT monitor to this output
AUDIO IN
1 audio input channel to connect an external audio source e.g. from a camera with audio.
AUDIO OUT
1 audio output to connect to an audio device, e.g. a speaker (mono).
LAN port
Connect the DVR to a local network by plugging a network cable into this port.
VGA
connector for video monitor
EXTERNAL I/O
use a 9 pin DSUB connector to connect external signals e.g. alarm, sensor, ...
19V DC
Power supply input.
6.
Hardware setup
Connecting a video monitor
•
Obtain a suitable monitor (not incl.) and connect it to the BNC or VGA video output on the back of the DVR.
Note:
when both a CRT and VGA monitor are connected, press and hold the
e
button during start-up to
force the output to the CRT monitor port.
Connecting the power supply
•
Plug the DC output connector of the power adaptor into the 19VDC power input at the back of the DVR.
WARNING:
only use the included adaptor.
•
Plug the included power cable into the adaptor input connector and plug the other end into the mains.
Do
not
switch the DVR on yet.
Connecting a camera
•
Connect the video output of the camera to either video input at the back of the DVR. Connector type is BNC.
Note:
video system is detected automatically; therefore it is important that the cameras are power-supplied
before
the DVR is powered-on.
Connecting audio
•
The
DVR
supports one audio input. Connect the audio output of an audio source to the audio input of the
DVR. Connector type is RCA.
•
There is also an audio output connector. Connect an audio device e.g. a speaker to this connector when
desired. Connector type is RCA.
Connecting Local Area Network (LAN)
•
Connect the DVR to a local network by plugging a network cable into the LAN port at the back of the DVR.
Connector type is 8P8C (RJ45). Setup is done through the OSD.
7.
Preliminary settings
•
Make sure the connected cameras are on and set the power switch at the rear of the device to the on-
position. It takes about 15 to 30 seconds to start up.
Menu overview
•
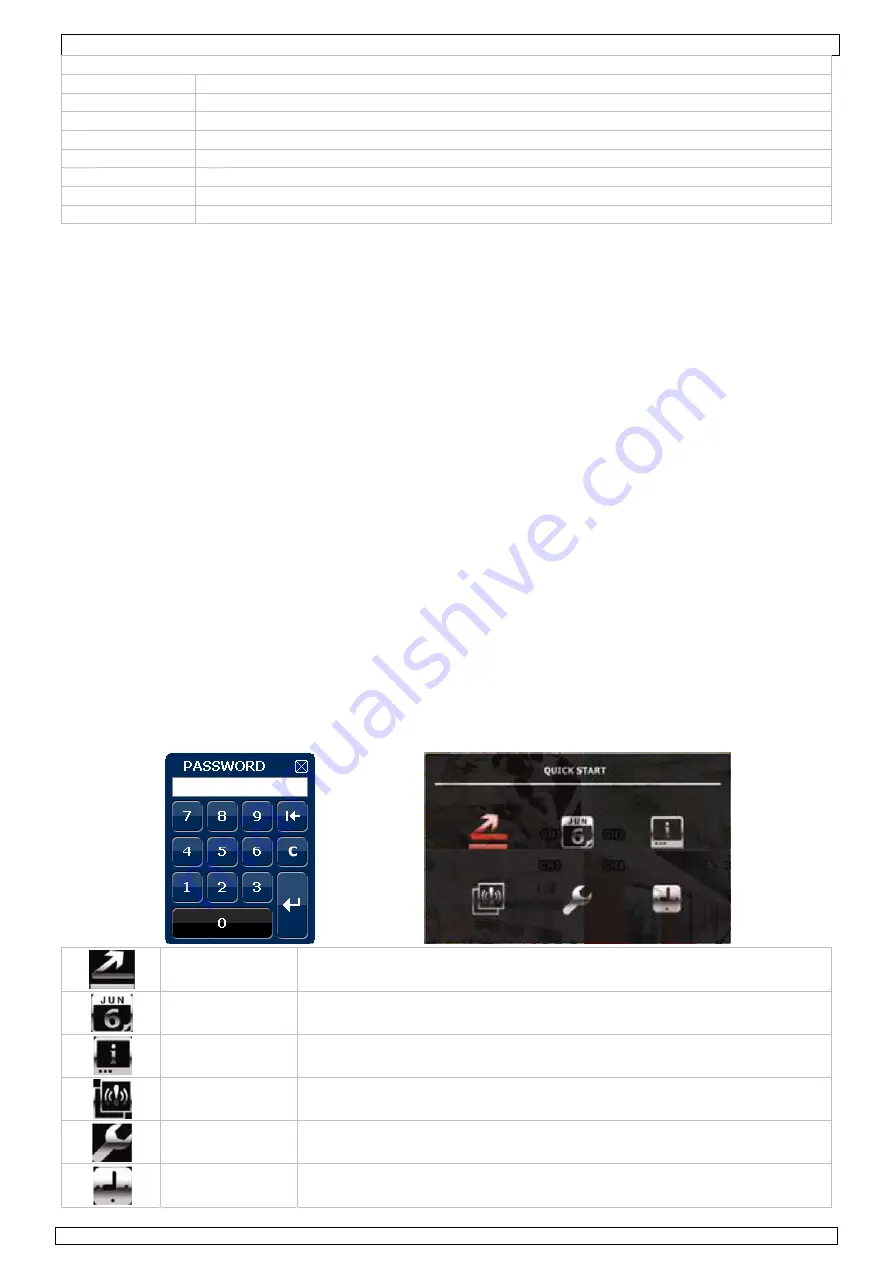
Press the MENU button and enter the password to go into the menu list.
Note
: default admin password is “
0000
” (4 times zero).
QUICK START
GENERAL - TIME SETUP
DATE SETUP
DATE INFO - DAYLIGHT
SYSTEM
TOOLS - SYSTEM INFO
EVENT
INFORMATION
QUICK SEARCH - EVENT SEARCH - HDD INFO - EVENT LOG
ADVANCED
CONFIG
CAMERA – DETECTION – ALERT – NETWORK – SNTP – DISPLAY – RECORD -
REMOTE
SCHEDULE
SETTING
RECORD - DETECTION
For more details, refer to the full user manual.


