Page
8
Last Shift Inventory Report
Inventory Increase Report
Press Function until the display shows:
Press Step to select the shift and to display inventory data.
Press Tank to select a different tank.
Press Print to print the report.
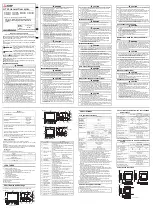
MMM DD, YYYY HH:MM XM
ALL FUNCTIONS NORMAL
LAST SHIFT INVENTORY
PRESS <STEP> TO CONTINUE
Press Function once and Step until you see the Delivery
message (the last delivery amount):
Press Tank to select a different tank.
Press Print to print the delivery report for the tank shown.
MMM DD, YYYY HH:MM XM
ALL FUNCTIONS NORMAL
T1: REGULAR UNLEADED
DELIVERY = 2958 GALS