Calibration
Autocalibration
Rev. D
Dimension 3100 Manual
323
9. Go to the
Capture
directory where all
Capture Calibration
files are saved.
10. Select
Offline
>
File
>
Browse
or click on
Browse
to review all
Capture Calibration
files.
11. Verify that all calibration images contain features spanning the full width and height of the
image frame (see the right image in
).
12. Recapture all images unsuitable for calibration. Record the file name extensions for all
unusable files (e.g., .cxy, .dyy), then delete the files.
13. Re-engage on the reference surface and select
Capture Calibration
.
14. Verify that the file name prefix is identical to that of the usable files. Remove the “x” from all
file name extensions (except for the unusable file names recorded in
).
15. Finally, click on
Capture
to recapture the selected files.
17.6 Autocalibration
After the
Capture Calibration
routine is completed, the user measures surface features contained
within each image and enters their dimensions into the software. The software compares its
estimates with the actual (user-entered) dimensions to make final corrections. This portion of
calibration is carried out using the
Offline
>
Utility
>
Autocalibration
command.
To utilize the
Offline
>
Utility
>
Autocalibration
command, do the following:
1. Select one of the desired captured calibration images in the
Capture
directory.
2. Select the
Offline
>
Utility
>
Autocalibration
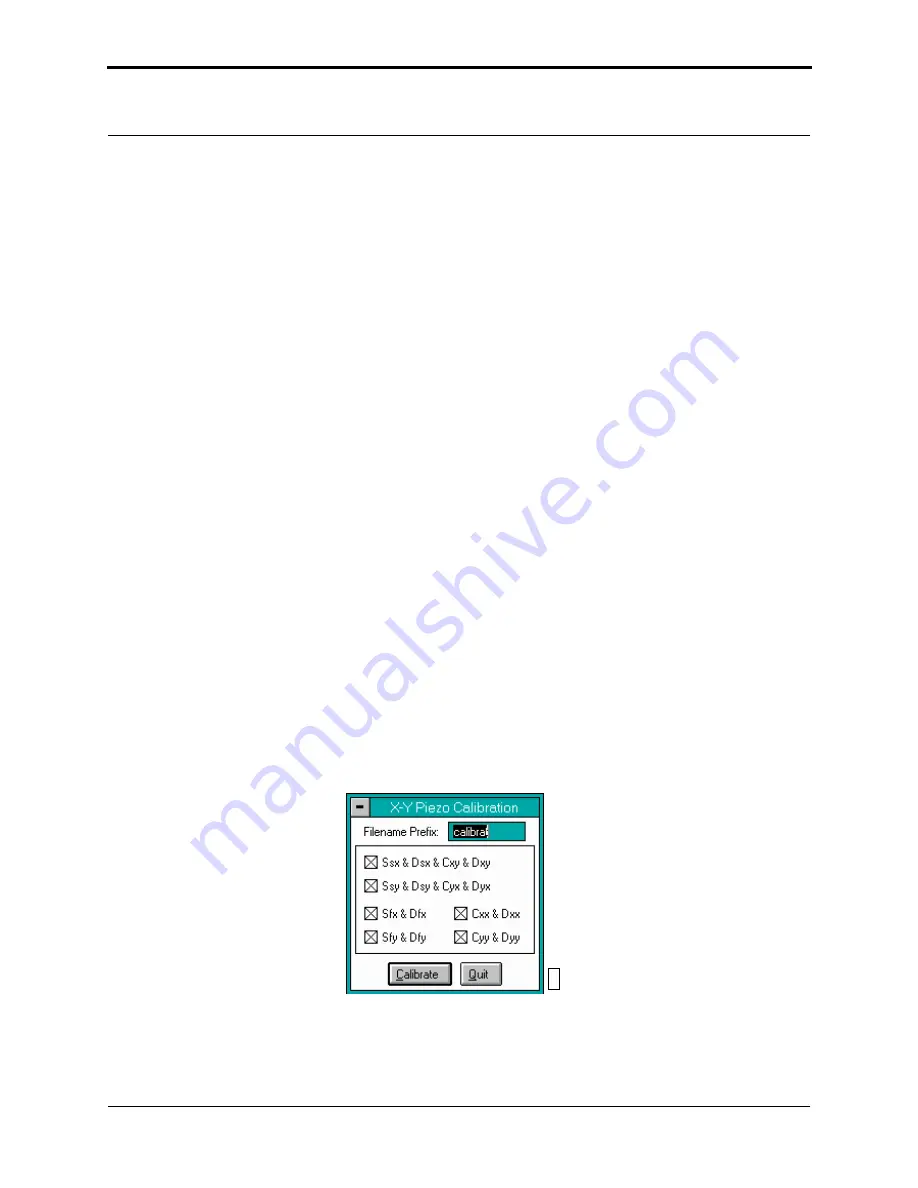
command. The control monitor will display
the
X-Y Piezo Calibration
dialog box (see
).
Figure 17.6a
X-Y Piezo Calibration Prompt
3. Verify that the file name prefix assigned to the captured files from the
Capture Calibration
routine is correct.
011
Summary of Contents for Dimension 3100
Page 12: ...xii Dimension 3100 Manual Rev D ...
Page 20: ...List of Figures xx Dimension 3100 Manual Rev D ...
Page 72: ......
Page 106: ......
Page 118: ......
Page 214: ...Scanning Tunneling Microscopy STM Etching Tungsten Tips 194 Dimension 3100 Manual Rev D ...
Page 222: ......
Page 266: ......
Page 274: ......


