VDigi Electronics
enable 720p, 1080i, just depends on your own desire, but some monitors, very
rare, may not probably display the 720p or 1080i.)
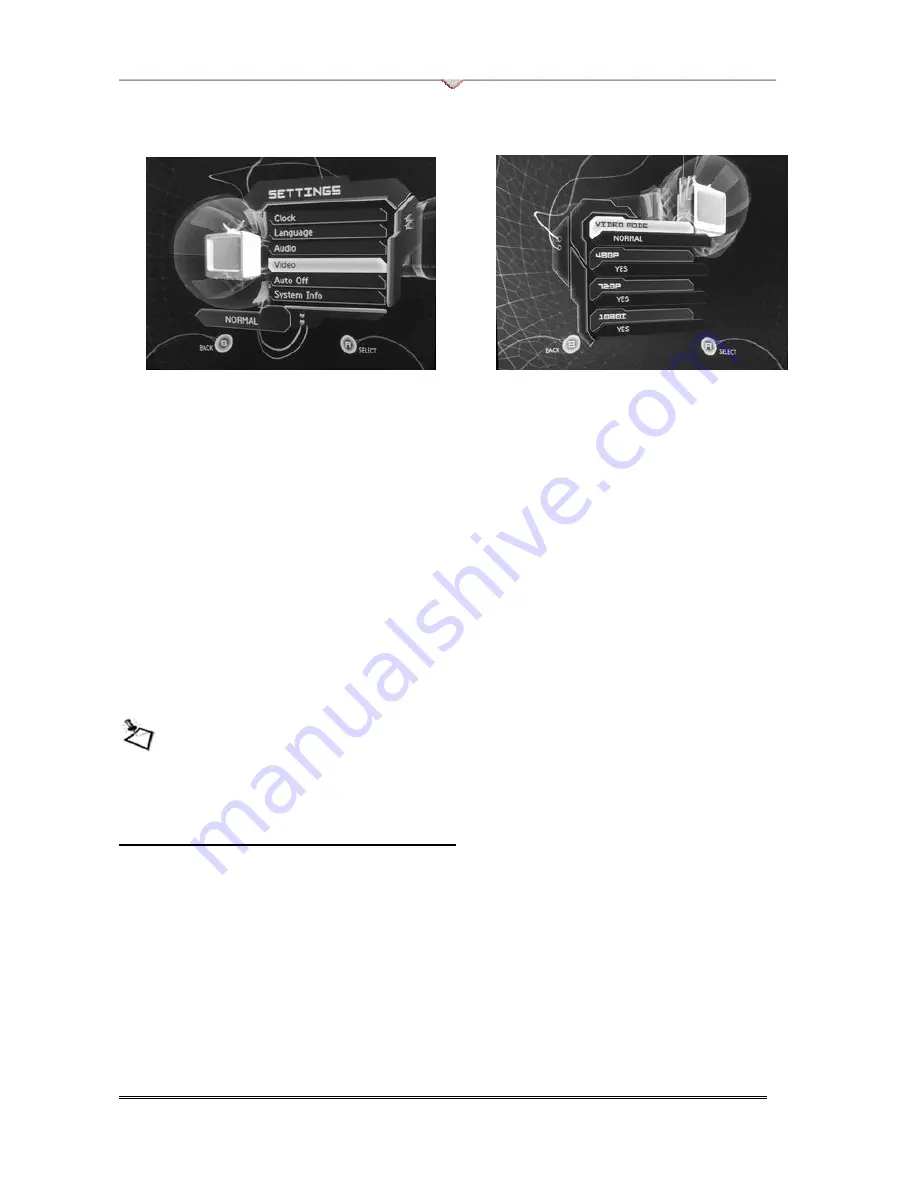
XBOX Dashboard Setting
Video Mode setting
5. After the above setup procedures, you may now connect the component cable
to the VD-Z3. In order to get your Audio output for your XBOX, you need to
connect the Audio Y cable between the component cable and your PC speaker.
Also, connect your Monitor cable into the VGA out of VD-Z3.
6. After connected all your cables probably and the DIP switch is set correctly, you
may plug in the power and switch your input source to component input. And
then insert your game disc (HDTV ready) to play on the monitor.
NOTE: The XBOX dashboard did not support progressive scan, so, you will only see the game play screen
after you entered the game. Some games may take several minutes to load, so, be patient.
2.3 Connecting to GAMECUBE / PS2
For GAMECUBE:
1. Before you insert the game disc into the GAMECUBE, please make sure that
your game is 480p supported. You may get the latest game list of HDTV
supported games from the Internet.
2. Please insert the game disc into the GAMECUBE, and then turn it on, (this is
important since if you turn on your GAMECUBE before insert the game disc,
VDigi VD-Z3 Component -> VGA Transcoder
Page
14


