Formular-Nr.:51 Rev.-Nr.:10 01/18
- 2 -
INSTALLATION on the shaft
The VARIPROP is delivered assembled, greased and ready for installation.
He may not be disassembled, otherwise the warranty claim goes out!
MOUNTING:
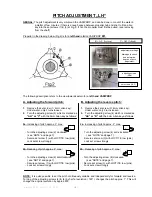
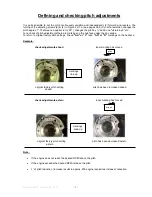
First slide the prop on the shaft without key. Mark the shaft with a grease-pen at the prop end.
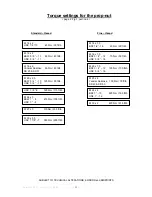
After tightening the shaft nut very strongly ( torque-setting see page 11 )
the mark must disappear. If not, the
key is binding and the top or the sides of the key must be filed down. Light must be shining through on the
top of the key when looking into the hub from astern. You may have to move your eye vertically to see it.
ATTACHING THE ZINC-CONE:
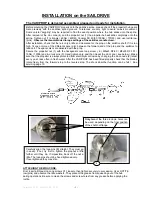
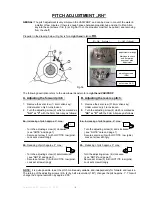
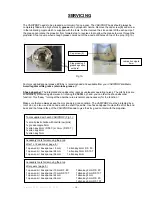
First, insert all three zinc-cone screws
(1)
loosely,then tighten securely in succession. Use LOCTITE low
(pink) and observe the little washers. They prevent the grease from squeezing out of the hub during
operation. Be sure to clean the screws and screw-holes from any grease before applying the loctite.
ENGINE DRY TEST:
Please consider that the dry test of the engine
MUST NOT
be done while the VARIPROP is fitted onto
the shaft! The VARIPROP needs water pressure on the blades, otherwise the prop could be
damaged!!
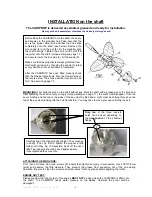
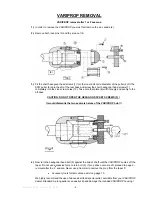
Before fitting the VARIPROP onto the shaft, check key
and keyway in the propeller hub. Take care that the
key is the proper dimension and that the hub slides
completely onto the shaft (see below). Remove the
zinc anode (2) and the nut (4). Fit the propeller onto
the shaft strongly. Tighten the nut (4) with LOCTITE
low (pink) onto the shaft ( torque-setting see page 11 )
and secure it with the lock pins (3). Fit the anode (2).
Make sure that the propeller is always protected from
electrolytic corrosion by changing the anode (2) latest
every year! May not be necessary in freshwater.
After the VARIPROP has been fitted properly check
that the blades rotate freely from the forward stop to
the reverse stop. The shock absorber function can be
felt ! See servicing page 10.
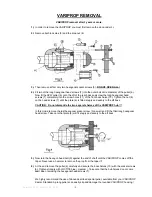
Only two
of the three lock-pin
holes can be used, depending on
the final position of the shaft-nut
flange.
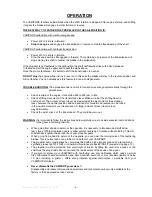
Carefully align the lock-pins
(3)
straight. They must go
in easily. If not, try first to tighten the propnut a little
further until they do. If impossible, back off the nut a
little. The lock-pins
should be hand tightened only.
If overtightened they may strip.
3


