Sail Controls
Jib
The jib halyard replaces the headstay when the jib is up, allowing for
a wide adjustment of mast rake. The headstay will fall slack when the
jib halyard is properly tensioned. Remove the clevis pin just aft of the
headstay, line up the jib tack between the holes, and reinsert the cle-
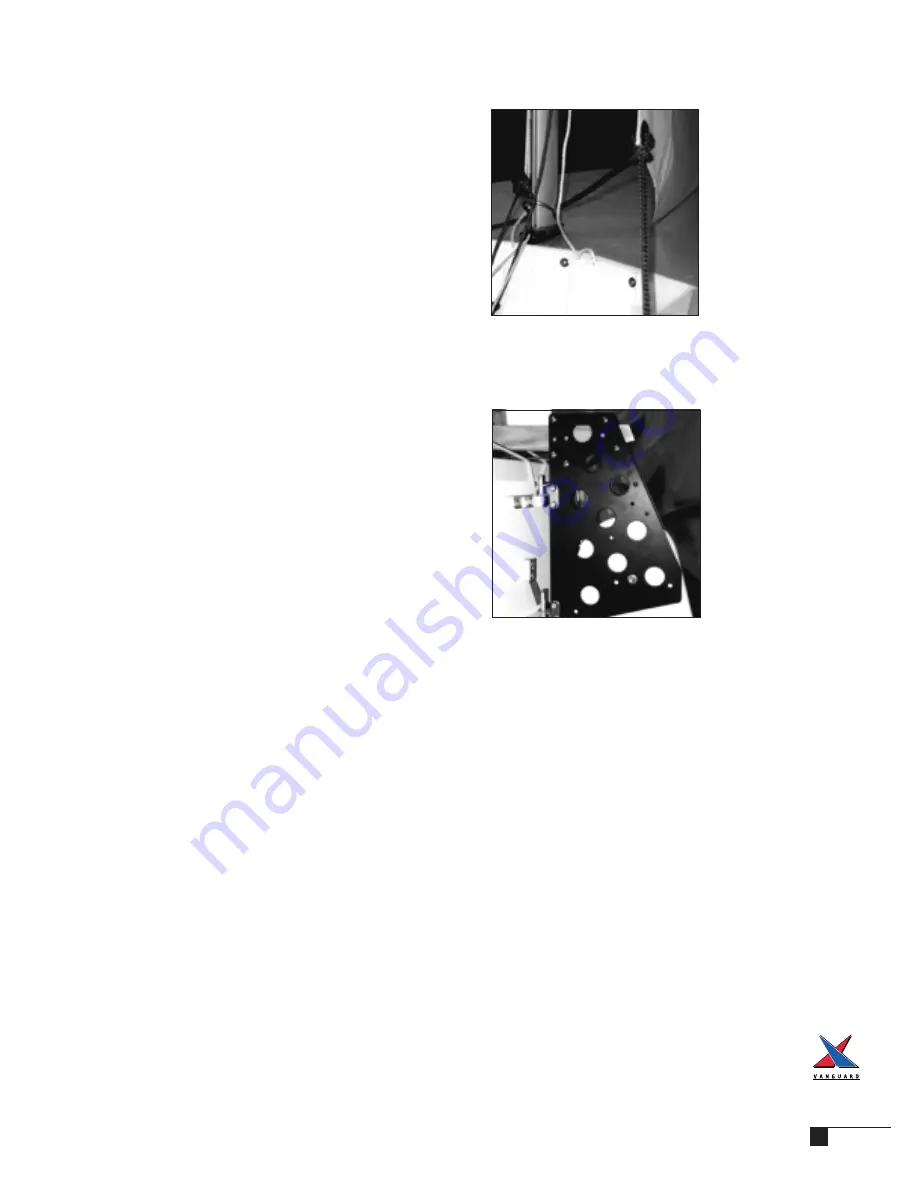
vis pin. Locate the jib sheets (one line, in the line bag) and find their
halfway point; this is where they will attach to the sail. Feed the mid-
point through the clew grommet as a loop and pass both tails
through this loop, so that when tightened, the sheet is securely
attached to the sail. Lead the nearest sheet back to the fairlead on
the near side of the boat, and lead the other sheet in front of the
mast and back to the opposite fairlead. Tie a stopper knot in the ends
to prevent them from pulling out when you raise the sail. Locate the
jib halyard shackle and attach it to the head of the jib. Make sure the
jib sheets will run free and pull up the halyard. When the sail is most
of the way up, you will get to a loop at the end of the wire; hook the
purchase located on the port side of the mast into this loop and pull
up on the purchase. Tie off the end of the purchase to the cleat, and
coil the halyard into the line bag. To keep the headstay from inter-
fering with the jib, take up the slack in the wire at the bottom with
a piece of shockcord (not provided).
Raising the mainsail
Locate the aft end of the main halyard and attach it to the head of
the mainsail. The smaller the knot, the closer to the top of the mast
the sail will be. Make sure the mainsheet will run free and pull up the
sail, feeding it into the sail track. Once the sail is near the masthead,
you will find a stainless ring tied into the line. Pass a loop of halyard
through the ring and down under the cleat, and use this additional
purchase to pull the main up to full hoist. Cleat off the halyard, and
coil the tail into the line bag. The cunningham is attached to the port
side of the mast. Pass the end up through the grommet in the luff of
the mainsail and back down to the clam cleat on the starboard side
of the mast. Tie a stopper knot in the bitter end to prevent it from
unrigging itself.
Before launching
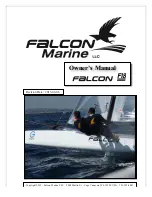
Attach the rudder to the gudgeons as shown, kicking up the rudder
if necessary. Make sure the rudder bolt is tight enough so the blade
will remain kicked up. If the rudder stop does not prevent the rudder
from lifting off the boat, bend the stop out so that it fits as shown.
Pass the tiller between the mainsheet bridles and slide it into the rud-
der head. Wrap the rudder down haul loosely around the cleat; this
line will get tightened once the rudder is all the way down. The
shockcord reduces damage if the rudder hits something while sailing.
4
w w w . t e a m v a n g u a r d . c o m
Jib Sheet
Rudder
Assembled and Mounted


