


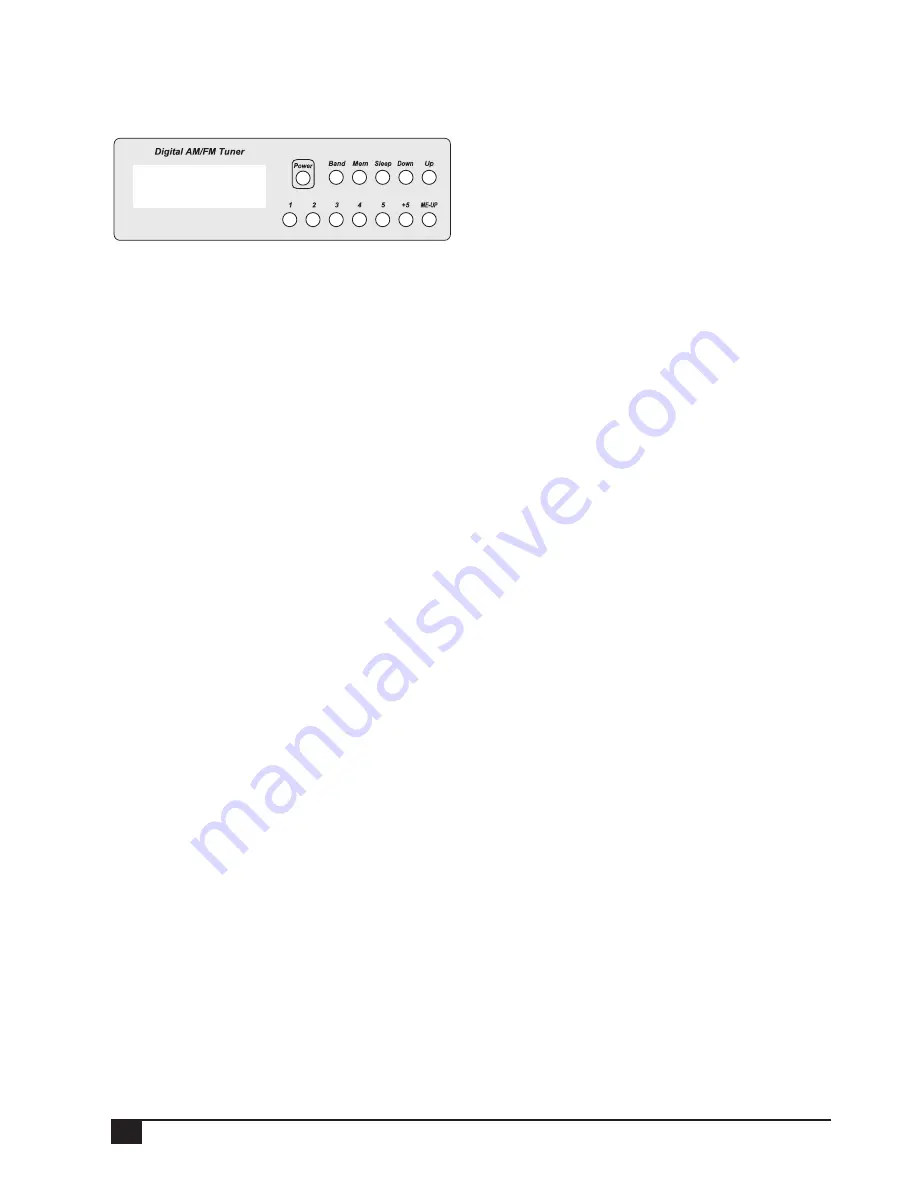
MASTER STATION FUNCTIONS
Clock and radio setup applies only to
systems fitted with a master station.
SETTING THE CLOCK
Press the POWER button to turn the radio off. The time will
be displayed.
Press and release the MEM button to enter time set mode.
Whilst the clock digits are flashing:
Press UP to adjust hours and AM/PM.
Press DOWN to adjust minutes.
Press and release MEM to set the time and exit time set
mode.
RADIO OPERATION
Pressing the POWER button at the master station turns the
radio on or off to all stations. You can choose to listen to the
radio in any room using the MUS button at each station.
Press MUS at any station to enable Music Mode for that
station. The red status light will be on to indicate that Music
Mode is on.
The radio volume can be individually adjusted at each
station.
Press MUS again to disable Music Mode.
HOW TO TUNE THE RADIO:
Press the POWER button at the master station to turn the
radio on.
TUNING THE RADIO
Press the BAND button to select AM or FM. Use the UP and
DOWN buttons to select the desired frequency.
TO STORE RADIO PRESETS
Press the POWER button at the master station to turn the
radio on.
Use the UP and DOWN buttons to select the desired
frequency.
Press the MEM button.
Press the desired preset button (1–5).
Press the MEM button again to store the station.
Note: For presets 6 to 10, press the 5+ button followed by
one of the buttons 1 to 5.
AUDIO OFF MODE
The local VOLUME control cannot turn the audio off completely
at the master station as it does at room stations.
To turn off all local audio at the master station, press and hold
the MUS button until the red MUSIC/IN USE light begins to
fl ash slowly.
Press the MUS button again to turn audio back on.
WIRELESS AUDIO INPUT
The Wireless Audio Transmitter (WAT) is an optional accesory
which allows any audio source, (CD, DVD, Tape, Computer
audio), to be piped to all intercom stations.
The WAT transmits audio to the master station using FM
radio.
To set up:
• Ensure the WAT is powered and connected to the audio
source.
• Turn on the audio source, (CD, DVD, Tape, Computer).
• Turn on the radio at the master station.
• Tune the radio to the frequency of the WAT, as you would
tune a radio station.
• Sound from the audio source will be heard on that FM
frequency. The frequency can be stored in a radio pre-
set.
6
SYSTEM ONE™ INTERCOM SYSTEM - USER MANUAL


