
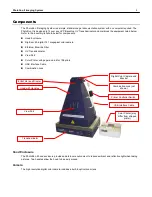


PhotoDoc-It Imaging System
8
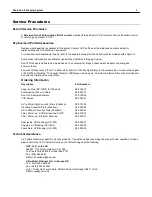
Printer On
Button
Power Button
Optional LCD Screen
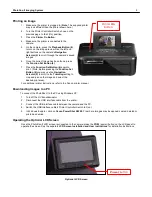
Printing an Image
1. Make sure the printer is plugged in. (
Note
: The supplied printer
may look different than the printer shown here.)
2. Turn the Printer Controller Switch, shown on the
previous page, to the
I
(On) position.
3. Press the
Printer On Button.
4. Make sure the printer is connected to the
camera.
5. On the camera, press the
Playback Button (4)
to turn on the image preview. Use the left and
right buttons on the camera’s
Navigation
Selector (5)
to scroll through the camera’s saved
images.
6. Once the correct image has been found, press
the
Function Set Button (6)
.
7. Press the
Function Set Button (6)
again to
print.
(Note: Before pressing the
Function Set
Button (6)
you may use the
Navigation
Selector (5)
to scroll to the
Trimming
setting to
crop and pan on the image and select the
desired print area).
For additional printer instructions, refer to the Canon printer manual.
Downloading Images to a PC
To connect the PhotoDoc-It to the PC using Windows XP:
1. Turn off the UV transilluminator.
2. Disconnect the USB interface cable from the printer.
3. Connect the USB interface cable between the camera and the PC.
4. Switch the USB interface cable’s Printer Controller Switch to
I
(on).
5. In Windows Explorer, click on
Canon PowerShot A2200
.
From here, images may be opened, copied, deleted or
printed as desired.
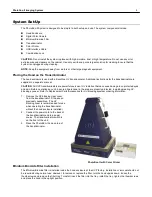
Operating the Optional LCD Screen
Once the PhotoDoc-It LCD screen is connected to the camera, press the
POW
(power) button on the LCD panel to
operate the screen. See the separate
LCD Screen Installation and User Instructions
for installation instructions.


