User Manual & Installation Guide
UTAH-100 Control Software
Document: UTAH-100-ControlSoftware10.doc
Date: 2009-11-10, Rev. 1.0
5
Start Page
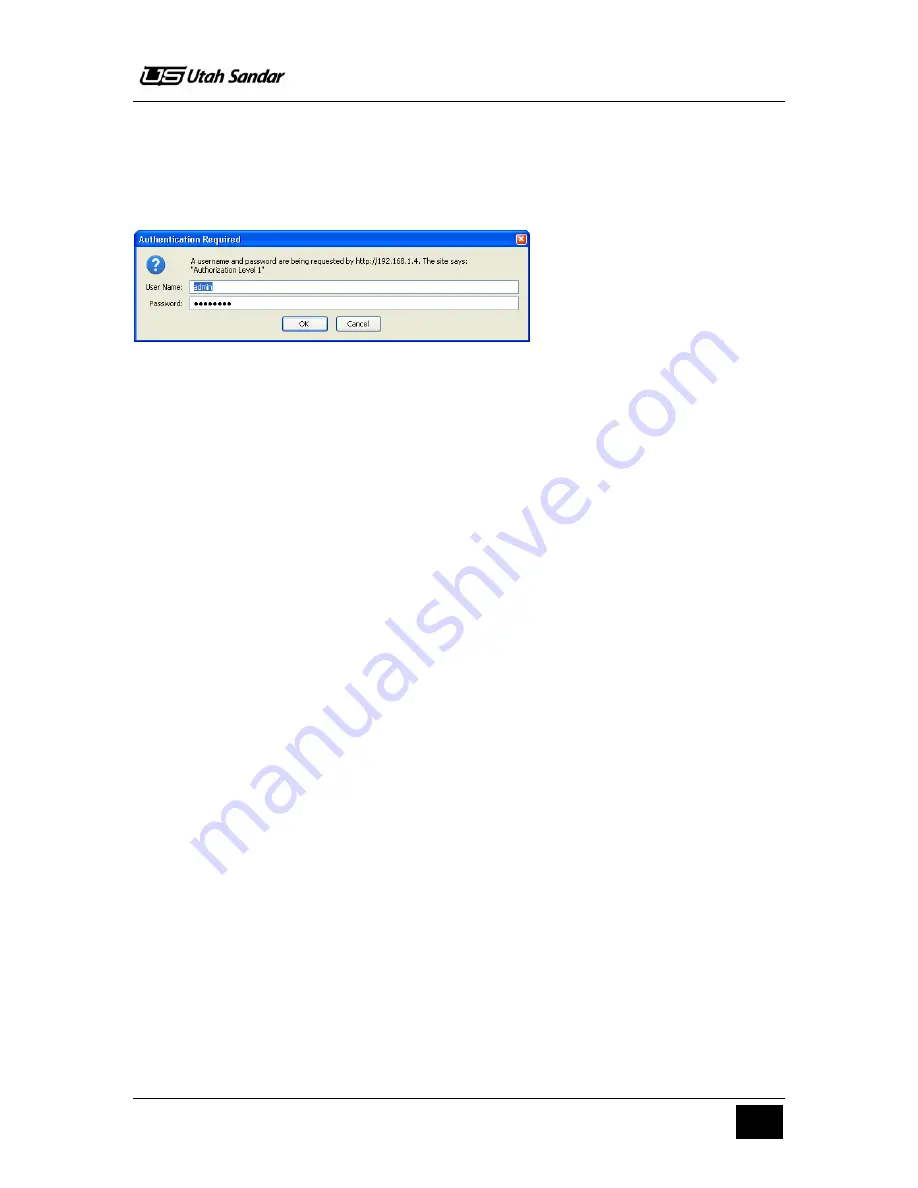
When accessing the Web Control of a UTAH-100 device the user must log on with a registered
username and password (figure 2). Default username is “admin” and default password is
“password” (both without quotes). After a successful logon, the Start Page is shown (figure 1) with
an image and some info about the device and the current network configuration.
Figure 2: Users must logon to access the web interface
Control
The content of this page is dependent on the device whether it is a router or a stand-alone control
panel.
Control – Router
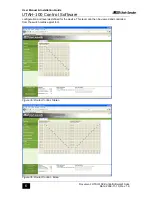
On this page you can view and control the switch status of the device (figure 3). The control is
done with the use of a Java Applet and hence it is necessary to have the Java Runtime
Environment (JRE) installed on the computer for this to work. If this is not installed, the message
“You have to install the Java Runtime Environment” will be displayed on the page instead. The
JRE can be downloaded from http://www.java.com.
When the applet is loaded, it will display the matrix according to the device hardware and what
sources and destinations are present. If the router is partitioned into two logical devices, two
applets will show up so the to parts can be controlled separately. As example, the Audio router is
configured as 16x16 Stereo in figure 3a and 16x16 Mono in figure 3b. To do a take or change the
mnemonics, right-click on a cross point and select from the popup menu.
Control – Control Panel
For control panels, a soft panel control will appear on this page (figure 4). This works the same
way as if clicking the buttons on the physical panel, except from disconnect and lock actions
which require clicking a separate button (on the physical panel this is performed by holding the
button down). The soft panel is updated at intervals of a few seconds if no action is performed.
When clicking a button on the soft panel on the other hand, the soft panel is updated immediately
with a read-back of the new button status.
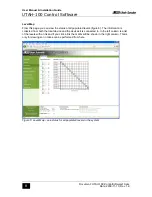
The control panel can also be configured through the Web Control. Click the “Panel
Configuration” link (see figure 4) and the soft panel is replaced with colored buttons (figure 5) and
some more options. The different colors are codes for the different button functions and the
number on the buttons are the current value parameter. To do changes you must click a button
and select either a function or a parameter and hit the correspondent “Apply” button. One click on
a button selects it (a thick border shows it is selected) and click again to deselect it. You can
select multiple buttons to add the same function to each of them, but you can only apply
parameters to one button at a time. The “Clear selected” button only deselects all buttons. The
“Reset form” button reloads the buttons with their currently saved states. After changes are done,
click the “Save changes” button to save the new button configuration, and the panel (both
physical and soft) will run the new configuration immediately.
Also for control panels the switch matrix shown on figure 3 is available by clicking the tab “Matrix
Control on local device level” (see figure 4 or 5). Even though a control panel does not have a
physical router, it is still provided with a virtual router with size according to the current panel


