Quick setup
Connecting to the Uplogix Control Center from the Uplogix appliance (required)
From the Uplogix appliance’s command line interface, issue the
config system management
command. Use your Uplogix Control Center's IP address in place of the IP address in this
example:
[admin@xyzcoAus01]#
config system management
--- Existing Values ---
Use EMS: false
EMS Server Hostname or IP: 127.0.0.1
EMS Server Port: 8443
Heartbeat interval (seconds): 30
Last successful heartbeat: (not yet contacted)
Change these? (y/n) [n]:
y
--- Enter New Values ---
Use EMS: (y/n) [n]:
y
EMS Server Hostname or IP: [127.0.0.1]:
172.30.238.20
EMS Server Port: [8443]:
Set archive location to 172.30.238.20: (y/n) [y]:
Set ntp location to 172.30.238.20: (y/n) [y]:
Heartbeat interval (seconds): [30]:
Do you want to commit these changes? (y/n):
y
Updating archive to point to 172.30.238.20
Enabling NTP to point to 172.30.238.20
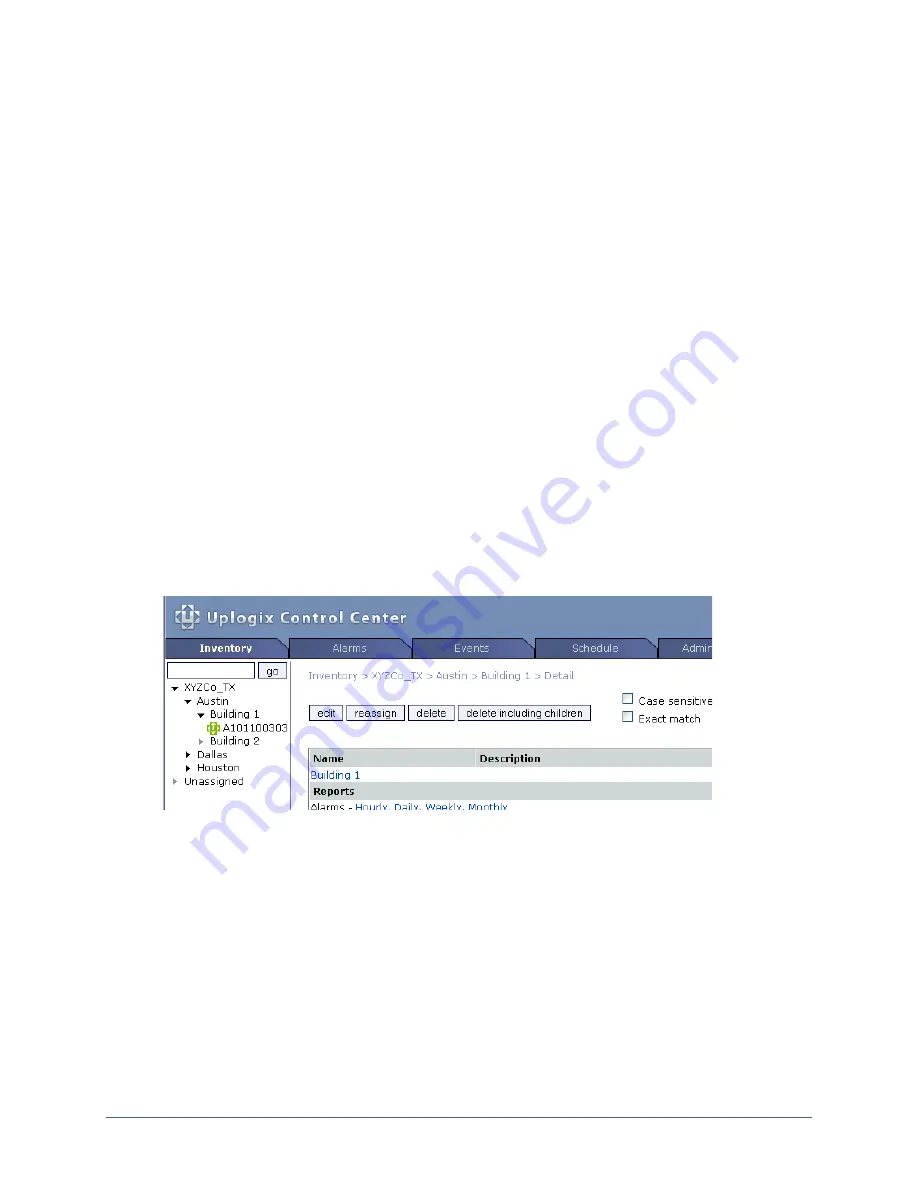
If you set up a placeholder in the inventory before you do this, the black icon for the
placeholder turns green and the serial number is replaced by the appliance's hostname (if one
has been configured on the appliance) when the Uplogix Control Center has received a full
heartbeat. The default heartbeat interval is 30 seconds.
If you did not create a placeholder on the Uplogix Control Center, the appliance will be placed
in the Unassigned group. You will need to reassign it into another inventory group to manage
it.
Refer to the User’s Guide for the Uplogix Control Center Element Management System
for detailed information about configuring and managing the Uplogix appliance from the
Uplogix Control Center.
38
Installation Guide for Uplogix Secure Remote Management Appliances


