


PAG
.
29
rev 1.1
English
5. SYSTEM SETUP
Press [Menu] in the TV mode to enter the main menu (OSD
59).
1. Press [
] to select the System Setup item.
2. Press [OK] to enter the selected item.
In the System Setup menu (OSD 60):
3. Press [
] to select the wanted menu item.
4. Press [OK] to enter the selected item among.
- Language
- TV System
- Time & Timer Setting
- OSD Setting
- Parental Lock
- Power setting
- RCU Position Switch
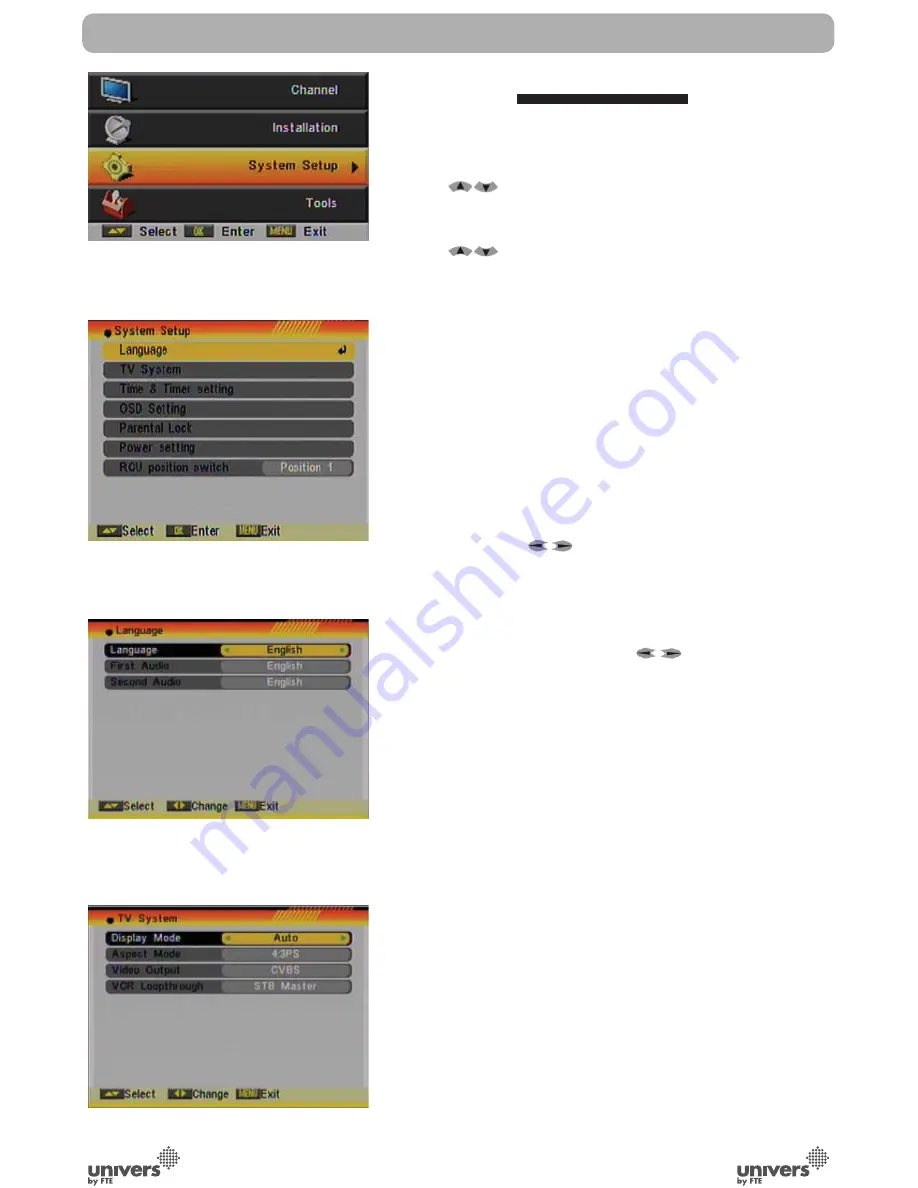
5.1. LANGUAGE
After selecting the “Language” menu you will see a window like
beside (OSD 61):
1. Language: press [
] to select languages. The selection
of languages include: English, German, French, Italian,
Portuguese, Spanish, Turkish, Polish, Hungary and Arabic.
2. First Audio: Some channels offer more than one audio
language. This function allows you to set the preferred audio
language for those channels using [
]. If a channel offers
the same audio language as the “First Audio” you set the
system will play this audio language as default. If the channel
does not offer this audio language then the system will compare
the offered languages with the second audio language. The
selections of audio languages include: English, French,
German, Russian, Arabic, Portuguese, Turkish, Spanish, Polish
and Italian.
3. Second Audio: If the channel has no audio language that
corresponds with “First Audio” but with “Second Audio” the
system will play the second audio language as default. If no
audio language corresponds with the “Second Audio” then the
default language of the current channel will be played instead.
The selections of audio languages include: English, French,
German, Russian, Arabic, Portuguese, Turkish, Spanish, Polish
and Italian.
4. Press [Exit] to return back from “Language” menu.
5.2. TV SYSTEM
When you enter the “TV System” menu you will see the screen
like below (OSD 62):
SYSTEM SETUP
OSD 59
OSD 60
OSD 61
OSD 62
Summary of Contents for U4114
Page 1: ...U4114 ...


