


19
Easy Setup Using the WPS Button
NOTE: Make sure the Ethernet cable is not connected to the machine.
1. Follow Steps 1 – 6 to enable wireless
functionality.
2. Press the [Menu] key.
4. Using the up/down keys, select [Network
Setting], and then press the [OK] key.
5. Using the up/down keys, select [Wireless
(Wi-Fi)], and then press the [OK] key.
6. Using the up/down keys, select [WPS], and then press the [OK] key.
7. Using the up/down keys, select [PBC], and then press the [OK] key.
8. Using the left/right keys, select [Yes], and then press the [OK] key. "Connecting..." appears, and the
machine starts to connect in PBC method.
9. Press the WPS button on the router (access point) within two minutes.
10. Check the result. If connection has succeeded, press the [OK]
key and then the [Menu] key to return to the initial screen. If
connection has failed, Press the [OK] key to return to the screen
displayed in Step 5. Check the configuration for the router (access
point), then try the connection again.
11. Configuring the Wi-Fi settings is complete.
12. Once complete, follow the steps for ‘Network Setup’ beginning on page 12, but choose ‘Wireless
Connection’ as the connection type.
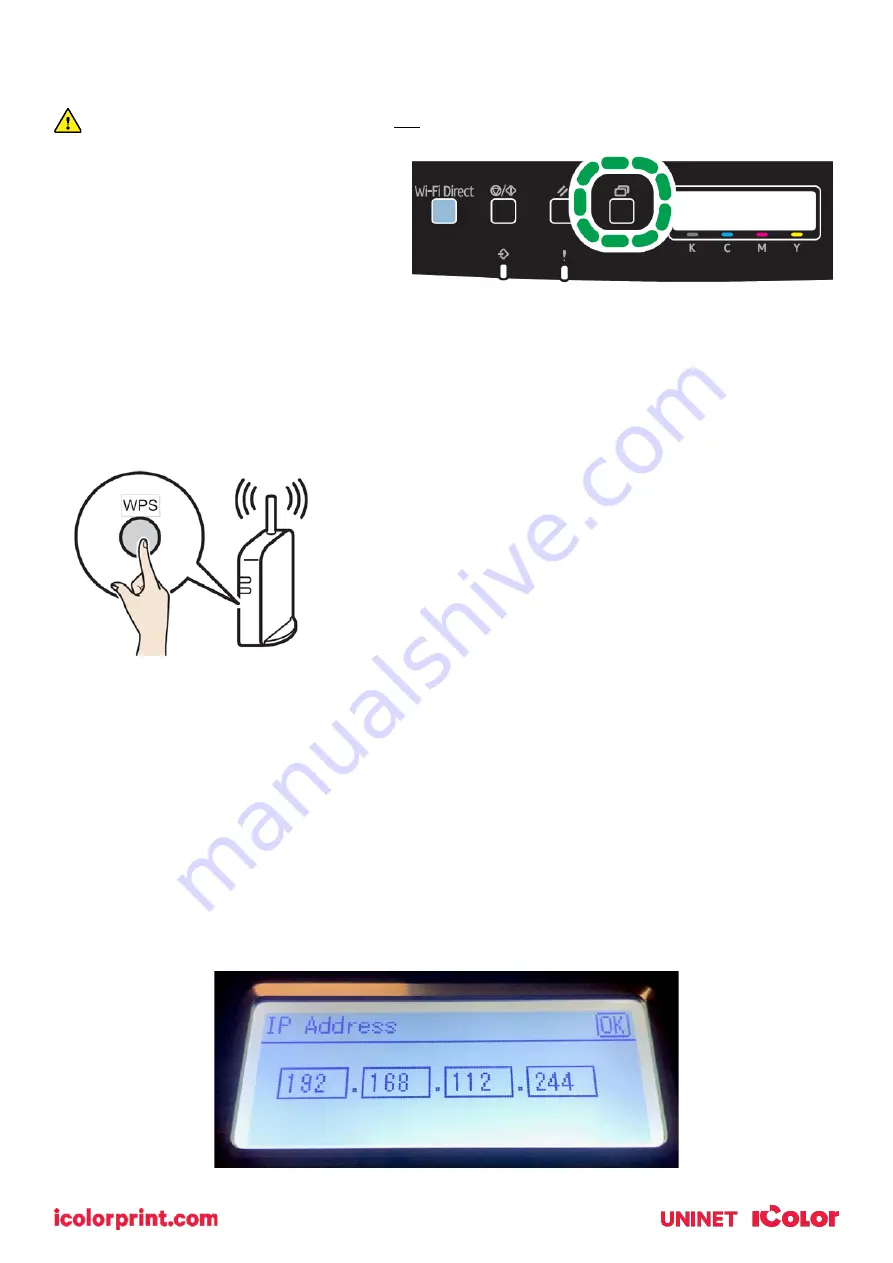
Setting a static IP
1)
Press the Menu button to the left of the LED screen.
2)
Using the arrow keys to the right of the LED screen, select Network Settings > IPv4
Configuration > IP Address.
3)
Use the arrow keys to set the IP address. You can set the subnet mask and default gateway
under the same menu. Your IP address will differ than the example below.
Summary of Contents for IColor 560
Page 1: ...1 IColor 560 Digital Color White Transfer Media Printer User Manual ...
Page 4: ...4 Machine Guide Exterior Front View ...
Page 5: ...5 Exterior Rear View ...
Page 6: ...6 Interior ...
Page 7: ...7 Control Panel ...
Page 8: ...8 ...


