


[17]
Basic Setup
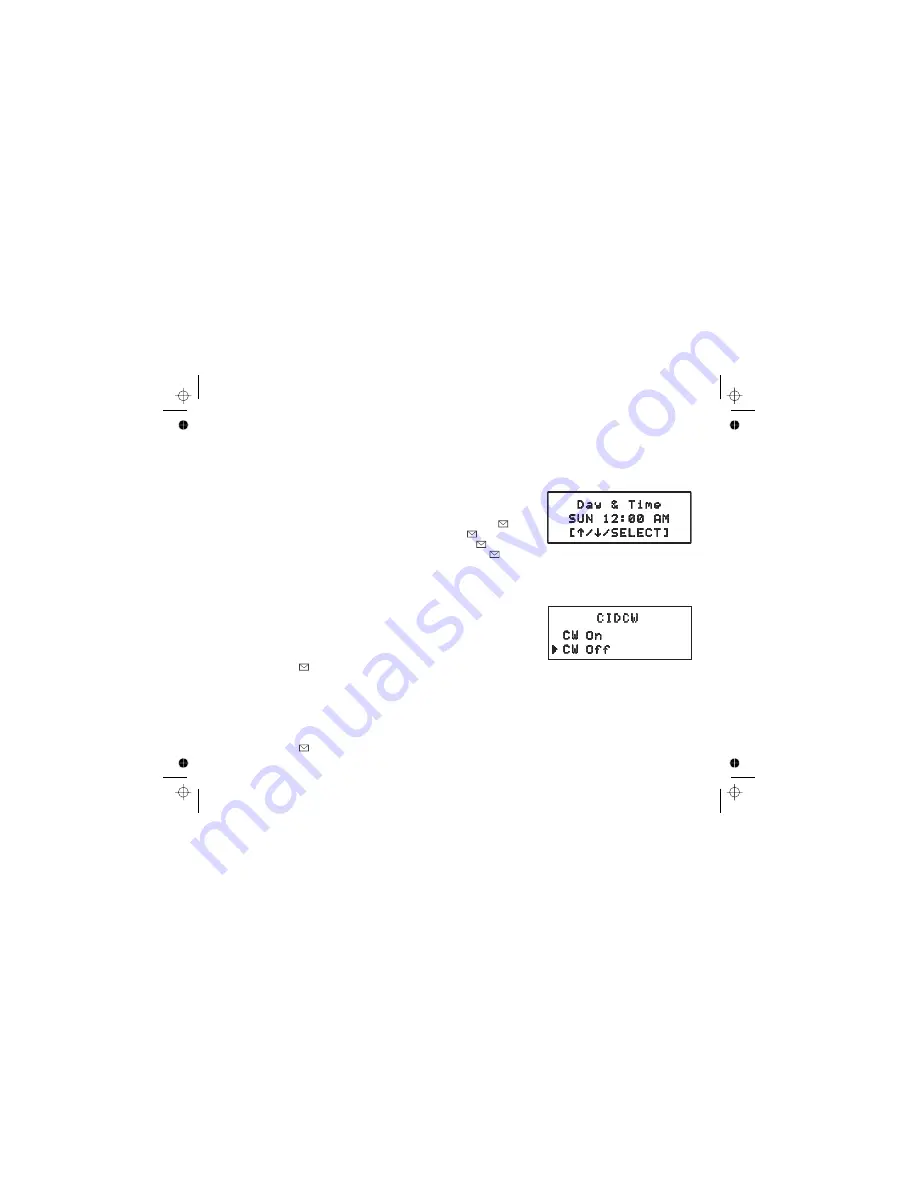
Setting the Day and Time
To change the day and time shown in the display, follow the steps listed below.
1. Press
. Select the GLOBAL SETUP menu, and then the
DAY & TIME submenu option.
2. Move the cursor to select the day of the week, and then
.
3. Move the cursor to set the hour, and then press
.
4. Move the cursor to set the minute, and then press
.
5. Move the cursor to choose AM or PM, and then press
. You will hear a confirmation tone.
Note: If you don't press any keys for two minutes when setting the day and time, the
phone will exit the menu.
[menu/clear]
[select/
]
[select/
]
[select/
]
[select/
]
Activating Caller ID on Call Waiting
Activating Distinctive Ring
Your phone supports Caller ID on Call Waiting (CIDCW), so you can see the name and number of someone who
calls when you're already on the line.
The Caller ID on Call Waiting service is currently unavailable in NZ.
You'll need to subscribe to these features with your phone company before you
can use them. To let your phone support these features, follow the steps below:
1. Press
. Select the GLOBAL SETUP menu, and then the
CIDCW submenu.
2. Move the cursor to select CW ON or CW OFF.
3. Press
. You will hear a confirmation tone.
You can assign special ringer tones to anyone in your phonebook. When your phone gets a call, it looks up the
Caller ID information in your phonebook. If you've assigned a distinctive ringer to that number, the phone uses it so
you know who is calling. To turn on distinctive ringing, follow these steps:
1. Press
. Select the HANDSET SETUP menu, and then the DISTINCT. RING submenu.
2. Move the cursor to select ON or OFF.
3. Press
. You will hear a confirmation tone.
[menu/clear]
[select/
]
[menu/clear]
[select/
]
Summary of Contents for DSS3435+1
Page 1: ...Owners Manual OWNER S MANUAL DSS3455 DSS3455 1 DSS3455 2 and DSS3435 1 ...
Page 67: ... 66 ...
Page 68: ... 67 ...
Page 69: ...MEMO 68 ...
Page 70: ...MEMO 69 ...