


21
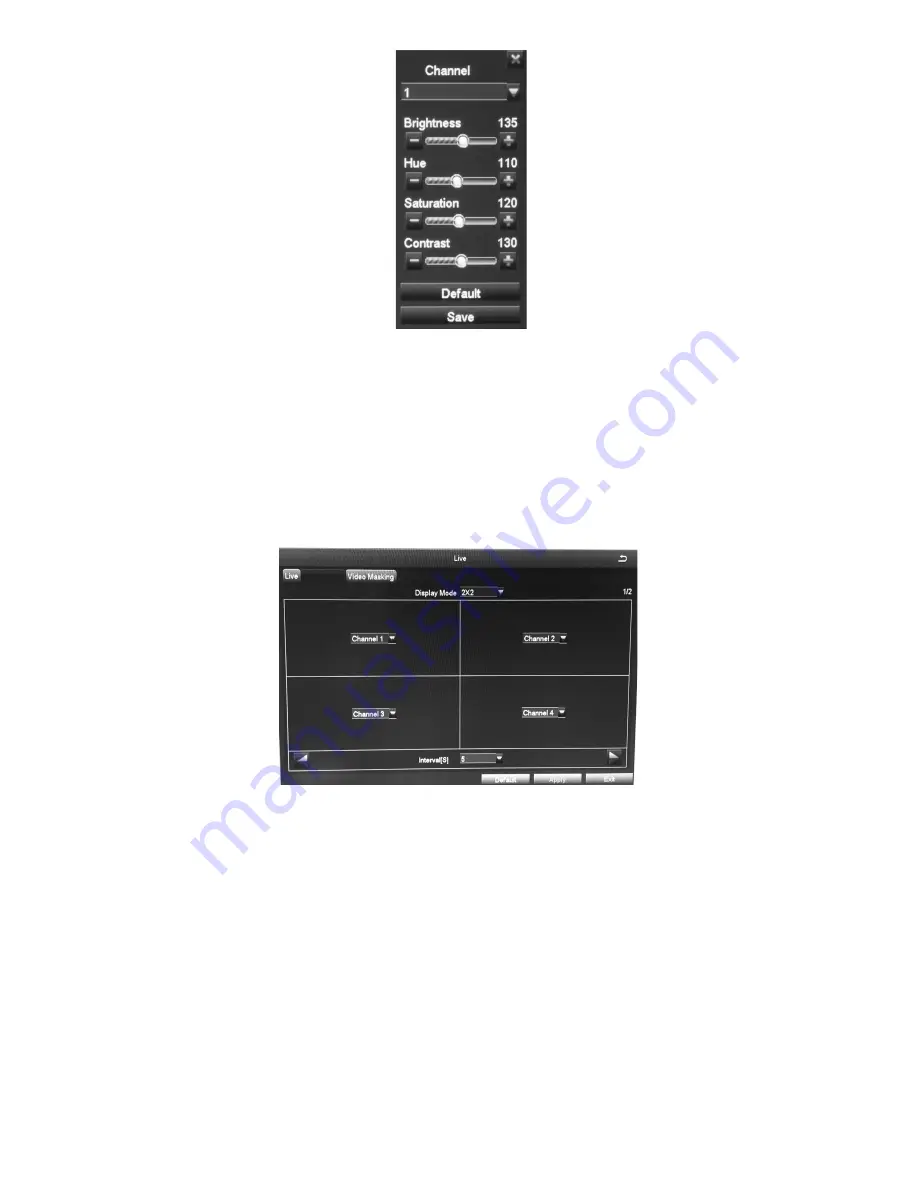
4. Adjust the brightness, hue, saturation, and contrast of the corresponding channel and select
Save
.
5.
Select another channel to adjust. When you are finished, select
Ok
.
6. The
Live
screen displays again.
Main Monitor Tab
This screen lets you determine in what order the cameras’ live video displays in the screen’s
sections. You can also set how long the video pauses on each image before moving to another
image (5 to 60 seconds).
Video Masking Tab
You can mask off up to 4 rectangular areas for a single camera. No video records from those
masked off areas; only a blank box/rectangle displays.
1. From the
Video Masking
tab, select
Setting
for the channel you want to mask. Video for that
channel displays.
2. Press and hold the left mouse button and drag it across the area you want to block. A white
rectangle covers the area you indicated. Release the mouse.
3. Right-click to return to the
Video Masking
tab. Select
Apply
to save your settings.
4. Repeat Steps 2 and 3 up to 3 more times (4 areas selected per screen).
5. To remove video masks, double-click on the area you want to remove; the white rectangle goes
away.
6. Right-click to return to the
Video Masking
tab. Select
Apply
to save your settings. The masked
areas are released.


