


14
1. From the menu shortcut screen, select
Main Menu/
Setup/Alarm/Motion
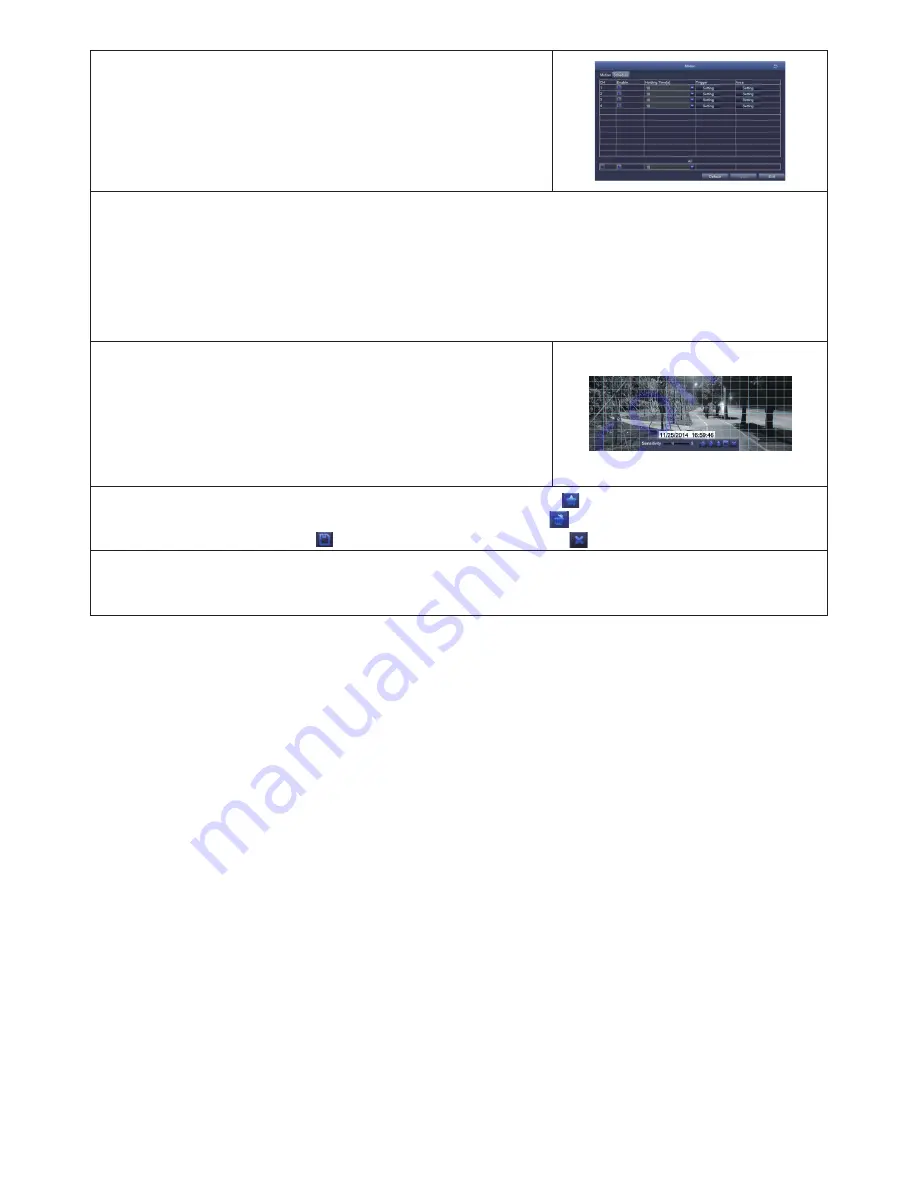
. The
Motion
screen displays.
2.
Set each camera’s motion detection specifications.
• Select Camera. Select the channel you want to record when motion is detected.
• Set Holding Time. Set how long the camera continues recording after motion is no longer
detected.
• Set Trigger. Other channels record when one of the cameras detects motion. The Trigger
field sets how that camera notifies that it is recording (buzzer, email notification, etc).
3.
The last field, Area, masks parts of the viewing area from
being triggered by normal motion. Select
Setting
, and
a grid displays over the camers's live view. Use the left
mouse to select a grid to block from view. Left-click and
drag to select multiple boxes. Left-click those boxes
again to de-select them. Mask off flags, trees, or other
objects that move in the wind to avoid false alerts.
4. Right-click to display the control bar. Click the STAR icon ( ) to make the whole viewing
range a sensitivity area. Click the the TRASH CAN icon ( ) to remove sensitivity areas.
Click the SD CARD icon ( ) to save the settings and click to exit.
5. From Live view, test motion detection by moving something or having someone walk through
the camera's view. If the DVR detects movement within the active grid area, a red person icon
displays.


