Programming Conventional Channels
Each bank can hold a mix of conventional channels plus one trunking system. This section
describes how to store known frequencies into conventional channels. The first few sections
are intended to be performed in the order indicated if you are entering information the first
time. If you are editing existing information, manually select the channel, then use the
complete menu process to access the information you want to change.
Note:
To quickly store only a frequency in a channel, manually select the channel, enter the
frequency, then press
E
. Do not use this method for Trunking systems, however, as
these systems require additional information to scan correctly.
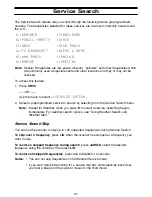
1. Select a Channel to Program
To start, first select the channel you want to program:
2:SCAN OPTION
→
1:CONVENTIONAL
Enter the channel number, then press
E
.
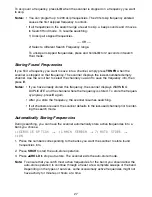
2. Enter the Frequency
a. Press
1
or highlight
1:FREQUENCY
and press
E
.
b. Enter the frequency you want to program, then press
E
.
Notes:
• If the channel already had a frequency programmed, it appears above the prompt.
• If you select a frequency that is not valid, the scanner displays
ERROR OUT
OF BAND
. Enter a correct frequency to continue.
• If you enter a frequency that has already been stored in the scanner, the scanner
displays
WARNING DUPLICATE
and the channel number that contains the
duplicate. To save the frequency anyway, press
E
. Otherwise, press
to cancel
and enter a different frequency.
• If you change an existing frequency, all other information stored for that channel
is deleted or set back to default values.
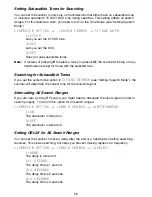
3. Assigning a Text Tag
a. Use the scroll bar to select the channel you want to tag, then press
E
.
b. Use the scroll bar to select the letter, then press
▲
/HOLD
to move the entry position one
space to the right or press
LIMIT/
▼
to move the entry position one space to the left.
c. When you have entered the tag, press
E
to save the tag.
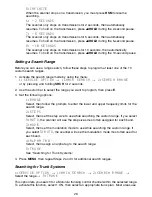
The scanner displays
1:OTHER CHANNEL
Select to pick another channel to program from Step 1
2:CHANNEL OPTION
Select to set additional channel options (see the following sections).
.
37
Summary of Contents for APCO 25
Page 1: ......
Page 2: ......
Page 6: ......
Page 81: ...75 Memo ...
Page 82: ...Memo 76 ...
Page 83: ...Memo 77 ...
Page 84: ......

