background image

12

SRWH-Series | Version 1.01

Troubleshooting


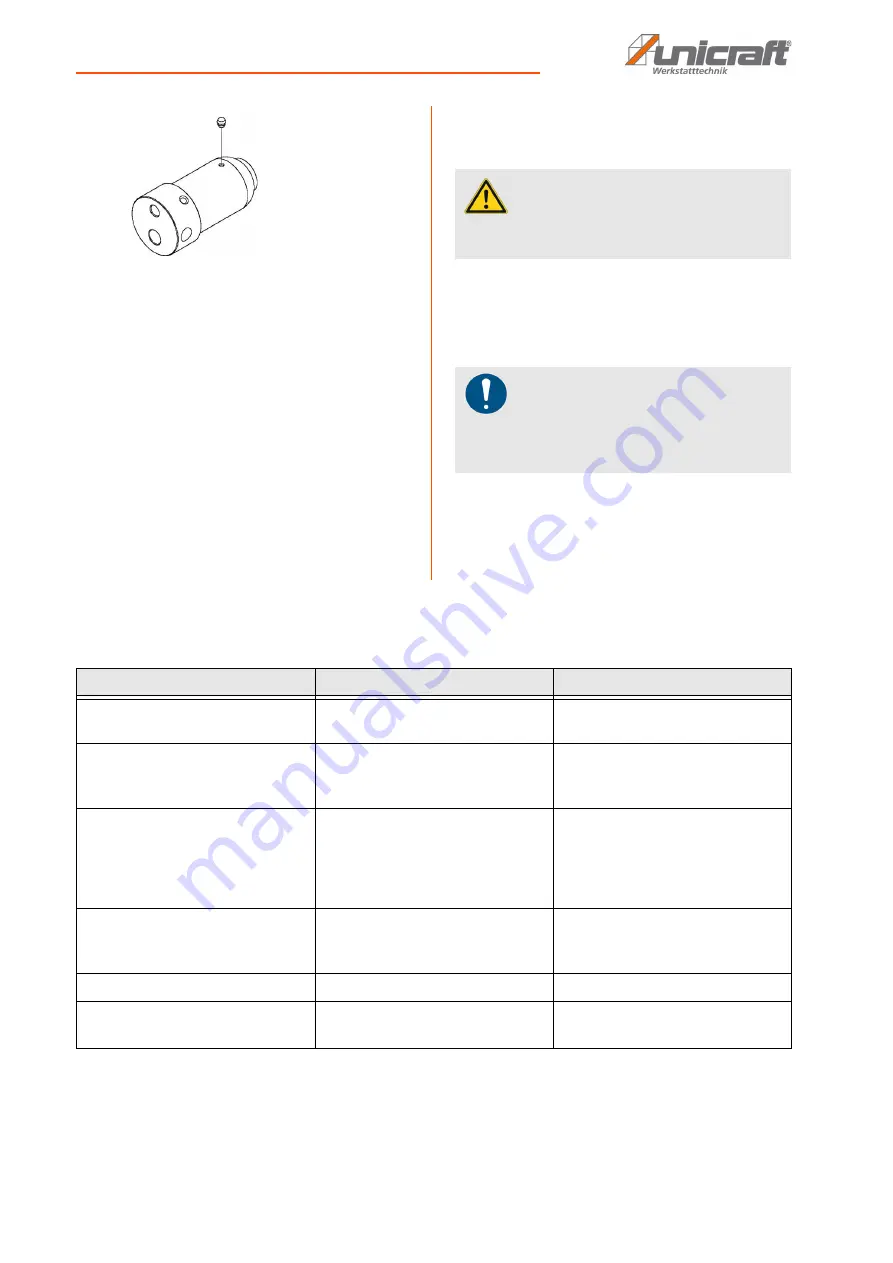
Fig. 9: Oil filler plug

Step 4: Screw the oil filler plug back in. Check the func-

tion of the floor jack.

Step 5: Vent the hydraulic system (see "Venting").

Oil changing

To ensure that the floor jack functions correctly, carry 
out an annual oil change.

Step 1: Move the floor jack lifting arm to the lowest  posi-

tion. 
Providing an oil collecting container.

Step 2: Remove the tool tray. Open the oil filler plug and 

allow the oil to drain into the container. Ensure 
that no contamination can get into the hydraulic 
circuit!

Step 3: When the used oil is completely drained, fill with 

new hydraulic oil. Use only new, clean hydraulic 
oil, viscosity class "ISO VG 15", volume 260 ml.

Step 3: Loosely screw in the oil filler plug and vent the 

hydraulic system. 

Step 4: Screw in the oil filler plug tightly and check the 

function of the floor jack. 

11 Troubleshooting

ATTENTION!

Only use hydraulic oil of the same type.
Never mix different types of oil.

NOTE!

The removed oil must be disposed of separately.
Information about this can be obtained from the lubri-
cant manufacturer.

Problem

Possible cause

Solution

The floor jack does not reach full 
height.

1. Too little oil.
2. Drain valve not properly closed.

1. Top up with hydraulic oil. 
2. Close drain valve.

Lifting arm lowers under load..

1. Drain valve not properly closed
2. Hydraulic oil contaminated.
3. Pump is leaking.

1. Close drain valve. 
2. Contact customer service.
3. Contact customer service.

Lifting arm does not lower. 

1. Pump cylinder clamped. 
2. Defective parts.
3. Retention spring broken or unhoo-

ked.

4. Air in the hydraulic system.

Contact customer service.

The floor jack does not lift the defi-
ned load.  

1. Drain valve not properly closed. 
2. Too little oil. 
3. Air in the cylinder. 

1. Close the drain valve. 
2. Top up hydraulic oil. 
3. Venting the hydraulic system.

The floor jack loses oil.

Worn or damaged seals.

Contact customer service.

Spongy pumping.

1. Too little oil. 
2. Air in the cylinder. 

1. Top up hydraulic oil. 
2. Venting the hydraulic system 

Summary of Contents for 6201121

Page 1: ...SRWH S ERIES SRWH 3002 EF Special Floor Jack SRWH 3001 SIL Operating Instructions SRWH 3001 SIL SRWH 3002 EF...

Page 2: ...3 1 1 Copyright 3 1 2 Customer service 3 1 3 Limitation of liability 3 2 Safety 3 2 1 Symbol explanation 3 2 2 Obligations of the operating company 4 2 3 Requirements to staff 4 2 4 General safety reg...

Page 3: ...on which then could be shared and be valuable to develop our products even further 1 3 Limitation of liability All information and notes in these operating instructions were summarised while taking ap...

Page 4: ...st in struct the staff in regular intervals and inform them about the hazards The operator must provide the necessary protec tive equipment to the staff and order the use of the necessary protective e...

Page 5: ...the specified max Load capacity of the floor jack is not exceeded It must be ensured that the ground is sufficiently stable to hold the load Lift loads only on level even and firm ground with the flo...

Page 6: ...fety regulations are observed the following residual risks remain when operating the floor jack All persons working with the floor jack must be aware of these residual risks and follow the instruction...

Page 7: ...he film is made of polyethylene PE and the cushioned parts of polystyrene PS Deliver these substances to a collection point for recyclable materials or to the waste disposal company which looks after...

Page 8: ...ver extension and screw the two pump lever parts together with the screw SRWH 3001 SIL model only Fig 6 Mounting the pump lever on the jack body Step 2 The pump lever socket is fixed in the lower posi...

Page 9: ...heck all parts for integrity and proper function 9 Operation DANGER Danger to life due to falling of the load Falling loads can cause serious injury or death Never exceed the specified maximum load st...

Page 10: ...nto the support frames by slowly turning the pump lever counterclockwise to open the drain valve 9 4 Lower the load Step 1 Turn the pump lever about its own axis to the right clockwise to close the dr...

Page 11: ...form in the hydraulic system of the floor jack and affect its function Step 1 Turn the pump lever around its own axis to the left to open the drain valve Step 2 Pump several times with the pump lever...

Page 12: ...se hydraulic oil of the same type Never mix different types of oil NOTE The removed oil must be disposed of separately Information about this can be obtained from the lubri cant manufacturer Problem P...

Page 13: ...il freight sea air express Address of dispatch Spare part orders which do not include the above indi cations may not be taken into consideration If the indi cations regarding the mode of dispatch are...

Page 14: ...14 SRWH Series Version 1 01 Spare parts 13 2 Spare parts drawings Spare parts drawing 1 SRWH 3001 SIL Fig 10 Spare parts drawing 1 SRWH 3001 SIL...

Page 15: ...Spare parts SRWH Series Version 1 01 15 Spare parts drawing 2 SRWH 3001 SIL pump Fig 11 Spare parts drawing 2 SRWH 3001 SIL pump...

Page 16: ...16 SRWH Series Version 1 01 Spare parts Spare parts drawing 1 SRWH 3002 EF Fig 12 Spare parts drawing 1 SRWH 3002 EF...

Page 17: ...Spare parts SRWH Series Version 1 01 17 Spare parts drawing 2 SRWH 3002 EF pump Fig 13 Spare parts drawing 2 SRWH 3002 EF pump...

Page 18: ...18 SRWH Series Version 1 01 Hydraulic plan 14 Hydraulic plan Fig 14 Hydraulic plan SRWH 3001 SIL top SRWH 3002 EF bottom SRWH 3002 EF SRWH 3001 SIL...

Page 19: ...121 SRWH 3002 EF 6201122 Serial number ______________________ Year of manufacture 20_____ Fill in these fields according to the information on the type plate complies with all the relevant provisions...

Page 20: ...www unicraft de...

Reviews: