Remote Control Mode For Vehicles
Page 8
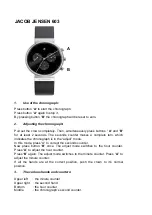
Battery Replacement
Change the battery when the Low battery icon is displayed on the LCD screen.
Replace with Lithium
CR2032 Battery.
*To avoid possible water damage, have the battery changed professionally.
Caution
DO NOT DISASSEMBLE THIS WATCH FOR ANY OTHER REASON THEN TO
REPLACE THE BATTERY. REMOVING ANY OTHER COMPONENT(S) WILL
VOID THE WARRANTY
.
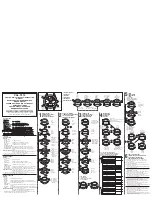
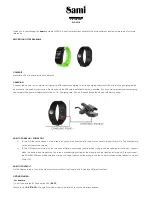
Arm/ Lock
- Press and release.
Panic Mode
- Press and hold for
2 seconds.
Disarm/ Unlock
- Press and release
Trunk Release
- Press and hold for
2 seconds.
Button 1
Light Button
Button 2
Remote Start
- Press and release
Remote Stop
- Press and hold for
2 seconds.
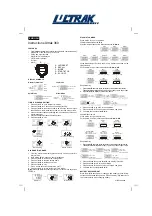
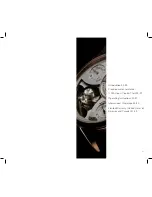
Program Start On
MODE Button
Light Button
Button 1
Low Battery
ST.STP Button
Alarm On
Reset Button
Button 2
This device complies with Part 15 of the FCC rules. Operation of this device is subject to the following conditions:
(1) This device may not cause harmful interference, and
(2) This device must accept any interference received, including interference that may cause undesired operation.
CAUTION: Changes or modifications not expressly approved by the part responsible for compliance voids the
users authority to operate this device.
FCC Notice