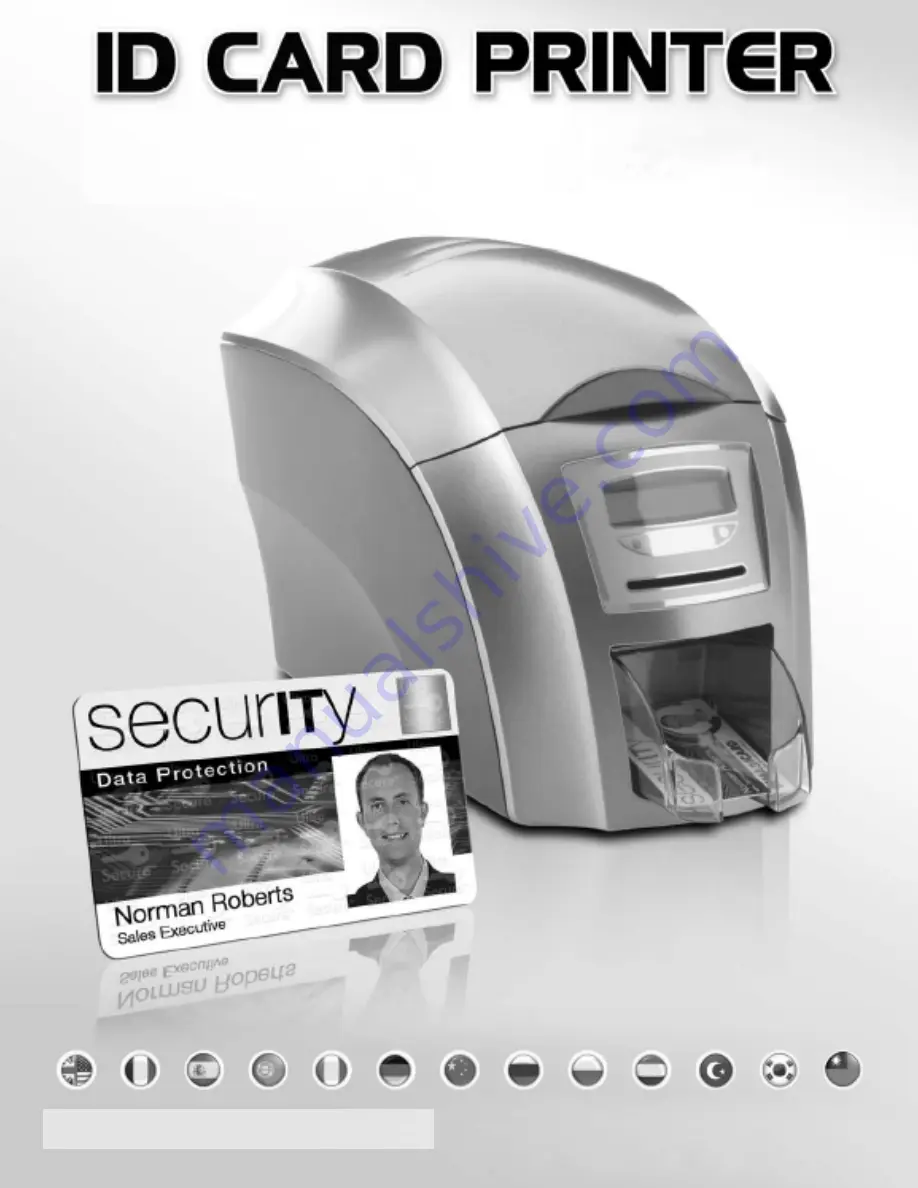
User Manual
Document No 1219 Issue 3.08 - 17/06/2013
Page 1: ...User Manual Document No 1219 Issue 3 08 17 06 2013...
Page 2: ...t card 12 Info 12 Hand feed 13 Advanced 14 Choosing the right dye film ribbon 15 Choosing the right cards 16 Card material 16 Card size 16 Card thickness 16 To obtain good quality prints the card must...
Page 3: ...mp circuit breaker Bei Anschlu des Druckers an die Stromversorgung mu sichergestellt werden da die Geb udeinstallation mit einem 16 A berstromschalter abgesichert ist When handling the printer avoid t...
Page 4: ...please follow the simple steps in this guide on installing your printer This guide helps you make your printing experience more enjoyable and secure Please ensure you have all the items listed before...
Page 5: ...ID Card Printer IMPORTANT do not connect USB yet Normal office environment with A properly grounded power supply Ambient temperature 10 to 30O C 50 to 86O F Protection from direct sunlight and chemic...
Page 6: ...e at the back of the printer cards to ensure the cards are not sticking re inserting into the hopper and handle the lly to keep the surfaces clean as finger marks e print quality STACKER Insert the st...
Page 7: ...ts and the take up spool into the front slots Close the printer Connect the power supply Select the connector for your region and connect to power supply unit Plug in and connect to printer which will...
Page 8: ...start button then click on run Type D autorun where D is the drive letter for your CD drive then press the return key 2 Now follow the on screen instructions to install the printer driver 3 On comple...
Page 9: ...ER Printer parts 1 Lid opening latch 2 Thermal print head 3 Card cleaning roller 4 LCD display screen 5 Soft function buttons 6 Hand feed cleaning card entry 7 30 card capacity stacker 8 100 card capa...
Page 10: ...function varies depending on the text displayed in the square brackets _ _ _ _ immediately above each button The menu options for the soft buttons are explained in the following pages Front display pa...
Page 11: ...the Next button to step through each option in the menu The following menu options will be displayed 1 of 6 Clean rollers 2 of 6 Test card 3 of 6 Info 4 of 6 Hand Feed 5 of 6 Advanced 6 of 6 Exit Men...
Page 12: ...y the operation of the printer You will be asked to confirm that you wish to print a test card If you select Yes the printer will feed a card from the hopper and print an internally generated test ima...
Page 13: ...tomatically from the card hopper ON At the start of each print the printer will request you to feed a card through the card feed slot in the front of the printer Note Cards will not be fed from the ca...
Page 14: ...ation of the printer You will be asked to confirm that you wish to encode and print a test card If you select Yes the printer will feed a card from the hopper encode the magnetic stripe and print an i...
Page 15: ...tical monochrome printing is a fraction of the cost of colour printing ID Card Printer type Type of images you want to print Cards per ribbon Ribbon Panel Layout Part Number 2 digit supplier code Sing...
Page 16: ...5 86 5 mm wide x 53 98mm high Card size CR79 3 03 x 2 051 83 90 mm wide x 51 0 mm high anual Minimum 0 015 0 38mm Standard 0 030 0 76mm Maximum 0 040 1 02mm Glossy white Free from dirt and grease Free...
Page 17: ...rneath when viewing from the front of the printer Refer to your PC Badge printing application for instructions on how to print and encode a magnetic stripe card We recommend only Using self adhesive c...
Page 18: ...driver settings in Windows Vista and 7 Understanding each individual driver setting The printer driver contains a built in help file in HTML format this file gives an excellent clear explanation of ea...
Page 19: ...produces better quality magnetic encoding THE CLEANING SYSTEM There are three main parts to your printer s cleaning system 1 Clean the rollers using the Cleaning Cards You use a Cleaning Card to remo...
Page 20: ...maximum cleaning effect it is recommended that you turn the cleaning card over and select yes then repeat step D B Remove the cards lift out the rear feed hopper and then press Next And Cleaning the...
Page 21: ...remove the used dye film then Pull out the used cleaning roller This is the blue roller positioned behind and below the rear dye film spool Remove the metal bar from the centre of this cleaning rolle...
Page 22: ...t head each time you replace the dye film Cleaning the printhead using the Cleaning Pen Take the cleaning pen from your cleaning kit Open the printer and carefully rub the pen several times along the...
Page 23: ...e network within minutes STEP 1 Power up your printer STEP 2 Open the lid and remove the dye film that may have been previously installed this will be replaced after the upgrade has been completed STE...
Page 24: ...e blue tube and the printer does everything else automatically 2 Q How does it work A All of our ID Card Printers have a card flipper mechanism The RFID tag in the special upgrade dye film roll tells...
Page 25: ...black resin 1000 images Various monochrome colors available 2 digit supplier code Product Code Description Cleaning Kit 3633 0053 Contains 10 cleaning cards and 1 pen 3633 0054 Contains 5 cleaning rol...
Page 26: ...o Hand feed error please select and try again Code 03 00 The printer is in hand feed mode and has not detected a card inserted in the front for ten seconds 2 Ensure card is inserted far enough into th...
Page 27: ...inter supplier cheaper clone supplies can cause this problem 2 Check there is dye film installed if not install a roll of film Out of dye film please load a new roll of film to continue Code 08 00 to...
Page 28: ...er supply plugged into the printer The printer does not detect the RFID PCB 2 Try installing a new roll of ribbon 1 Turn off the power then make sure the printhead cable is connected Print Head Error...
Page 29: ...power supply Code 23 00 The printer detects a low level of output from the Power Supply Unit 1 Make sure the correct power supply is connected Table 2 Dye Film Problems Problem Probable Cause Solution...
Page 30: ...thly along the platen runway 2 Contact your supplier s Technical Support department for advice on clearing the platen Vertical white line down one or both ends of card 1 Incorrect driver setting 1 Ens...
Page 31: ...correct printer driver in the Windows Printers faxes panel 2 Incorrect port selected 3 Driver corrupted 2 Check port selection in driver properties 3 Update with latest printer driver Prints stuck in...
Page 32: ...ID Card Printer User Manual ID Card Printer User Manual 32...