background image

30

Ubiquiti Networks, Inc.

Chapter 3: AirOS™  

AirRouter User Guide

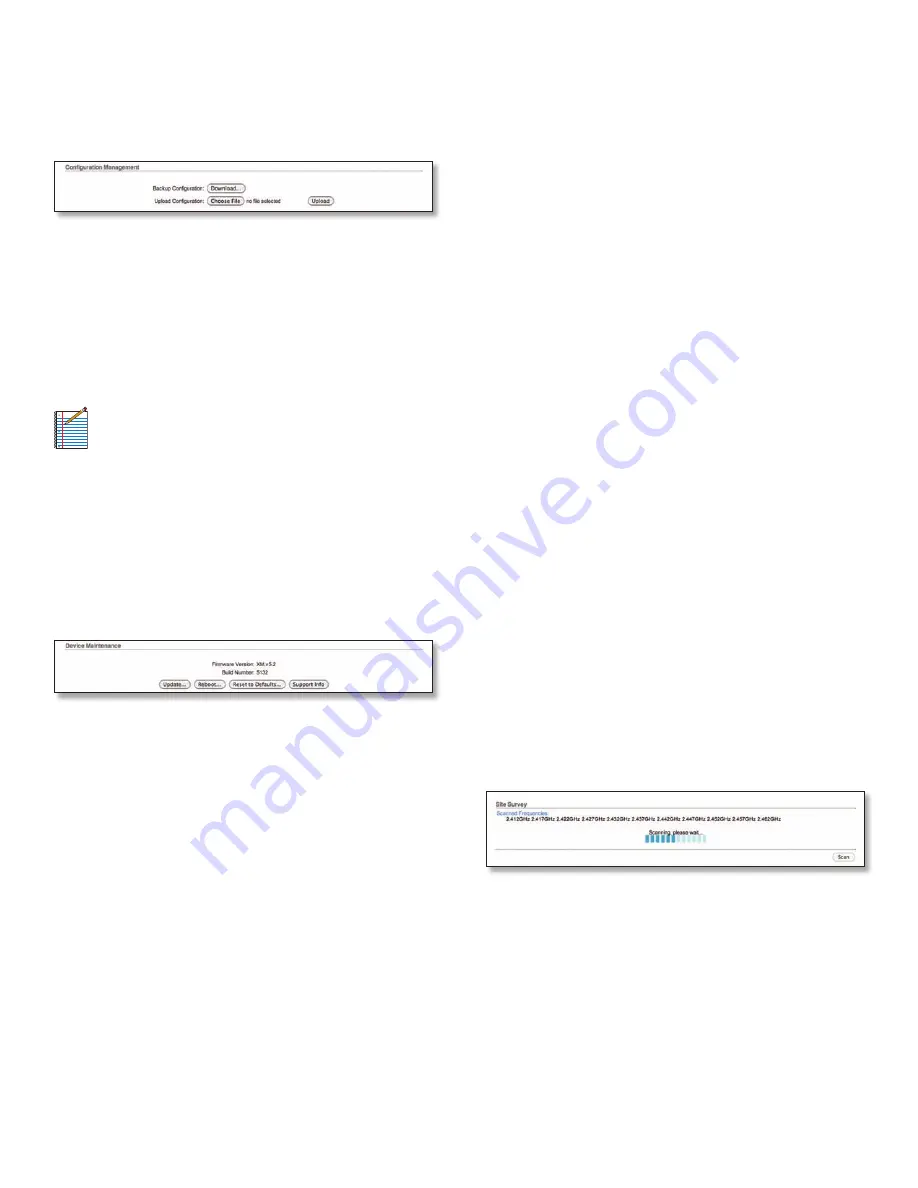
Configuration Management

The AirRouter configuration is stored in plain text file 
(cfg file). Use the Configuration Management controls to 
backup, restore or update the system configuration file:

Backup Configuration 

Click Download to download the 

current system configuration file.

Upload Configuration 

Click Browse to navigate to and 

select the new configuration file or specify the full path 
to the configuration file location. Click Upload to use a 
previously downloaded configuration file to the system. 
The settings of the new configuration will be visible in the 
WirelessNetworkAdvancedServices and System tabs of 
the Web Management Interface.

Note:

  The new configuration is active after 

clicking Apply and the system reboot 
cycle is completed. The previous system 
configuration is deleted after you click Apply. It 
is highly recommended to backup the system 
configuration before uploading the new 
configuration.

Device Maintenance

The controls in this section are dedicated for the device 
maintenance routines: rebooting, resetting, generating of 
the support information report.

Firmware Version 

Shows the current firmware version.

Build Number 

Displays the build number of the firmware 

version loaded.

Update 

Click to update the device with new firmware.

The device firmware update is compatible with all 
configuration settings. System configurations are 
preserved while the device is updated with a new 
firmware version.
• 

Current Firmware 

Displays the version of the AirOS 

firmware which is currently operating.

• 

Firmware File 

Click Browse to locate new firmware 

file. Select the file and click Open. Once you’ve selected 
a new firmware file, click Upload to upload the new 
firmware to the device. Click Close this window to 
cancel the new firmware upload process.

Update 

The Update button should be activated in order 

to proceed with firmware upgrade routine (new firmware 
image should be uploaded into the system first). Please 
be patient, as the firmware upgrade routine can take 
3-7 minutes. The AirRouter will be inaccessible until the 
firmware upgrade routine is completed.

Do not switch off, do not reboot and do not disconnect 
the device from the power supply during the firmware 
upgrade process as these actions will damage the device!
It is highly recommended that you backup the system 
configuration and the Support Info file before uploading 
the new configuration.

Close this window 

At this point, closes the firmware 

upgrade window if activated. This action will not cancel 
the firmware upgrade process.

Reboot 

Activate Reboot control in order to initiate full 

reboot cycle of the device. Reboot is the same as the 
hardware reboot which is similar to the power off - power 
on cycle. The system configuration is not modified after 
the reboot cycle completes. Any non-applied changes will 
be lost.

Reset to Defaults 

Use this to reset the AirRouter to 

the factory default settings. This option will reboot the 
AirRouter and all factory default settings will be restored. 
You may want to use the Backup Configuration option 
to download your current settings before selecting this 
option.

Support Info 

This will generate a support information 

file that the Ubiquiti support engineers can use when 
providing customer support. This file only needs be 
generated at their request.

Tools

Site Survey

The Site Survey tool will search for wireless networks 
in range on all supported channels while the device is 
operating in Access Point or Station mode. In Station mode, 
the channel list can be modified. Refer to the section Link 
Setup for details on channel list customization.
Site Survey reports the MAC Address, SSID, Device 
Name, Encryption type (if any), Signal Strength/Noise in 
dBm, Frequency in GHz and the wireless channel of all 
surrounding Access Points.

Refresh the window using the Scan button. 

Summary of Contents for AirRouter

Page 1: ......

Page 2: ...View 1 Rear View 1 Chapter 2 Installation 2 Hardware Installation 2 Connecting a Wireless Client to the AirRouter 3 Chapter 3 AirOS 4 Navigation 4 Main 4 Wireless 8 Network 13 Advanced 25 Services 27...

Page 3: ...when the AirRouter is connected to the Internet Flashes to indicate Internet activity Wireless LAN LED Displays solid green when the wireless LAN is enabled It will flash to indicate wireless activit...

Page 4: ...he other end of the Ethernet cable to your computer 4 Launch your Web browser and type http 192 168 1 1 in the address field and press enter PC or return Mac Note Your computer needs to be on the 192...

Page 5: ...ongratulations Basic router installation is complete Proceed to Connecting a Wireless Client to the AirRouter for information on connecting wireless clients Connecting a Wireless Client to the AirRout...

Page 6: ...n be configured in this tab The Advanced tab also includes advanced Ethernet and traffic shaping settings Services The Services tab covers the configuration of system management services like SNMP NTP...

Page 7: ...Every TX RX chain requires a separate antenna WLAN MAC Displays the MAC address of the AirRouter as seen on the wireless network LAN MAC Displays the MAC address of the AirRouter as seen on the LAN L...

Page 8: ...days hours minutes and seconds Signal Strength Value represents in dBm the last received wireless signal level Noise Floor Displays the current value of the noise level in dBm Noise Floor is taken in...

Page 9: ...dresses that the AirRouter uses for translation DHCP Server Displays the IP address of the DHCP Server assigning the WAN IP Address to the AirRouter Domain Displays the domain name Total Lease Time Sh...

Page 10: ...long the leased IP address will be valid and reserved for particular DHCP client Hostname Displays the device name hostname of the client receiving an IP lease Interface Name Displays the interface to...

Page 11: ...none or the WEP security method However this may compromise the security of your network When connecting STA WDS clients to an AP WDS device all security methods are available and work properly WDS Pe...

Page 12: ...oducts The benefits of this are private networking and inherent security Using channel shifting networks instantly become invisible to the millions of Wi Fi devices in the world Frequency MHz Only app...

Page 13: ...with Cipher Block Chaining Message Authentication Code Protocol which uses the Advanced Encryption Standard AES algorithm This is the strongest security option available If all of the wireless devices...

Page 14: ...UDP port The most commonly used port is 1812 but that depends on the RADIUS Server you are using Radius Server Secret Specifies the password A shared secret is a case sensitive text string used to va...

Page 15: ...for Layer 3 packet filtering and access control in Router mode SOHO Router SOHO Small Office Home Office Router is basically a derivation from Router mode In SOHO Router mode the Main Ethernet port la...

Page 16: ...If enabled the AirRouter Bridge will communicate with other network devices by sending and receiving Bridge Protocol Data Units BPDU STP should be turned off selected by default when the AirRouter is...

Page 17: ...ss interface and all connected wireless clients are considered as part of the internal LAN and the Ethernet interface is dedicated for the connection to the external network while the AirRouter is ope...

Page 18: ...AirRouter is in operating in Router mode A valid Primary DNS Server IP needs to be specified for DNS Proxy functionality The internal network interface IP of the AirRouter should be specified as the D...

Page 19: ...will be used for the host device if the DMZ Management Port option is enabled DMZ IP Enter the IP address of the internal network device and the device will be completely exposed to the external netwo...

Page 20: ...lity as an alternative to Port Forwarding but DMZ opens all ports of the host network device to the external network DMZ Management Port Web Management Port for the AirRouter TCP IP port 80 by default...

Page 21: ...Auto IP Aliasing Automatically generates an IP Address for the corresponding WLAN LAN interface if enabled The generated IP address is a unique Class B IP address from the 169 254 X Y range Netmask 2...

Page 22: ...ditional security DMZ is commonly used with NAT functionality as an alternative to Port Forwarding but DMZ opens all ports of the host network device to the external network DMZ Management Port Web Ma...

Page 23: ...ected message will be displayed A PPPoE tunnel reconnection routine can be initiated using the Reconnect button which is located in the Main tab next to the PPP interface statistics Enable DMZ The Dem...

Page 24: ...as an alternative to Port Forwarding but DMZ opens all ports of the host network device to the external network DMZ Management Port Web Management Port for the AirRouter TCP IP port 80 by default wil...

Page 25: ...onnect to the LAN interface while the AirRouter is operating in Station or Station WDS mode Range Start End This range determines the IP addresses given out by the DHCP server to client devices on the...

Page 26: ...dentifier for the particular IP Alias Comments Field used for a brief description of the purpose of the alias Enabled Enables or disables the particular IP Alias All added IP Aliases are saved in the...

Page 27: ...outer mode Click Change to save the changes made on the Network tab Static Routes In this section you can manually add static routing rules to the System Routing Table this allows you to specify that...

Page 28: ...re If enabled ACK Timeout value will be derived dynamically using an algorithm similar to the Conservative Rate Algorithm used in AirOS v3 4 It is very recommended to use the Auto Adjust option for 80...

Page 29: ...fined constraints the AirRouter will automatically reboot This option creates a kind of fail proof mechanism Ping Watchdog is dedicated for continuous monitoring of the particular connection to remote...

Page 30: ...d password SSH Server The following SSH Server parameters can be set Enable SSH Server This option enables SSH access to the AirRouter Server Port SSH service TCP IP port setting Enable Password Authe...

Page 31: ...tings Timezone Specifies the timezone according to GMT Greenwich Mean Time Enable Startup Date When enabled you are able to modify the device s startup date Startup Date Specifies the device s startup...

Page 32: ...Update The Update button should be activated in order to proceed with firmware upgrade routine new firmware image should be uploaded into the system first Please be patient as the firmware upgrade rou...

Page 33: ...remote system IP can be selected from the list which is generated automatically Select destination IP or may be specified manually Remote system access credentials administrator username User and Pass...

Page 34: ...you can modify AirView Settings such as enabling or disabling charts or specifying the frequency interval Preferences Charts Enable Top Chart Select the chart to be displayed in the top chart on the m...

Page 35: ...is the green area on the Real time chart which represents the average received power level and considers data for as long as AirView has been running You can disable this graph by unchecking the Enabl...

Page 36: ...ght 221 g Ports 5 10 100 Ethernet Ports 1 USB Port 1 Power Port Buttons 1 Reset Button LEDs 4 LAN 1 Main WAN by default 1 Internet 1 WLAN Wireless LAN 1 Power Wireless Security WEP WPA and WPA2 Bands...

Page 37: ...paid No Products will be accepted for replacement or repair without obtaining a Return Materials Authorization RMA number from UBIQUITI NETWORKS Products returned without an RMA number will not be pro...

Page 38: ...rdware compatibility or field issues as quickly as possible We strive to respond to support inquiries within a 24 hour period Email support ubnt com Phone 408 942 1153 9 a m 5 p m PST Skype Ubiquiti_S...

Reviews: