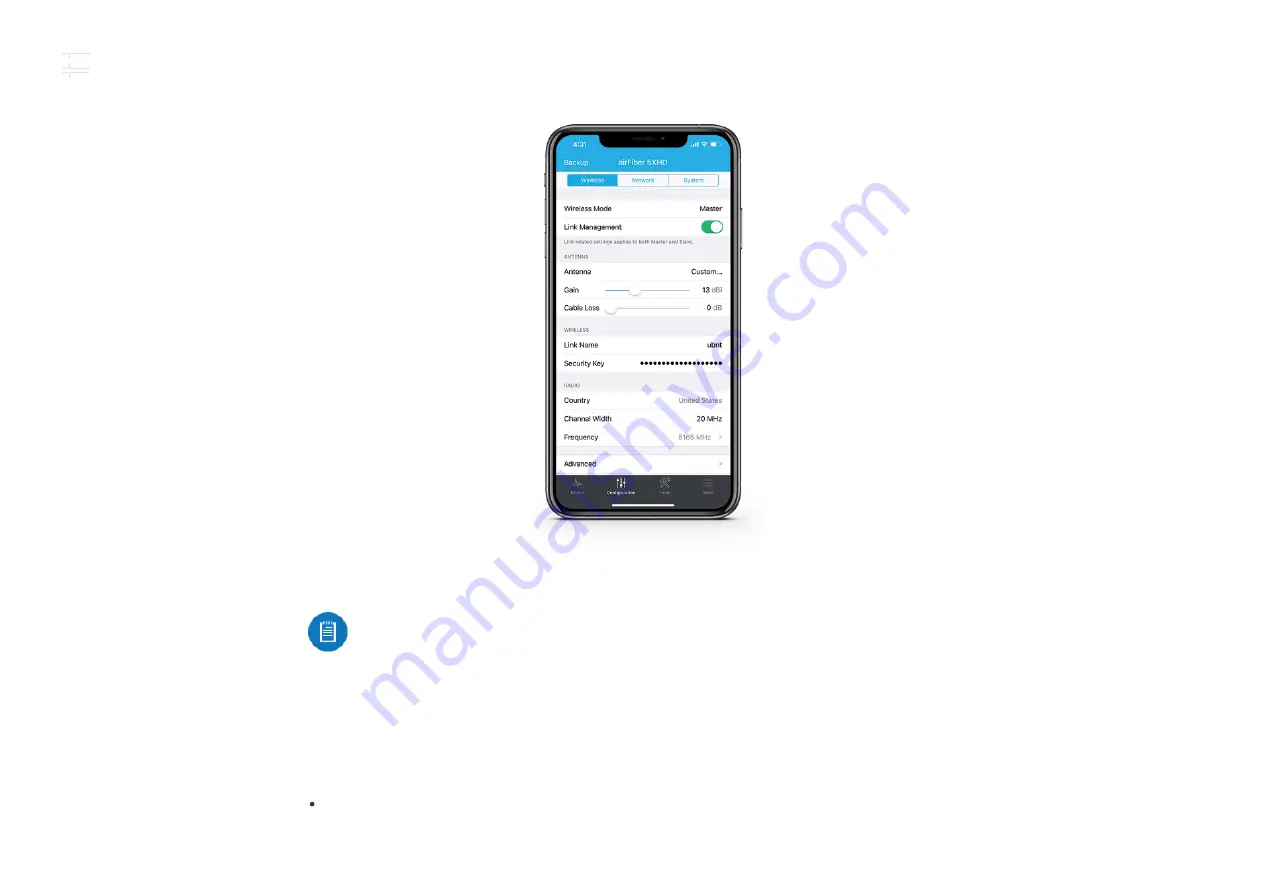
d. If needed, change the Channel Bandwidth, Frequency, Output Power (EIRP), Antenna Gain,
and Max TX Modulation settings. The Channel Bandwidth and Frequency should be the
same on both the Master and the Slave.
e. In the Security Key eld, enter a combination of alphanumeric characters (0-9, A-Z, or a-z).
7. Click Save Changes.
8. Con gure each airFiber radio with a unique IP address for the Data port:
a. Tap Con guration, and then tap Network.
b. For both the Data LAN Network and Management Network options:
DHCP
Have your router use DHCP reservation to assign a unique IP Address.
Note:
The key is an alphanumeric password between 8 and 63 characters long.
AF-5XHD Quick Start Guide
Summary of Contents for airFiber AF-5XHD
Page 4: ...AF 5XHD Quick Start Guide...
Page 9: ...1 2 AF 5XHD Quick Start Guide...
Page 17: ...Note Do not damage or remove the post on the Port Cover 2 AF 5XHD Quick Start Guide...
Page 18: ...3 4 AF 5XHD Quick Start Guide...
Page 19: ...Hardware Installation Installing the Ground Wire 1 AF 5XHD Quick Start Guide...
Page 20: ...2 AF 5XHD Quick Start Guide...
Page 22: ...2 AF 5XHD Quick Start Guide...
Page 23: ...3 AF 5XHD Quick Start Guide...
Page 24: ...4 AF 5XHD Quick Start Guide...
Page 26: ...The RocketDish RD 5G30 antenna is shown in this section 1 2 AF 5XHD Quick Start Guide...
Page 28: ...OR 2 AF 5XHD Quick Start Guide...
Page 29: ...3 Connecting Power over Ethernet 1 AF 5XHD Quick Start Guide...
Page 30: ...2 OR AF 5XHD Quick Start Guide...
Page 33: ...Alignment AF 5XHD Quick Start Guide...
Page 35: ...2 AF 5XHD Quick Start Guide...
Page 36: ...3 AF 5XHD Quick Start Guide...
Page 46: ...Online Resources 2020 Ubiquiti Inc All rights reserved AF 5XHD Quick Start Guide...


