Instructions for use
30
23
"Navitel. Jams "*: The icon shows the current traffic on a 10 -point scale. Clicking on the
icon opens the menu for managing this service.
24
"Navitel.SMS" *: This button is used to read and send messages, and use the coordinates
contained in them. The button displays the number of unread messages.
25
"Let's go" button: After clicking this button, the selected route will be traced from the
current location or the specified start point.
26
"Route Beginning" button: Pressing this button determines the selected point a s the
starting point of the route (the GPS receiver must be switched off at the same time).
27
"Finish" button: The button is displayed only when the route is routed. When you press
the button, the paved route on the map continues to that point.
28
The «Via point": The button is active only when the route is set. Click the button to mark
the selected point as a waypoint.
29
Map: Map view button.
* - this function is available in navigators that have access to the Internet.
Constraction of the route
2.1 Route to the point selected on the map
The program provides for the construction of the route to the point that you can find and
mark on the map, and to define it as the end point of the route. In this case, the starting
point of the route will be the current location of the device, determined by the GPS /
GLONASS system. Click on the appropriate area of the map for route planning, to mark a
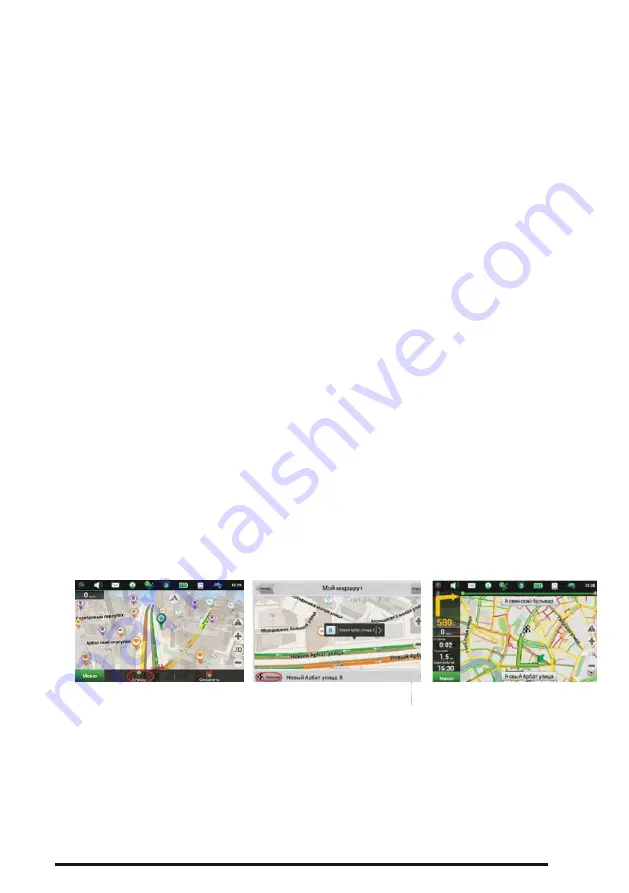
point on it and select "Cursor" [1]. Then click "Let's go!" [2]. The program will automatically
build the route.
[3].
2.2 Finding an address and building a route
If you want to build a route to the point that can be found by the address, select "Menu" [1]
-> "Find" [2] ->
Рис.1
Рис.2
Рис.3


