Page 3
For technical questions, please call 1-800-444-3353.
SKU 5469
UNPAckiNG
Unpack and check contents. If any parts
are missing or broken, please call HARBOR
FREIGHT TOOLS at 1-800-444-3353. Make
sure you have all parts described in the Parts
List on page 5.
ASSeMBLY
Slide Handle Cross Bar (B) through hole
1.
in the handle-end of Slide Screw (C).
Place Slide Hammer (L) onto the Slide
2.
Screw (C).
Assemble attachments based on the
3.
intended use of the Slide Hammer (see
Operation below).
Assemble and disassemble your Slide
Hammer set for each use. Put back all pieces
in the carrying case provided and store in box
to ensure that no pieces are lost.
OPeRAtiON
two-jaw Pulling
1. Decide if you need the Small Jaws (I),
Large Jaws (J) or the Two-jaw Puller
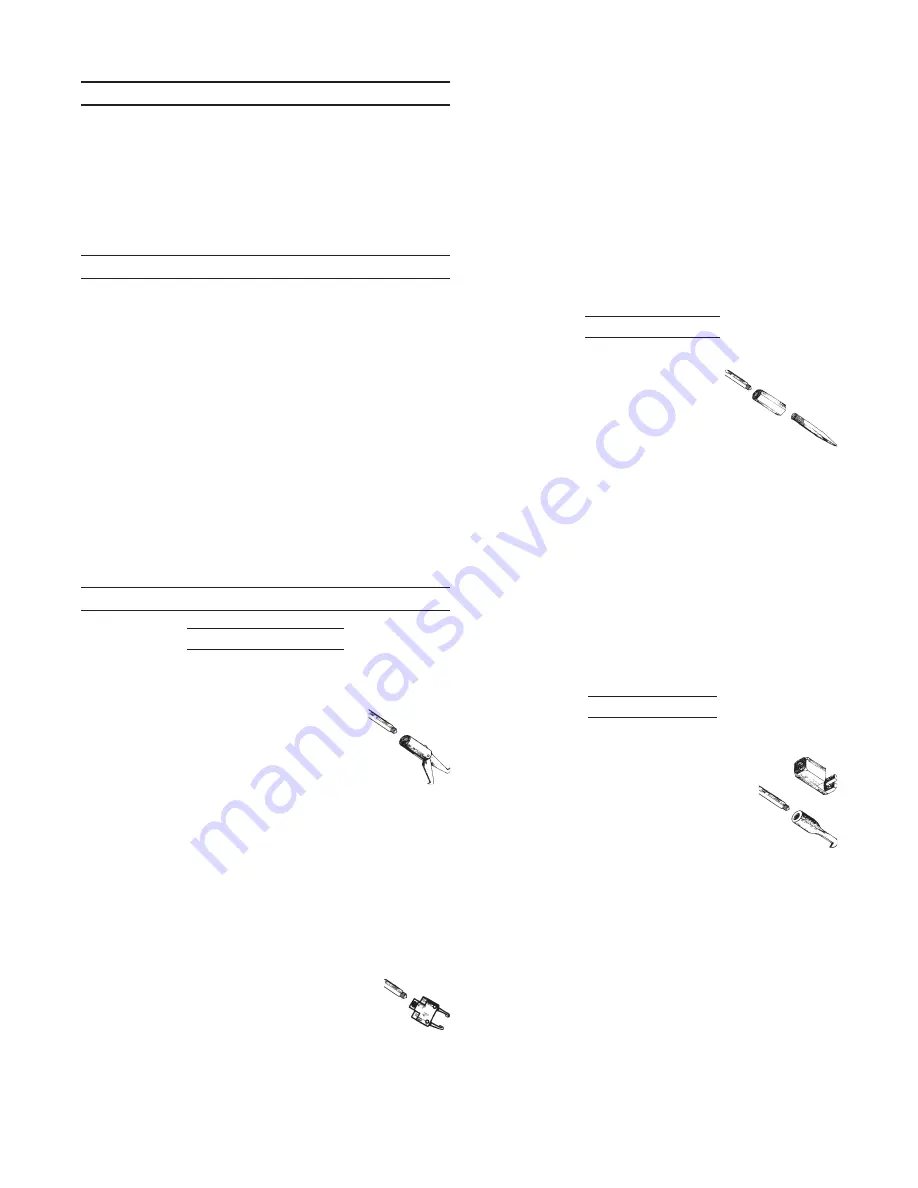
Adapter (D). The Two-jaw
Puller Adapter (D) is smaller
and should be used for
narrower, hard-to-reach objects.
Determine if you need to attach the Jaws
2.
for an internal or external pull.
An external pull allows the jaws to grip
•
the outside surface of the object.
An internal pull allows the jaws to grip
•
the inside surface of the object.
3. Assemble the Small Jaws (I) or Large
Jaws (J) to the Jaw Adapter (H)
using the two Locking Pins (A).
If you are using the Two-jaw
Puller Adapter (D), attach it directly to the
threaded end of the Slide Screw (C).
Thread the assembled Jaws/Jaw Adapter
4.
onto end of Slide Screw (C).
Attach the Jaws to the object to be
5.
pulled.
Push the Slide Hammer (C) toward the
6.
object to be pulled. Forcefully pull the
Slide Hammer toward the handle end.
Repeat Step Six until the object is
7.
successfully pulled.
Bolt Removal
1.
Attach the Cone Rod (F) to the end of
the Screw Adapter (G),
then attach this piece
directly to the Slide Screw (C).
The Cone Rod works like an easy-out
2.
bolt remover. Center the point of the
Cone Rod in the middle of the bolt to be
removed.
FORCEFULLY push the Slide Hammer
3.
into the bolt to be removed.
Turn the Slide Screw (C) COUNTER
4.
CLOCKWISE as you pull out the bolt.
Continue to twist and pull COUNTER
CLOCKWISE until bolt is removed.
Hook Pulling
1. Attach the Puller Hook (K) or the Square
Hook (E) to the end of the
Slide Screw (C).
Identify the lip area or edge of
2.
the object you will be inserting
the chosen Hook into or onto.
Place the Hook into/onto the edge or lip
3.
of the object to be pulled.
Push the Slide Hammer toward the
4.
object to be pulled. GENTLY pull the
Slide Hammer toward the handle end.
Repeat Step Four until the object has
5.
been pulled out.
ReV 10b


