background image

Diameters in Tenths of an Inch

Diameters Converted to 3/16" Scale

Inches in 10ths ÷ 64=

5/16"

.3125"

.005" (.12mm)

3/8"

.375"

.006" (.15mm)

1/2"

.5"

.008" (.20mm)

5/8"

.625"

.009" (.25mm)

3/4"

.75"

.012" (.30mm)

7/8"

.875"

.014" (.35mm)

1"

1"

.016" (.40mm)

1-1/4"

1.25"

.020" (.50mm)

Inches in 10ths ÷ 64=

4"

.06" (1.52mm or 1/16")

5"

.08" (2.03mm or 5/64")

6"

.09" (2.28mm or 3/32")

7"

.10"(2.54mm or 7/64")

8"

.13" (3.18mm or 1/8")

10”

.16" (4.06mm or 5/32")

12”

.19” (4.83mm or 3/16”)

Lengths Converted to 3/16” Scale

Diameters for Lifesize Vessel

B  L  O  C  K  S

S C A L E   C O N V E R S I O N   T A B L E

1 mm = .03937 of an inch

To find tenths of an inch:

.03937" x mm

s

= tenths of an inch

To find mm

s

from tenths of an inch:

Tenths of an  inch ÷ .03937" = mm

s

Formulas for CONVERTING 

MilLimeters and Inches

.20mm (.008")

.40mm (.016")

.50mm (.020")

.60mm (.024")

.75mm (.030")

.80mm (.032")

.90mm (.035")

.95mm (.037")

1.20mm (.047")

1.25mm (.049")

1.30mm (.051")

1.50mm (.059")

1.60mm (.063")

1.70mm (.067")

1.75mm (.069")

2.00mm (.079")

2.50mm (.098")

.

10mm (.004")

RIGGING LINE DIAMETERS

1.00mm (.039")

Bibliography

1. Melbourne Smith, "U.S. Brig Niagara,"

Seaways-Ships and Scale

(September/October 1991), 28-35;

(November/December 1991), 32-37;

(January/February 1992), 24-26; 

(March/April 1992), 40-45; 

(May/June 1992), 52-55.

A description with excellent photographs of

the reconstruction and original 

Niagara

when

recovered.

2

Bill Gilbert, "The Battle of Lake Erie,"

Smithsonian

, (January, 1995), 24-34.

An account of the battle with discussions 

on shipbuilding.

3. 

The War of 1812

, edited by Donald K.

Beman. New York: Fine Art Historical

American Prints Collection, The Knight

Group, 1991.

Good account of the battle with plans of

Niagara

and other ships in the war. Quite a

few reproductions of paintings.

4. 

Tall Ships 1994

. Visitor's guide, Erie, PA.

Photos of tall ships gathering at Erie and a

brief history of 

Niagara

.

5. Robert Malcomson, "U.S. Brig Niagara

Cruises on Lake Erie Again," 

Model Ship

Builder

, March/April 1991, May/June 1993,

July/August 1993.

General discussion with photos of the

restored 

Niagara

and her history.

6

HMS Detroit, The Battle for Lake Erie

by

Thomas and Robert Malcomson. Annapolis:

Naval Institute Press, 1990.

Extensive exposition of events precipitating

the battle and a fearsome account of it.

Heavily illustrated with prints, photographs,

maps, and battle lines. Extensive bibliography

for those seeking more information on the

War of 1812 or other battles on Lake Erie.

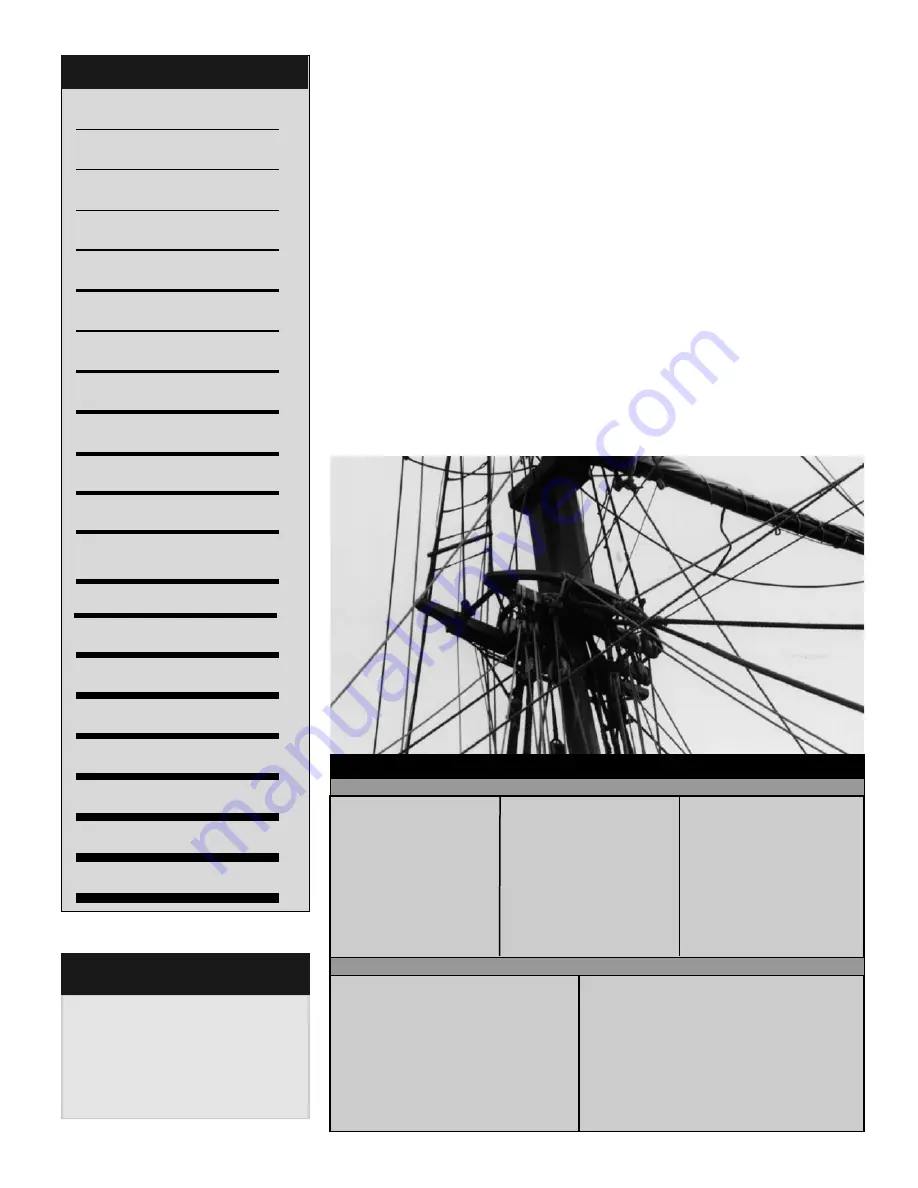
TOPMAST CROSSTREES

.25mm (.010")

R  I  G  G  I  N  G

Lengths for Lifesize Vessel


Summary of Contents for Niagara

Page 1: ...MODEL SHIPWAYS KIT NO MS2240 U S BRIG Niagara I N S T R U C T I O N M A N U A L TECHNICAL CHARACTERISTICS SCALE 3 16 1 1 64 Overall length 43 Overall height 27 Overall width 11...

Page 2: ...to his cabin and penned a quick message to General Harrison We have met the enemy and they are ours Two Ships two Brigs one Schooner and one Sloop After the War of 1812 Niagara served as a station sh...

Page 3: ...and Riding Bitts 20 8 Pin Rails 20 9 Bilge Pumps 20 10 Scuppers 20 11 Catheads and Anchors 21 12 Mooring Cleats 21 13 Hawse Pipes 21 14 Eyebolts and Cleats 21 15 Cannons 21 16 Rudder and Tiller 22 17...

Page 4: ...th International Historical Watercraft Society Annapolis Maryland Many as built features deviating from the plans are incorporated These are based on visits to the brig and photographs In addition to...

Page 5: ...ship s boats and tapering the stem and rudder E Sharpening Stone Keeps tools razor sharp F Boring Tools 1 60 to 80 miniature bits 2 1 16 3 32 and 1 8 bits 3 Pin vise G Miscellaneous 1 Tack hammer 2 T...

Page 6: ...sate for small differences in how your model is shaping up perhaps one mast has too much rake angle to the deck Lines should not drape over fittings or conflict with other lines when belayed secured I...

Page 7: ...g with brass use a 1 4 or thicker piece of maple or birch for backing Avoid softwoods as these flare the exit hole To prevent the bit from wandering mark the spot with a small center punch Lubricate t...

Page 8: ...ce a little tooth and helps top coats adhere better Any of these hobby paints are satisfac tory Floquil lacquers or Polly S and Polly Scale acrylics Tamiya Testor s Model Master and Humbrol Jo Sonja a...

Page 9: ...various paint lines Follow each manufacturer s recommen dations Mixing brands is not a good idea because they may not be compati ble Sometimes however no other option exists If so apply each brand se...

Page 10: ...line and bulkhead stations on both sides of the center keel Be criti cal and measure from several points on the plans when marking the reference line It is a key to proper alignment and locates Bulkh...

Page 11: ...ttens until the hull is aligned Although the center keel was assembled flat it could warp and produce a banana shaped hull When it looks correct check it again After the hull is aligned add permanent...

Page 12: ...k as they curve around the last bulkhead 8 Covering the Mast Slots Cut the pieces shown on Sheet 2 from scrap wood then glue to both sides of the two mast slots in the center keel Make sure they are s...

Page 13: ...wever switch to 3 16 square pieces where the bulwarks begin to curve at the bow then sand the out board and inboard sides of the hull flush with the timberheads Bulwark planking and ceiling must lie f...

Page 14: ...rk slowly and think of each plank as a project unto itself Since hull sides are identical simultaneously cut one pair of port and starboard planks to shape Fit the plank on one side then the other Don...

Page 15: ...ue along the edge of the plank with your finger then touch each bulkhead with thin cyano to quickly affix the plank Be careful not to glue your fingers to the model Another approach is to apply cyano...

Page 16: ...paint only the inside of the gunports red may wish to leave the covering strips yellow like the rest of the hull planking Upper Hull Planking The first plank beneath the rail is 3 64 thick The rest a...

Page 17: ...ank widths in Belt D aft The hull planking layout doesn t show all the planks aft so the profile view is necessary Plank Variations within a Belt Suppose a belt has seven planks the same width but the...

Page 18: ...line run parallel to it Away from the center line planks taper from midship aft and parallel the waterway To omit this detail install planks parallel to the centerline without tapering While not accur...

Page 19: ...pedestal to correct it 2 Launching Ways Models without sails display best on a launching ways They are easy to assem ble and fasten to a baseboard With a large enough baseboard a builder can create a...

Page 20: ...apstan Assemble the capstan from laser cut parts and a center dowel Figure 5 4 Stow the capstan bars on the stern bulwarks 7 Fife Rails and Riding Bitts Make the fife rail bitts and crosspieces from s...

Page 21: ...on each eyebolt Eyebolts are simply brass wire bent into a loop To close the loop touch with a little solder or epoxy Figure 5 9 shows an easy way to produce scale eyebolts Clamp the brass rod in a v...

Page 22: ...tabs and carve or sand the exterior hull to its correct profile Be careful the hull is becoming thin Make templates from the body lines to fine tune the hull s shape Adding the keel completes the bas...

Page 23: ...day hammock bags house life pre servers and cover the running lights when Niagara is on exhibit 21 Channels Cut channels from stripwood and install or wait until it s time to make the chain plates Con...

Page 24: ...asi er Applewood is excellent for masts and spars because its dense twisted grain resists splitting and breaking 2 Building and Installing the Masts Fore and Mainmasts Both lower masts are octagon at...

Page 25: ...the deck hole Check the alignment forward aft and athwartships Masts must rake at the angles shown on the plans If they don t file the offending deck hole to its correct slant then wedge the mast in...

Page 26: ...and royal yards are round Figure 6 9 Tops of yards are straight but the bottom fore and aft sides are tapered When sails were added the combined weight bent the yard so it looked tapered on all sides...

Page 27: ...ich are sometimes called horses Cranelines footropes running athwartships from the lower fore and mainmast shrouds are used to furl the main staysails or spanker They are a recent development and were...

Page 28: ...rt with her sails removed for repairs Most modelers choose this approach and beginners should definitely opt for it 2 Rigging Plans Sheets 5 and 6 show the masts and spars with attendant rigging They...

Page 29: ...osing the proper material is critical Sailcloth must be lightweight yet fairly opaque Tightly woven cotton is accept able and available from Model Expo Although linen is ideal most is too heavy for 3...

Page 30: ...le sailboat s sail First buy the colored fabric for the numbers Place the Wonder Under sheet on the cloth with the paper backing up Iron the sheet to bond it to the material Next cut out the letters n...

Page 31: ...proper spacing Make a test shroud first to see how much it stretches Figure 8 2 also shows the sequence for reeving lanyards When looking out board at any deadeye always start with a knot in the uppe...

Page 32: ...ays to itself Figure 8 6 Fore Topgallant Stay and Flying Jib Stay The topgallant stay passes over the dumb sheave at the end of the jibboom reeves through a hole in the dolphin striker and sets up to...

Page 33: ...through the thimble and sets to an eyebolt on the port side of the hull and to bullseyes on the starboard side Bowsprit Shrouds These shrouds belay to port and starboard eyebolts in the hull then to...

Page 34: ...jib outer jib and flying jib can be called head sails If using sails add their hal liards downhauls and sheets before bending to their yards Play out enough line for reeving handling and belaying Don...

Page 35: ...hten the peak and throat halliards Fit the brails fol lowed by the topping lifts and vangs Add the flag halliard after making a standard Topping lifts and throat hal liard have collars at the masthead...

Page 36: ...is to omit the sheets and tacks Another is to hook them to the clew garnet and pull up to the yard However this is a little clumsy A better alternative is to omit the sheets and tacks and hook the cle...

Page 37: ...red or raised with a tackle fitted from the cap rove through the sheave and run back to the cap However they are not a permanent fitting on Niagara and can be omitted The tackle on the jibboom is an a...

Page 38: ...arch April 1992 40 45 May June 1992 52 55 A description with excellent photographs of the reconstruction and original Niagara when recovered 2 Bill Gilbert The Battle of Lake Erie Smithsonian January...

Page 39: ...39 Date Time Notes MODELER S LOG...

Page 40: ...40 MODEL SHIPWAYS A Division of Model Expo Inc P O Box 229140 Hollywood FL 33020 MODELER S LOG Date Time Notes...

Reviews: