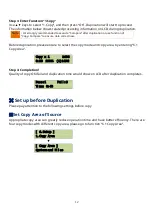
Step 3: Enter Function “1.Copy”
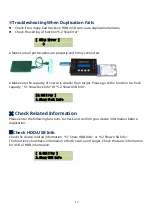
Use ▲▼ keys to select “1.Copy”, and then press “OK”. Duplication will start to proceed.
The information below shows related processing information on LCD during duplication.
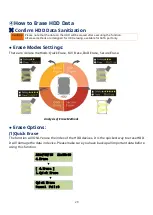
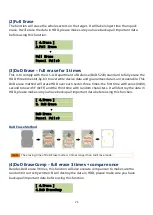
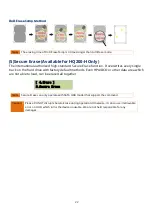
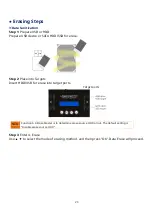
Note
• It’s strongly recommended to execute “Compare” after duplication or use function of
“Copy+Compare” to ensure data correctness.
Before duplication, please ensure to select the copy mode and copy area, by entering “6.1
Copy Area”.
Copy x 1 149G
0:30 100% (1)149G
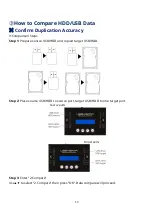
Step 4: Completion!
Quality of copy OK/Fail and duplication time would show on LCD after duplication completes.
Pass:1 Fail:0
Time: 0:48
⌘
Set up before Duplication
Please pay attention to the following settings before copy
※
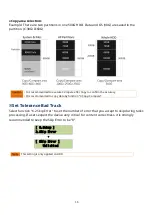
Set Copy Area of Source
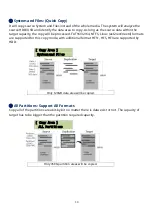
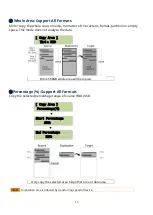
Appropriate copy area can greatly reduce operation time and have better efficiency. There are
four copy modes with different copy area, please go to function “6.1 Copy Area”.
[ 6.Setup ]
1.Copy Area
▼
[ Copy Area ]
System and Files
12

