®
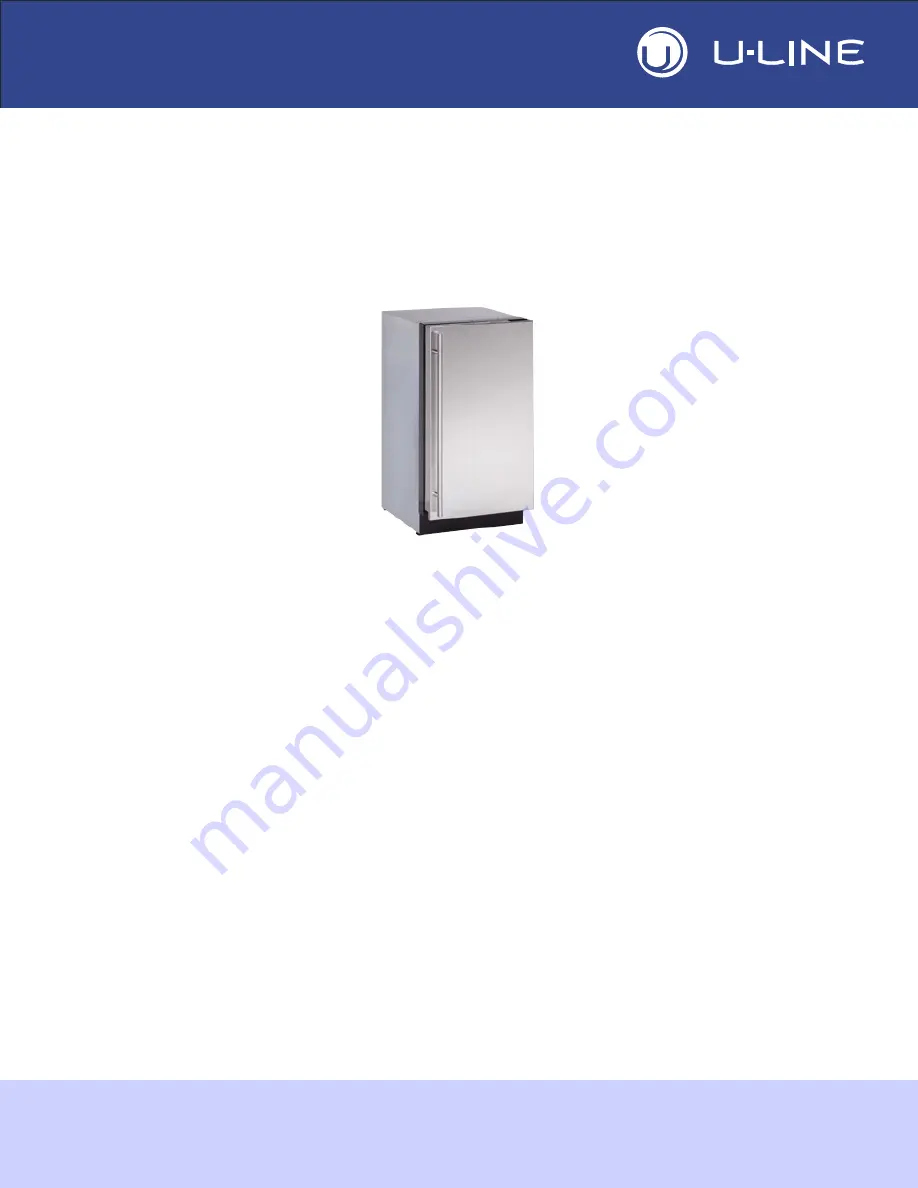
MODULAR 3000 SERIES120V, 3018CLR MODELS
USE AND CARE GUIDE
The Built-In Undercounter Leader Since 1962
U-LINE.COM
U-3018CLROL-00
U-3018CLROL-01
U-3018CLROL-40
U-3018CLROL-41
U-3018CLRS-00
U-3018CLRS-01
U-3018CLRS-40
U-3018CLRS-41
Page 1: ...ERIES 120V 3018CLR MODELS USE AND CARE GUIDE The Built In Undercounter Leader Since 1962 U LINE COM U 3018CLROL 00 U 3018CLROL 01 U 3018CLROL 40 U 3018CLROL 41 U 3018CLRS 00 U 3018CLRS 01 U 3018CLRS 4...
Page 2: ...ead and save this Use and Care Guide NOTICE READ all instructions in this guide completely before using the appliance for the first time For future reference keep this guide in a safe accessible locat...
Page 3: ...stment 7 4 3000 Series Maintenance Leveling 8 Removing and Installing Grille 8 Adjusting Grille 8 5 3000 Series Doors Door Alignment and Adjustment 9 6 Cleaning Exterior Cleaning 10 Interior Cleaning...
Page 4: ...s in place so children may not easily climb inside WARNING SHOCK HAZARD Electrical Grounding Required Never attempt to repair or perform maintenance on the unit until the electricity has been disconne...
Page 5: ...less Steel Stainless steel models offer a commercial stainless steel handle and door wrap Overlay Models Overlay models accept a custom overlay panel or frame to achieve perfect symmetry with surround...
Page 6: ...ailable timer setting Selections include On With Door On 3 Hours On 6 Hours or On 24 Hours 4 To exit press Select or simply wait for the menu to time out Customer Menu The 3000 Series of U Line underc...
Page 7: ...select Off 3 Press Select Off will begin to flash 4 Use Up or Down to change Off to On 5 Press Select to confirm your selection The Display will fade out as the unit enters Sabbath Mode Sabbath Mode r...
Page 8: ...tion called Silent Mode in the Customer Menu Silent Mode will begin once the current ice making cycle is complete After 3 hours in Silent Mode normal ice production will continue NOTE Silent Mode will...
Page 9: ...omer Menu 1 Use Down to select Restore 2 Press Select All settings will now be at Factory Default Help To access the Help menu select Help from the Customer Menu Use Up or Down to scroll through avail...
Page 10: ...ckness NOTICE Ice thickness adjustment should only be made one increment at a time Allow ice maker production to stabilize for 24 hours before rechecking ice thickness 2 Remove all ice from the storag...
Page 11: ...en but do not remove both grille lock screws See below 3 Gently pull grille away from unit until it stops 4 Push grille rails towards the center of the unit to lift rails off lock screws 5 Pull grille...
Page 12: ...em Pay special attention to the Cable Arm Make sure not to over extend or damage it during door alignment Stainless Models Removing Wrap 1 Open door completely 2 Using a Phillips screwdriver remove th...
Page 13: ...or abrasive cleaners These types of cleaners may transfer taste to the interior products and damage or discolor the lining Clear Ice Maker Cleaning Cycle The 3000 series ice maker is equipped with an...
Page 14: ...mately 3 minutes pour 1 packet of CLR cleaner into the water trough The cleaning process will last approximately 45 minutes 10 Dilute 1 tablespoon bleach in 1 gallon of warm water Apply this solution...
Page 15: ...s on the evaporator allow ice to thaw naturally CAUTION DO NOT use an ice pick or other sharp instrument to help speed up defrosting These instruments can puncture the inner lining or damage the cooli...
Page 16: ...ates Evaporator Refrigerant flowing through an evaporator may sound like boiling liquid Condenser Fan Air moving through a condenser may be heard Automatic Defrost Drain Pan Water may be heard drippin...
Page 17: ...s captivated those with an appreciation for the finer things with exceptional functionality style inspired innovation and attention to even the smallest details We are known and respected for our unwa...