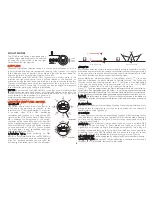
GIMBAL CAMERA TILT CONTROL
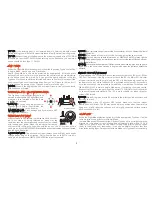
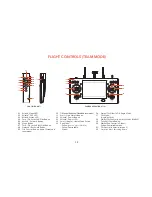
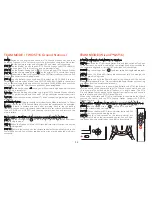
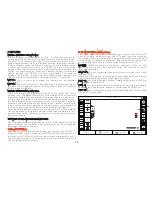
There is a gimbal tilt mode switch on ST16---S1. When the switch is in
up/middle position, the CGO3+ gimbal camera is in Angle Mode. Use
the slider (C) on the left side of the ST16 to set the tilt position of the
gimbal camera. When the S1 is in bottom position, the gimbal camera is
in Velocity Mode. When the Elevator joystick is in the middle position,
it means the velocity rate is 0 for the CGO3+, and it will stop tilting
up/down. When the Elevator joystick is above the middle position, the
CGO3+ will start tilting up. When the Elevator joystick is below the
middle position, the CGO3+ will start tilting down. The distance
between the Elevator joystick and the middle position decides the
velocity rate, the further distance, the higher velocity it would be.
NOTICE: Only in the velocity mode, the camera can tilt upwards
15°maximum.
NOTICE: After the pilot switch from video mode to take photo mode,
the pilot can activate the function of long exposure for four seconds
(Camera type C-GO3-Pro).
GIMBAL CAMERA PAN CONTROL
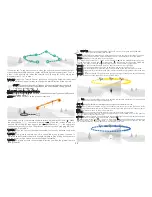
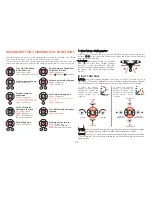
There is a gimbal pan mode switch on ST16---S2. When the switch
position is up, the gimbal camera is in Follow Mode. The pan control of
the gimbal camera is now disabled. The gimbal camera will adjust its
pan direction according to the aircraft’s movements. When the switch
is in the middle position, the gimbal camera is in Follow Pan Controlla-
ble Mode, the gimbal camera will adjust its pan direction according to
the aircraft’s movements. Meanwhile, the pan control is activated, use
the aileron joystick to set the pan position of the gimbal camera.
When the switch position is down, the gimbal camera is in Global Mode.
The pan direction of the gimbal camera will be fixed regardless of the
aircraft’s movements. Use the
aileron joystick to set the pan position of
the gimbal camera.
18
TAKING PHOTOS AND RECORDING VIDEO
The ST16 seamlessly integrates control of the CGO3+ so you can easily
take still photos and start/stop video recording using the correspond-
ing buttons located on the face.
To Take A Still Photo
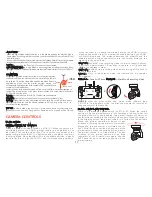
Press the button located near the bottom left corner of the ST16. You'll
hear an audible ‘shutter’ sound from the ST16 and the LED indicator on
the front of the CGO3+ will blink blue and green alternatively once. It
will take approximately 1-2 seconds to capture the photo and before
you can take another still photo.
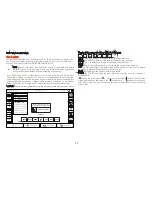
Model: Typhoon H
welcome,Pilot
12:27 AM 12
VOLTS
GPS
SAT
POS
ALT
G-SPD
DIS
N/A
N/A
N/AE
N/AN
N/AV
N/Am
N/A KPH
N/Am
System Settings
Pad
Channel Settings
Model Select
TASK
CAMERA
GPS
CALIBRATION
FOLLOW
WATCH
ANGLE
G
Disabled
OBS
WB
ISO 32
1/250s
Auto
Auto
Lock
Sunny
Cloudy
Fluorescent
AWB
Incandescent
Sunset/sunrise
3840 x 2160 F30
TEAM MODE
To START/STOP Recording Video
Press the button located near the bottom right corner of the ST16. You'll
hear an audible indication from the ST16 each time the recording
starts/stops. And while video is recording the LED indicator on the front
of the CGO3+ will flash blue and green, and there will be a red dot next
to the time length of the recording on the screen of the ST16.
NOTICE: C-GO3-Pro camera is the default selection in ST16. You can
take still photos in the video recording mode. The resolution is set by
the video resolution.
CAUTION: Do not change settings when aircraft is further than 1,000
feet from ST16.
fusers are professionals in photography and videography, and want to
adjust manual settings, please follow the steps below:
STEP 1) Press System Settings, choose Camera Select, press C-GO3-Pro,
press Select, and press OK.
STEP 2) The second left column is available for adjusting the camera
settings, like white balance, exposure, shutter speed and ISO, etc.
STEP 3) Press camera setting button in the Video Mode, different video
resolutions are available.
Summary of Contents for RS-V1.2
Page 1: ...USER MANUAL RS V1 2 ...

